When it comes to illuminating your living space with sophistication, look no further than the mesmerizing charm of the “Blown Glass Flush Mount Ceiling Light.” Explore the timeless beauty and commercial appeal of these exquisite lighting fixtures that seamlessly blend artistry with functionality.
Discovering Blown Glass Flush Mount Ceiling Lights: A Fusion of Art and Illumination
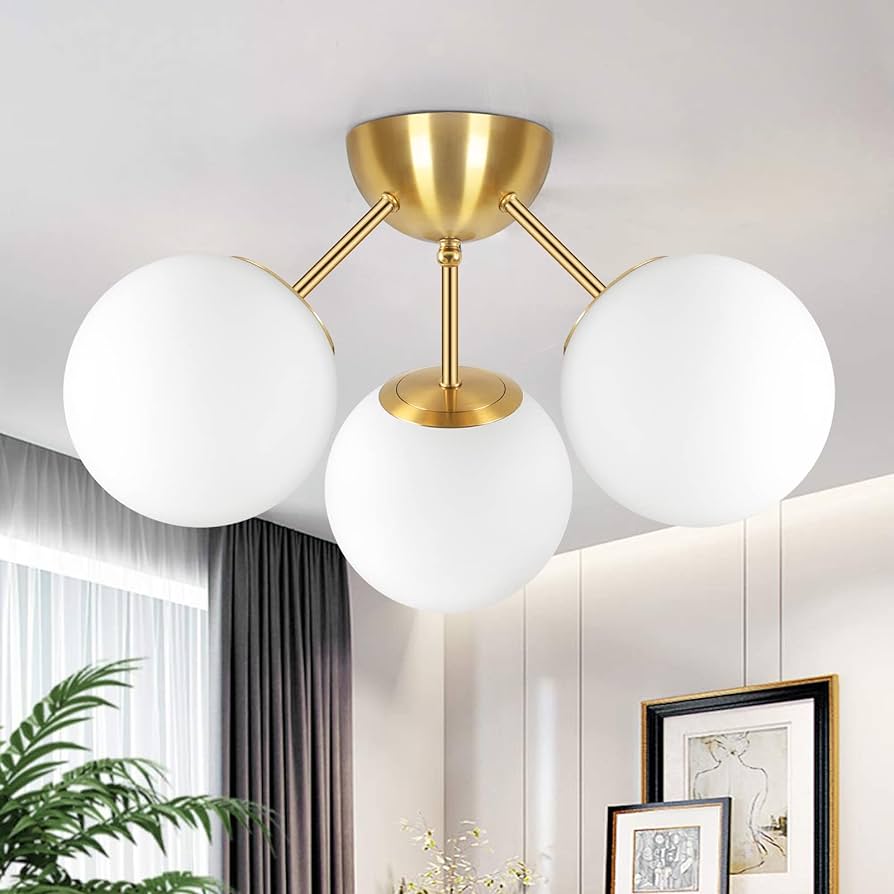
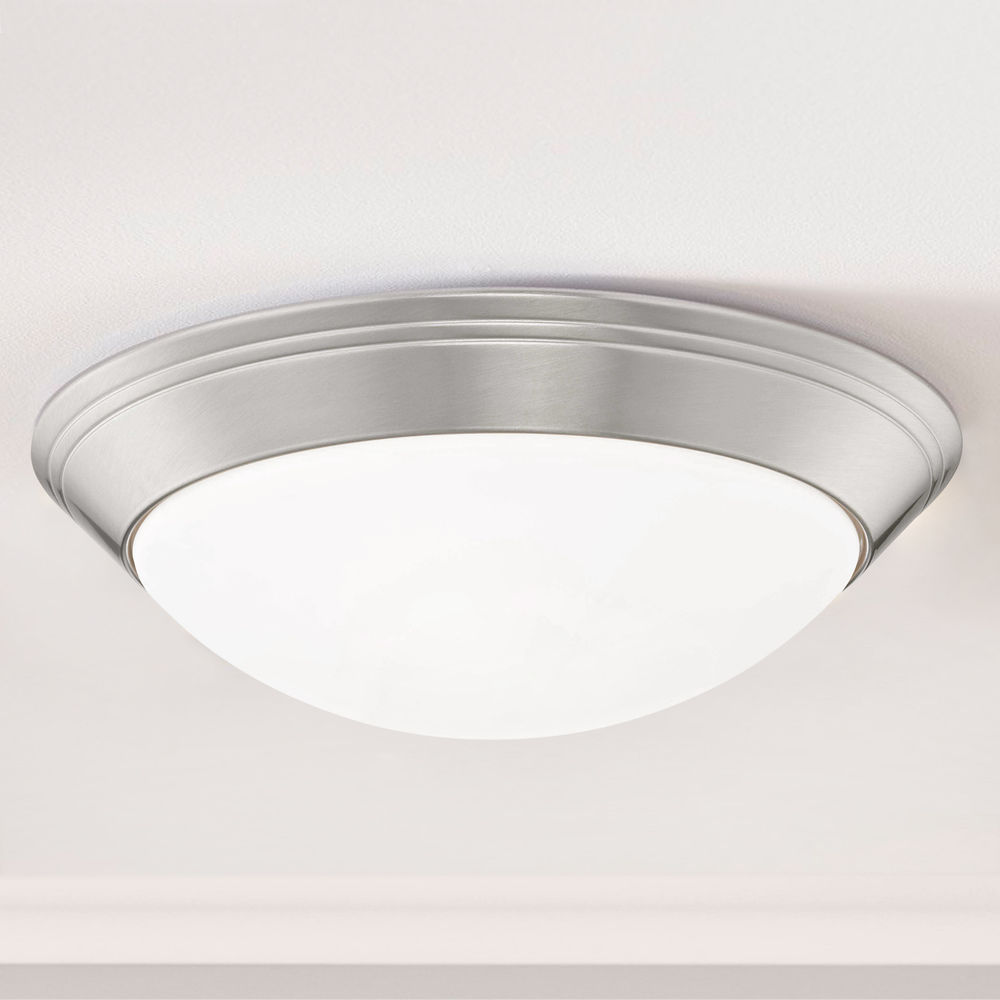
The Blown Glass Flush Mount Ceiling Light is not just a source of light; it’s a work of art that transforms any room into a showcase of elegance. Delve into the unique characteristics that make these lighting fixtures a coveted choice for those who appreciate the finer things in interior design.
The Aesthetic Allure of Blown Glass: Crafting Visual Masterpieces
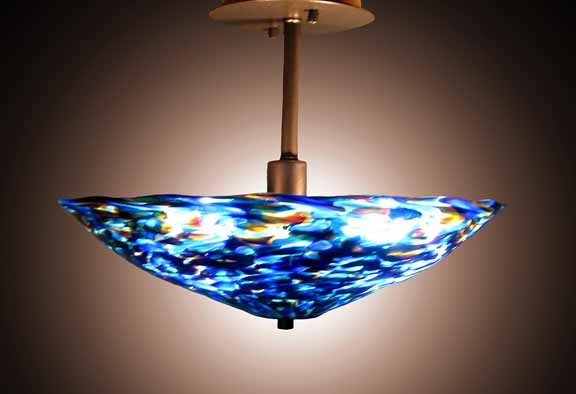
At the heart of the Blown Glass Flush Mount Ceiling Light’s appeal lies the intricate artistry involved in its creation. The blown glass technique, where skilled artisans shape molten glass into delicate forms, results in fixtures that are both visually stunning and unique. Explore the various designs and patterns available, from subtle swirls to bold geometric shapes, that add a touch of individuality to your space.
Unveiling the Features: Functionality Meets Style
While the aesthetic appeal is undeniable, Blown Glass Flush Mount Ceiling Lights also boast practical features that enhance their functionality. From energy-efficient LED options to adjustable brightness settings, these fixtures are designed to meet the diverse needs of modern living. Discover how the marriage of form and function makes these lights a valuable addition to any commercial or residential setting.
Blown Glass Flush Mount Ceiling Light: Elevating Your Commercial Space
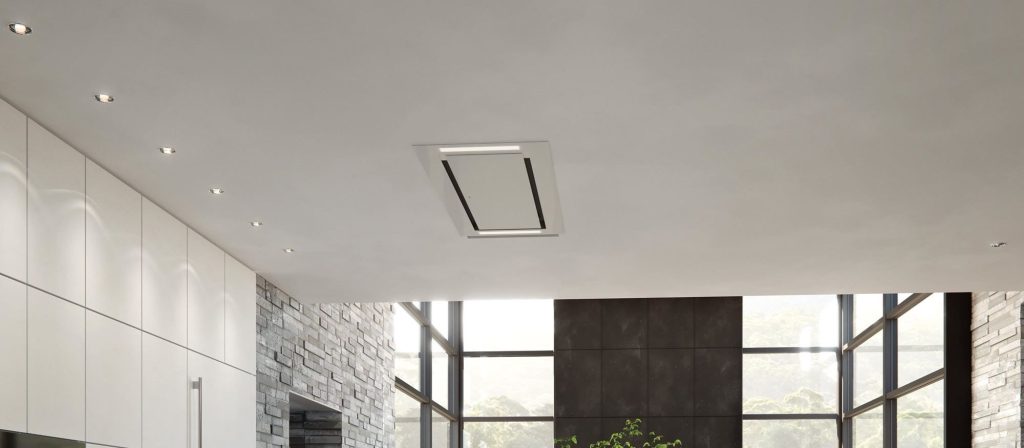
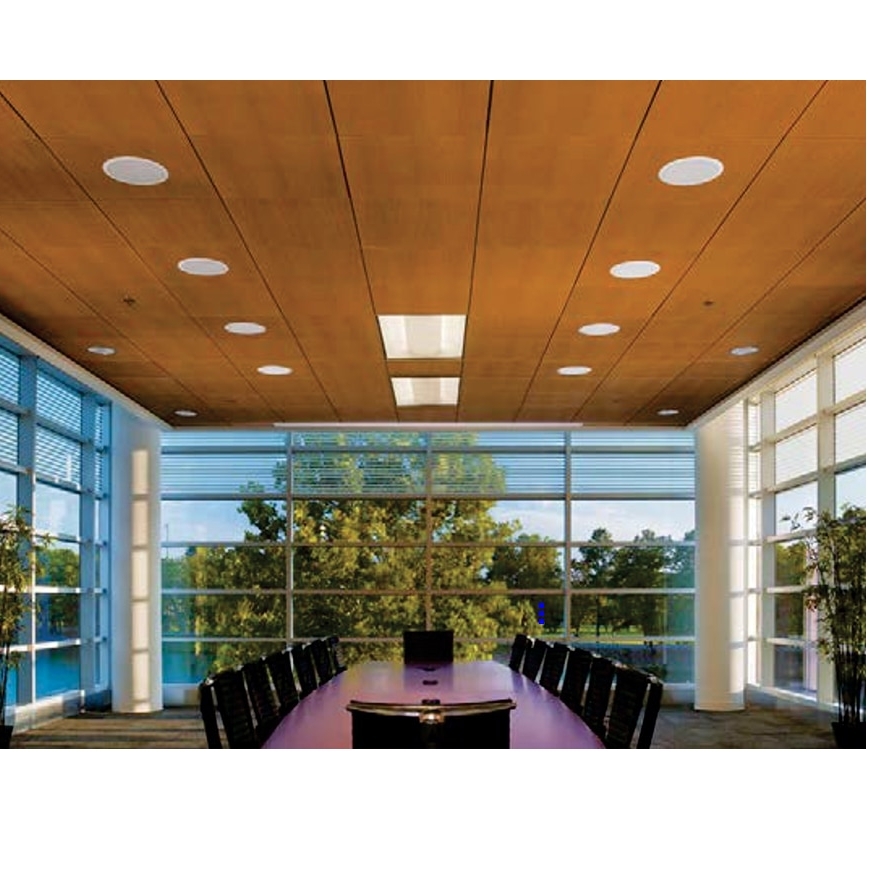
In a commercial setting, lighting is not just about illumination; it’s a crucial element in creating an inviting and memorable atmosphere. Explore how the Blown Glass Flush Mount Ceiling Light can be strategically incorporated into retail spaces, restaurants, or office environments to enhance the overall aesthetic and leave a lasting impression on customers and clients.
Choosing the Perfect Design: Tailoring the Aesthetic to Your Space
With a plethora of designs available, finding the perfect Blown Glass Flush Mount Light for your space can be an exciting endeavor. Consider factors such as room size, existing decor, and the desired ambiance to guide your choice. Whether you prefer a minimalist, contemporary look or a more ornate and traditional feel, there’s a blown glass design to suit every taste.
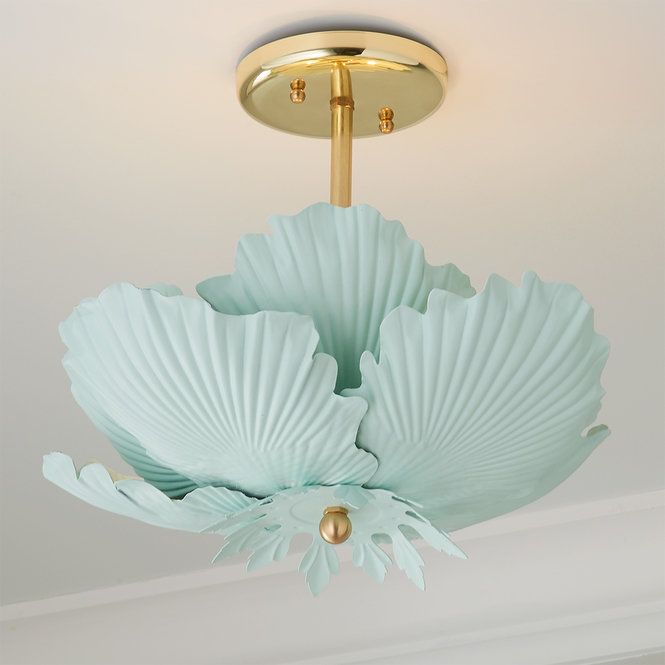
Material Matters: Exploring Varieties in Glass and Finish Options
The choice of glass and finish can significantly impact the overall look of your Blown Glass Flush Mount Light. Delve into the variety of options available, from clear and frosted glass to vibrant colored hues. Additionally, explore different finishes such as brushed nickel, chrome, or antique brass, to seamlessly integrate the fixture with your existing decor.
Blown Glass Flush Mount Light for Every Room
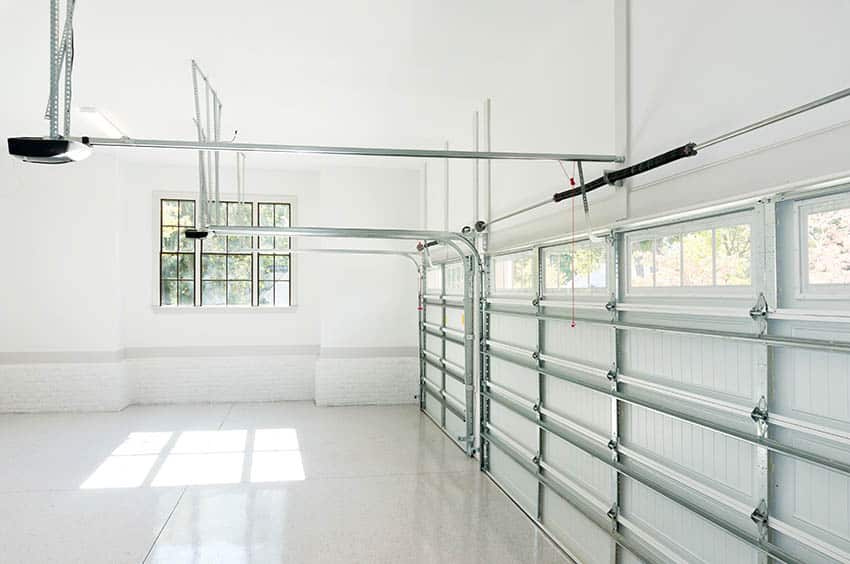
From entryways to bedrooms, the versatility of Blown Glass Flush Mount Ceiling Lights knows no bounds. Explore how these fixtures can be effectively used in different rooms to create a cohesive and visually appealing lighting scheme. Whether as a focal point in the living room or a subtle addition to the hallway, the Blown Glass Flush Mount Light adapts to various spaces with ease.
Installation and Maintenance: Ensuring Longevity and Brilliance
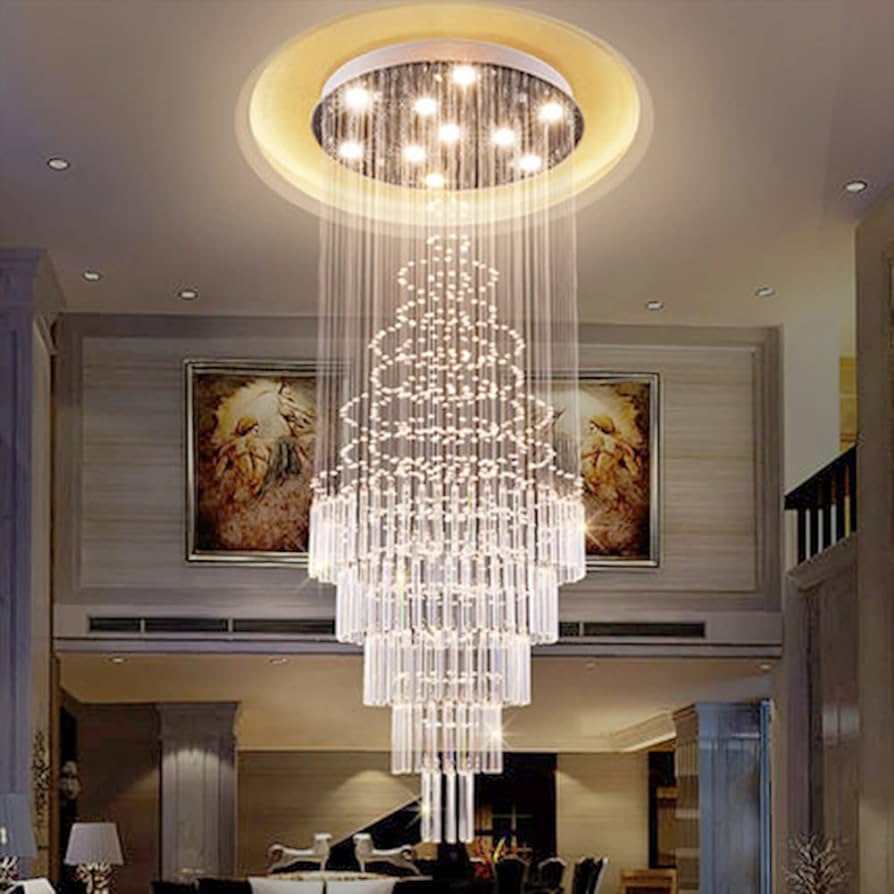
Proper installation and care are essential for ensuring the longevity and brilliance of your Blown Glass Flush Mount Light. Gain insights into the installation process, including considerations for ceiling height and the importance of professional installation for larger fixtures. Additionally, discover maintenance tips to keep your glass fixtures gleaming and radiant over time.
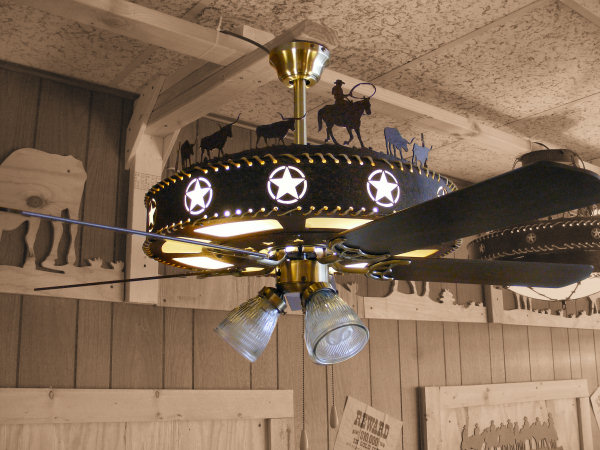
Read too: Discovering the Charm of Nautical Outdoor Ceiling Fans for Your Coastal Retreat: Sail into Style
Blown Glass Flush Mount Ceiling Light Trends: Staying Ahead in Lighting Design
As with any design element, trends in lighting are ever-evolving. Stay informed about the latest trends in Blown Glass Flush Mount Ceiling Lights, from innovative shapes to eco-friendly materials. Keeping up with trends allows you to make informed choices that align with contemporary design preferences.
Illuminate Your Space with Blown Glass Elegance
In conclusion, the Blown Glass Flush Mount Ceiling Light is not just a lighting fixture; it’s a statement piece that adds a touch of sophistication to any space. Whether you’re aiming to enhance your commercial setting or elevate the ambiance of your home, these fixtures offer a blend of artistry and functionality. Illuminate your space with the timeless elegance of Blown Glass Flush Mount Ceiling Lights and let your surroundings become a masterpiece of light.