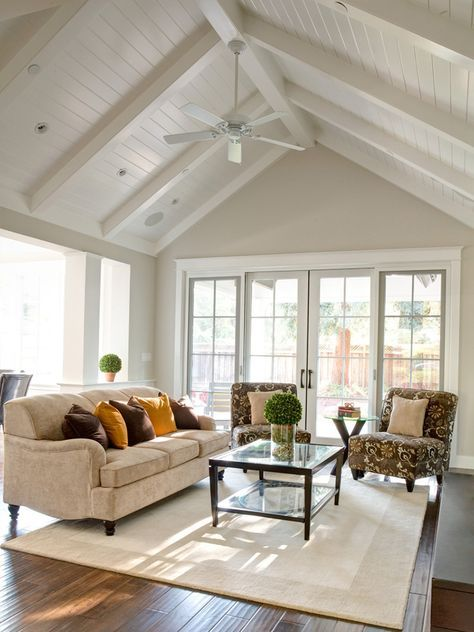
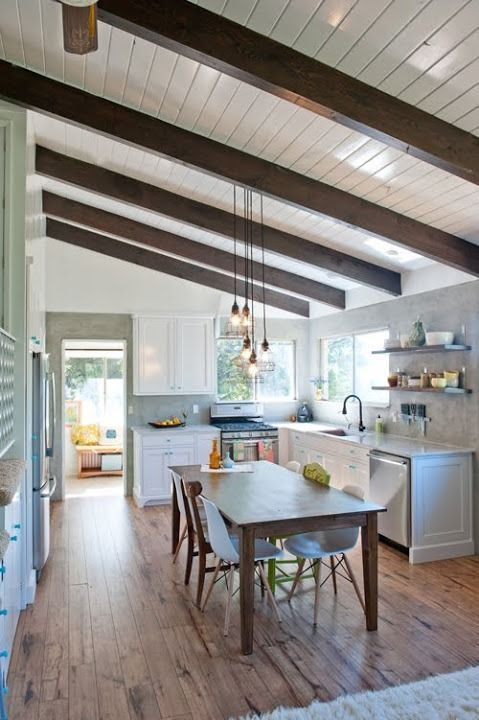
A shiplap ceiling with beams can instantly elevate the aesthetic of any room, blending rustic charm with modern sophistication. Whether you’re renovating a farmhouse or adding texture to a contemporary space, this design choice is both versatile and impactful. This article will guide you through the benefits, styles, installation process, and maintenance of a shiplap ceiling with beams.
Why Choose a Shiplap Ceiling With Beams?
Shiplap ceilings paired with exposed beams offer a stunning architectural element that adds depth and character to your home. Here are the top reasons to consider this design:
- Timeless Appeal: Shiplap ceilings exude a classic charm, while the beams bring warmth and structure.
- Versatile Style: Works well in various interiors, from rustic farmhouse to modern minimalist.
- Texture and Depth: Adds visual interest to an otherwise flat ceiling.
- Enhanced Value: Increases your home’s resale appeal with its unique and high-end look.
Styles of Shiplap Ceiling With Beams
When designing a shiplap ceiling with beams, you can choose from various styles to suit your home’s aesthetic.
1. Farmhouse Style
- Features distressed or reclaimed wood for both the shiplap and beams.
- Often painted white for a bright, airy look.
2. Modern Minimalist
- Uses sleek, painted shiplap with dark-stained or metal beams.
- Creates a clean and contemporary aesthetic.
3. Coastal Vibes
- Combines light-colored shiplap with white or pastel beams.
- Ideal for beach houses or nautical-themed interiors.
4. Industrial Design
- Incorporates raw, unpainted wood or metal beams with natural-toned shiplap.
- Perfect for lofts and industrial-inspired spaces.
Read too: Kitchen Lighting For A Vaulted Ceiling: Illuminating Your Space with Style and Functionality
Shiplap Ceiling With Beams Installation Guide
Installing a shiplap ceiling with beams requires careful planning and execution. Whether you’re a DIY enthusiast or hiring a professional, this step-by-step guide will help you achieve the desired look.
Tools and Materials:
- Shiplap boards
- Beams (wood or faux)
- Stud finder
- Measuring tape
- Drill and screws
- Nail gun
- Paint or stain
- Ladder or scaffolding
1: Prepare the Ceiling
- Clean and inspect the ceiling for any damages.
- Use a stud finder to locate the joists, as beams will need to be attached securely.
2: Install Shiplap Boards
- Start at one corner and work across the ceiling.
- Nail each board into the joists, ensuring they fit snugly together.
- Stagger the boards for a seamless, professional look.
3: Position and Secure Beams
- Measure and mark the placement of the beams.
- Secure real wood beams to the ceiling joists with screws.
- For faux beams, use lightweight materials and adhesive for easier installation.
4: Paint or Stain
- Paint or stain the shiplap and beams to match your desired aesthetic.
- Apply a protective sealant if using natural wood.
5: Final Touches
- Fill any gaps with caulk for a polished finish.
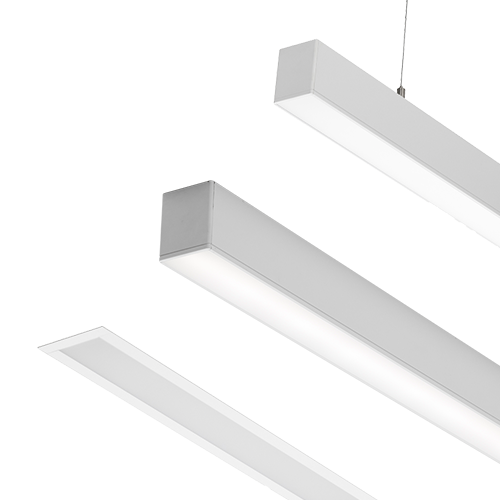
- Add lighting fixtures, such as recessed lights or chandeliers, to enhance the design.
Maintenance Tips for a Shiplap Ceiling With Beams
To keep your shiplap ceiling with beams looking its best, follow these maintenance tips:
- Regular Cleaning: Dust the beams and wipe the shiplap with a damp cloth to prevent dirt buildup.
- Inspect for Cracks: Check for gaps or cracks in the wood and fill them with caulk or wood filler.
- Repaint or Restain: Refresh the finish every few years to maintain its appeal.
- Protect from Moisture: Avoid installing shiplap ceilings in high-humidity areas unless properly sealed.
Creative Ideas for Shiplap Ceilings With Beams
1. Vaulted Ceilings
- Use shiplap and beams to accentuate the height of vaulted ceilings.
- Adds grandeur and spaciousness to living rooms and bedrooms.
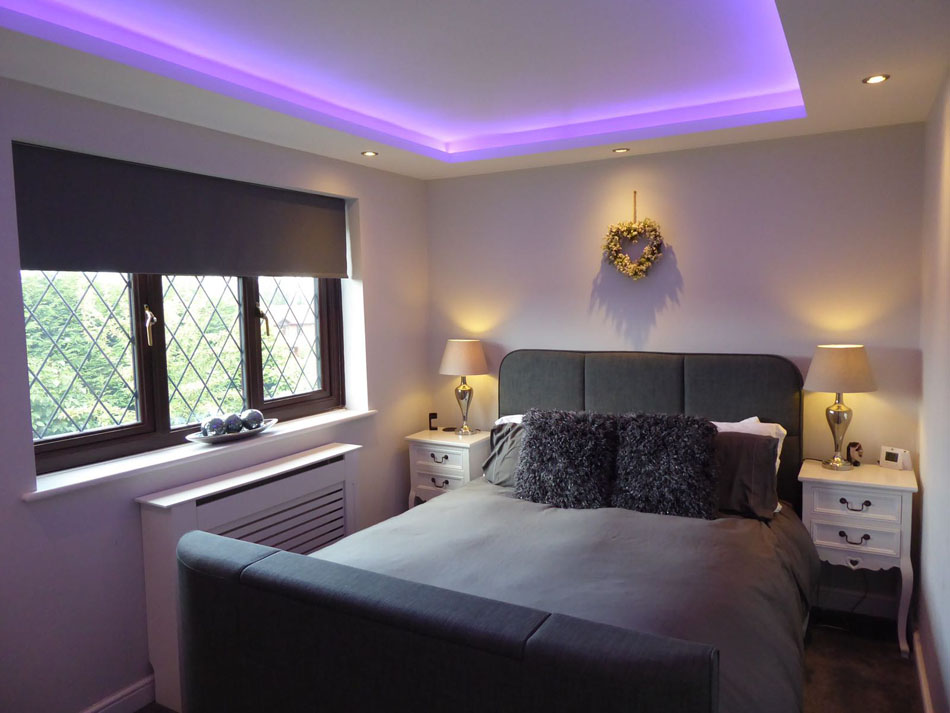
2. Accent Lighting
- Incorporate LED strip lighting along the beams for a modern touch.
- Highlights the texture of the shiplap and creates a cozy ambiance.
3. Contrasting Colors
- Pair white shiplap with dark beams for a dramatic effect.
- Experiment with bold colors for a unique, personalized design.
4. Multi-Room Continuity
- Extend the shiplap ceiling with beams across multiple rooms for a cohesive look.
- Works well in open-concept living spaces.
Benefits of a Shiplap Ceiling With Beams
Enhanced Aesthetic Appeal
- A shiplap ceiling with beams is a focal point that adds architectural interest and texture to any room.
Improved Acoustics
- The combination of shiplap and beams can help reduce echo and improve sound quality in a space.
Increased Home Value
- Buyers often perceive shiplap ceilings as a high-end feature, making your property more attractive on the market.
Frequently Asked Questions
Q: Can I install a shiplap ceiling with beams myself?
A: Yes, with proper tools and preparation, it’s possible to install a shiplap ceiling as a DIY project. For complex designs, consider hiring a professional.
Q: What materials are best for beams?
A: Real wood offers authenticity, while faux beams made of lightweight materials are easier to install and maintain.
Q: Are shiplap ceilings suitable for small rooms?
A: Yes, using light-colored shiplap can make small rooms feel larger and more open.
Conclusion
A shiplap ceiling with beams is a timeless design choice that adds warmth, texture, and sophistication to any space. Whether you prefer a rustic farmhouse vibe or a sleek modern look, this combination of materials provides endless possibilities for customization.
By carefully selecting your materials, planning the installation, and maintaining the finish, you can enjoy a stunning architectural feature that enhances both the beauty and value of your home. Transform your space today with the charm and elegance of a shiplap ceiling with beams!