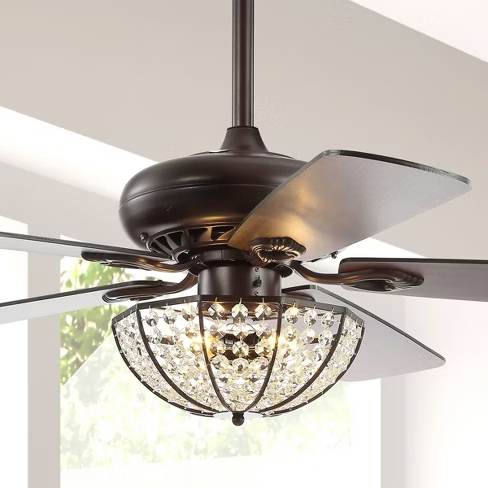
Ceiling fans are essential home appliances, and the Hunter Port Royale Ceiling Fan is a top choice for homeowners who want both style and functionality. However, like any electrical appliance, ceiling fans may experience issues over time. That’s where the Hunter Port Royale Ceiling Fan Warranty comes into play.
In this article, we will discuss everything you need to know about the warranty coverage, including what it includes, how to claim it, and tips for maintaining your ceiling fan to extend its lifespan.
What Is the Hunter Port Royale Ceiling Fan Warranty?
The Hunter Port Royale Ceiling Fan Warranty is a guarantee provided by Hunter Fan Company, ensuring that their product meets specific quality and performance standards. If the ceiling fan experiences defects in materials or workmanship, the warranty allows customers to receive free repairs or replacements, depending on the issue.
Hunter is a reputable brand known for its durable and high-quality ceiling fans, but even the best products can sometimes have defects. Having a warranty ensures that you are protected if any manufacturing issues arise.
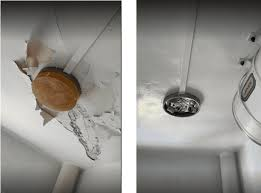
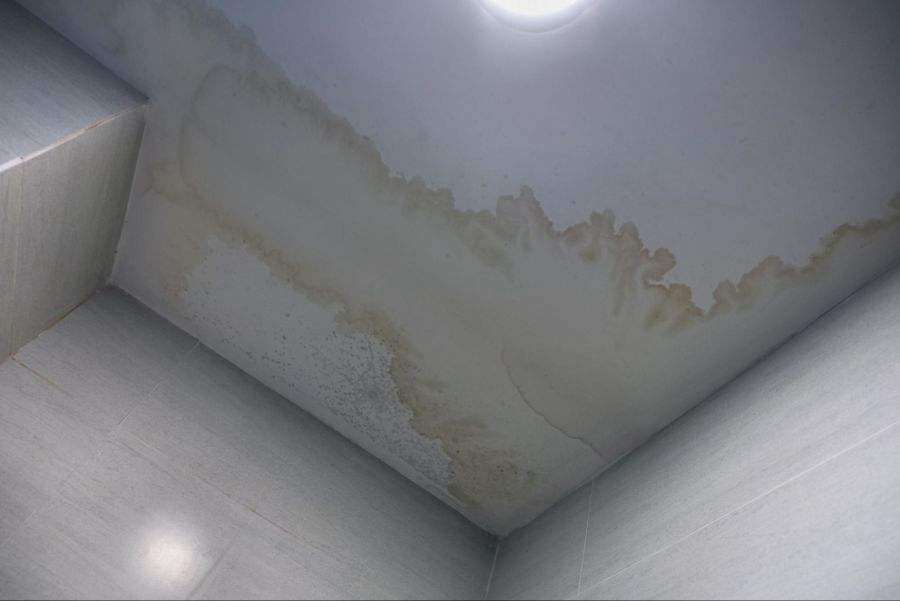
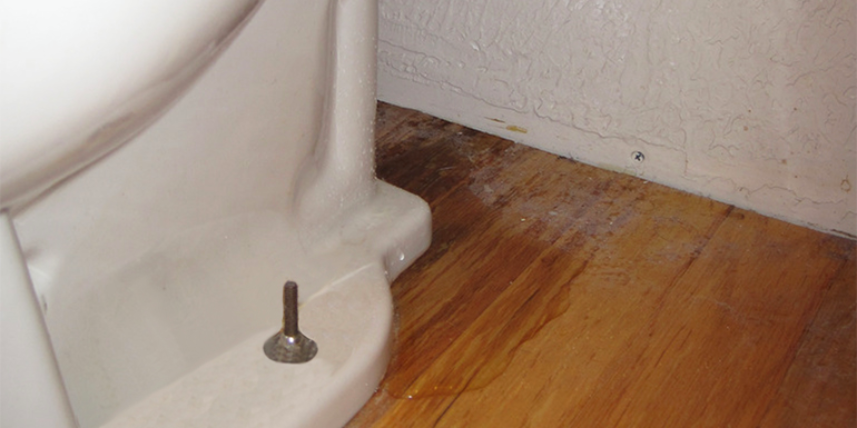
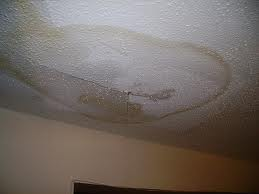
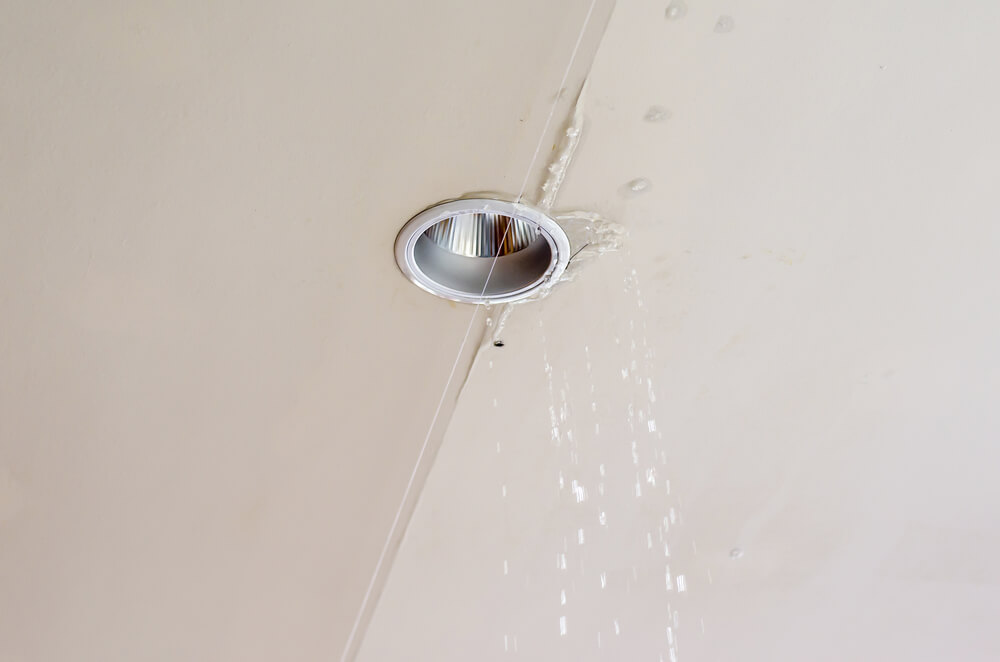
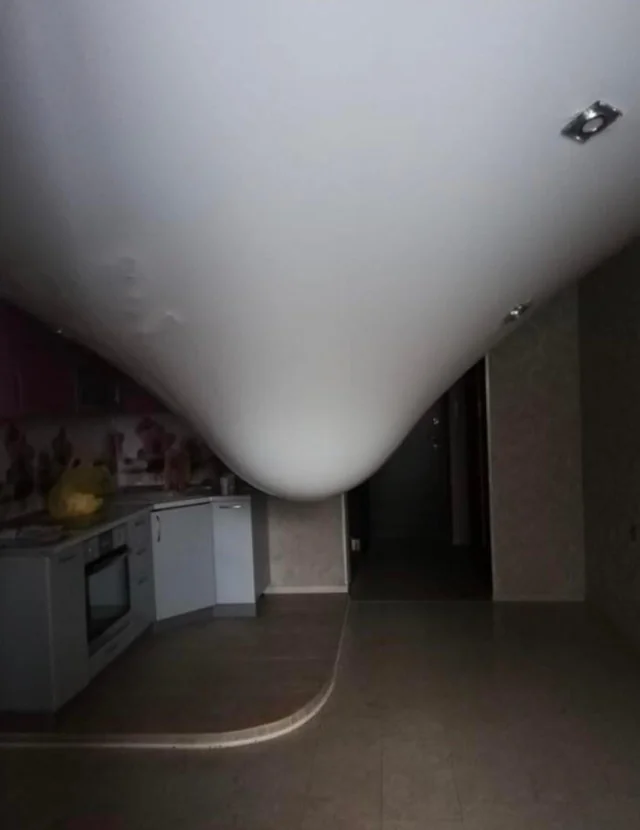
Read too: Bathroom Flooded Through the Ceiling: A Comprehensive Guide
What Does the Hunter Port Royale Ceiling Fan Warranty Cover?
The warranty for the Hunter Port Royale Ceiling Fan typically includes the following aspects:
1. Motor Warranty
The most important part of any ceiling fan is its motor. Hunter offers a limited lifetime motor warranty, which means that if the motor fails due to manufacturer defects, Hunter will repair or replace it for free. However, this warranty does not cover damage caused by improper installation or external factors such as power surges.
2. Parts and Components Warranty
Apart from the motor, the warranty also covers other essential components, including:
- Blades: If the fan blades arrive damaged or become defective due to manufacturing flaws, they can be replaced under warranty.
- Light Kits: If the built-in light kit stops working due to a manufacturing defect, it may be covered by the warranty.
- Remote Control and Receiver: If the remote control or its receiver stops functioning properly due to a defect, Hunter may provide a replacement.
3. Electrical and Mechanical Defects
The Hunter Port Royale Ceiling Fan Warranty covers electrical and mechanical defects that arise from faulty manufacturing. If your ceiling fan experiences electrical malfunctions, Hunter may repair or replace the defective parts under the warranty.
4. Finish and Aesthetic Issues
Hunter provides a limited warranty on the fan’s finish, meaning that if the paint or coating peels due to a manufacturing issue, it might be eligible for replacement. However, discoloration due to normal wear and tear is not covered.
What Is Not Covered Under the Hunter Port Royale Ceiling Fan Warranty?
While the warranty offers great protection, there are limitations. The following situations are not covered under the Hunter Port Royale Ceiling Fan Warranty:
- Damage Due to Improper Installation – If the ceiling fan is installed incorrectly, causing damage, the warranty will not cover repairs.
- External Damage – Physical damage caused by accidents, weather conditions, or improper use is not covered.
- Normal Wear and Tear – General wear from prolonged use, including fading or minor cosmetic changes, is not eligible for replacement.
- Power Surges or Electrical Issues – If the fan is damaged due to electrical surges or faulty home wiring, the warranty does not cover it.
- Unauthorized Repairs – If you attempt to repair the fan yourself or hire an unauthorized technician, the warranty becomes void.
How to Claim the Hunter Port Royale Ceiling Fan Warranty
If you experience an issue with your Hunter Port Royale Ceiling Fans, you can submit a warranty claim by following these steps:
Step 1: Gather the Required Information
Before reaching out to Hunter’s customer service, you’ll need:
- The model number and serial number of your ceiling fan (usually found on the fan housing or manual).
- Proof of purchase, such as a receipt or invoice.
- A detailed description of the issue, including when it started and any troubleshooting steps you’ve taken.
Step 2: Contact Hunter Customer Support
You can contact Hunter Fan Company’s customer service through their official website, via email, or by phone. Their representatives will guide you on the next steps based on the issue you’re facing.
Step 3: Follow the Warranty Process
After submitting your request, Hunter will evaluate your claim. If your issue falls under warranty coverage, they will either:
- Send you replacement parts free of charge.
- Ask you to ship the defective fan back for repair.
- Provide you with a new replacement fan if necessary.
Step 4: Install the Replacement Parts or Fan
If you receive replacement parts, carefully follow the installation guide provided by Hunter. If you’re unsure, hiring a licensed electrician or handyman is recommended.
Tips for Maintaining Your Hunter Port Royale Ceiling Fan
To ensure your Hunter Port Royale Ceiling Fan lasts a long time and to avoid unnecessary warranty claims, follow these maintenance tips:
1. Regular Cleaning
Dust and dirt accumulation can cause the fan blades to wobble or slow down. Clean the blades and motor housing every few months using a microfiber cloth.
2. Check for Loose Screws and Bolts
Over time, the fan’s screws and bolts may loosen, leading to noise or wobbling. Periodically tighten them using a screwdriver.
3. Balance the Blades
If your fan starts to wobble, use a blade balancing kit to ensure even rotation. This will help prevent damage to the motor.
4. Avoid Overloading the Electrical Circuit
If your ceiling fan shares a circuit with other high-powered appliances, power fluctuations may occur, affecting its performance. Consider using a dedicated circuit for optimal operation.
5. Use the Remote Properly
For fans with remote control operation, avoid dropping the remote or exposing it to water. Store it in a safe place to prevent damage.
Frequently Asked Questions (FAQs)
1. How long does the Hunter Port Royale Ceiling Fan Warranty last?
The motor comes with a limited lifetime warranty, while other parts have different coverage periods, usually ranging from 1 to 5 years.
2. Can I extend the warranty on my Hunter Port Royale Ceiling Fan?
Hunter does not offer an official warranty extension, but some retailers may provide additional coverage plans for an extra cost.
3. Do I need to register my fan for warranty coverage?
Although not mandatory, registering your fan on Hunter’s website makes it easier to claim warranty services.
4. What should I do if my warranty claim is denied?
If your claim is denied, you may seek repairs from a licensed electrician or purchase replacement parts directly from Hunter or an authorized retailer.
Final Thoughts
The Hunter Port Royale Ceiling Fan Warranty offers great protection against defects in materials and workmanship, ensuring that your ceiling fan operates efficiently for years. Understanding what the warranty covers, how to claim it, and how to maintain your fan properly will help you get the most out of your investment.
If you ever experience issues with your Hunter Port Royale Ceiling Fans, be sure to review the warranty terms and contact Hunter’s customer support for assistance. With proper care, your ceiling fan can provide lasting comfort and performance in your home.