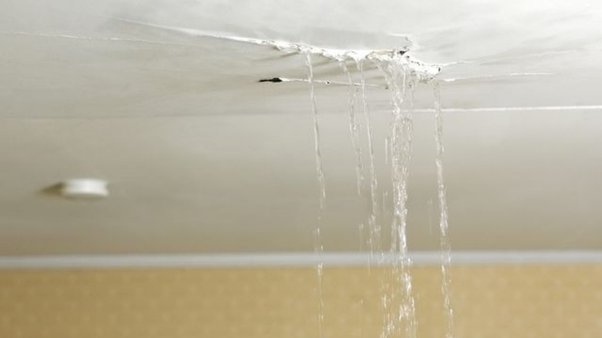
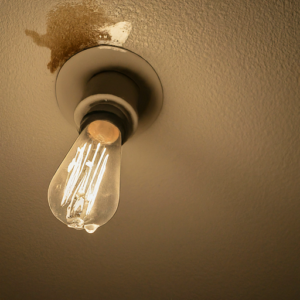
Water leaking through a ceiling light fixture is a concerning and potentially hazardous issue that requires immediate attention. Beyond the apparent water damage, this situation presents electrical hazards and risks to the structural integrity of your home. Understanding the causes and solutions for this problem can help you address it effectively and prevent future occurrences.
In this article, we’ll explore the causes, risks, and detailed steps to resolve water leaking through a ceiling light fixture.
Why Is Water Leaking Through Ceiling Light Fixture?
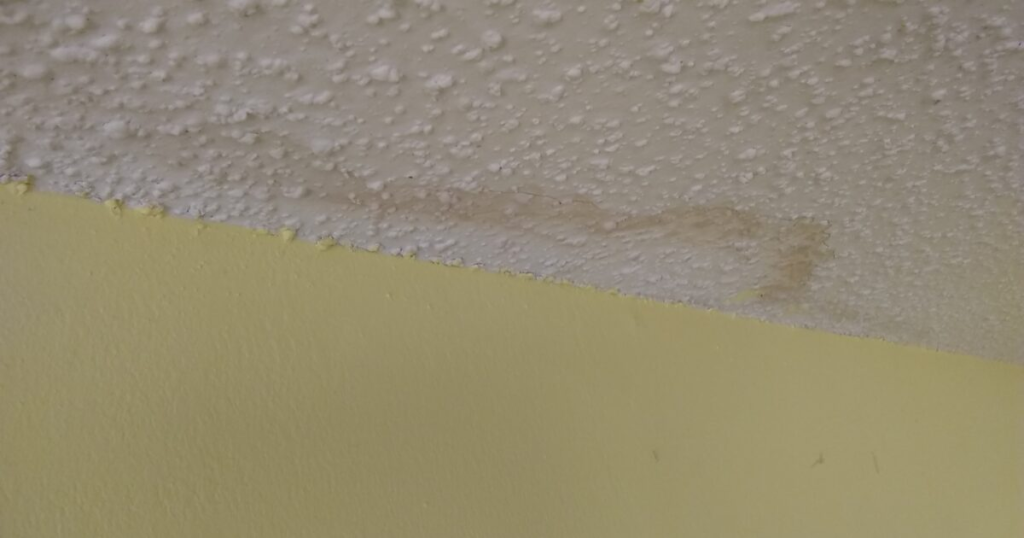
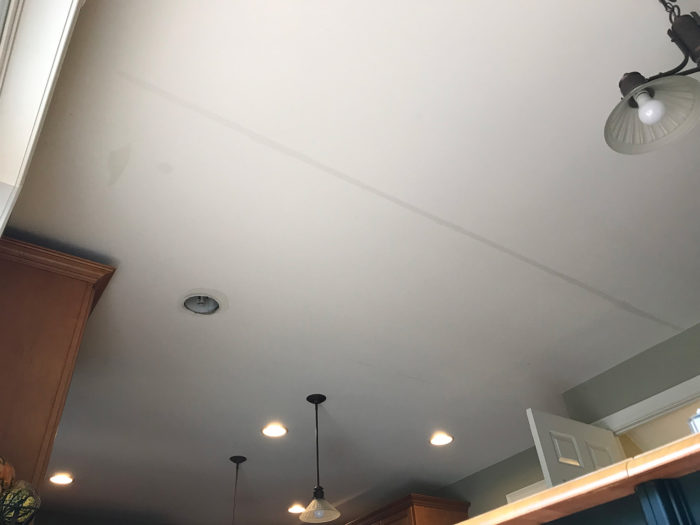
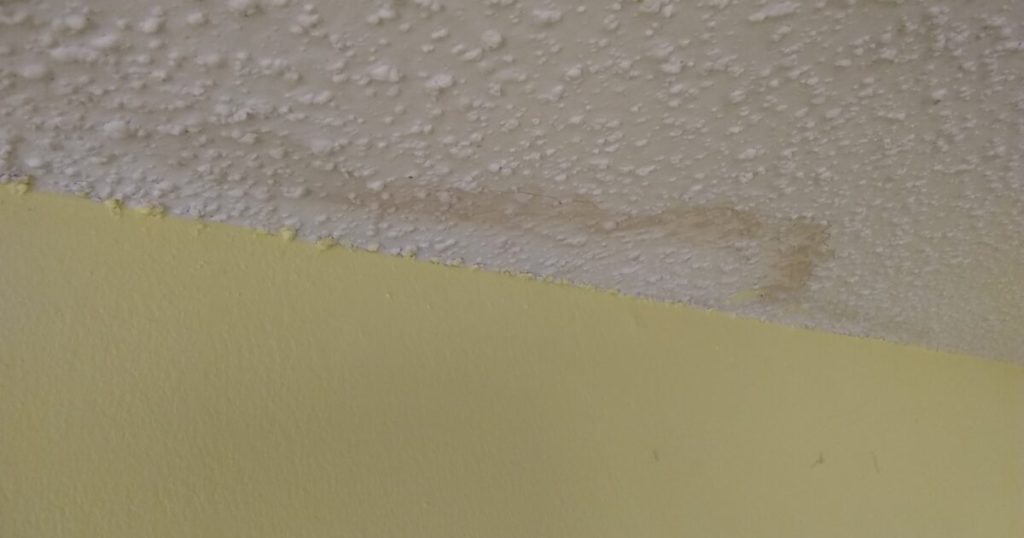
If you notice water dripping or pooling around a ceiling light fixture, it usually indicates a water leak in the plumbing or roof above the ceiling. Here are some common reasons for this issue:
1. Roof Leaks
A damaged or deteriorated roof can allow rainwater to seep into the attic and eventually into your ceiling, reaching the light fixture. This problem is common in older homes or those that have experienced recent storms or hail damage.
2. Plumbing Issues
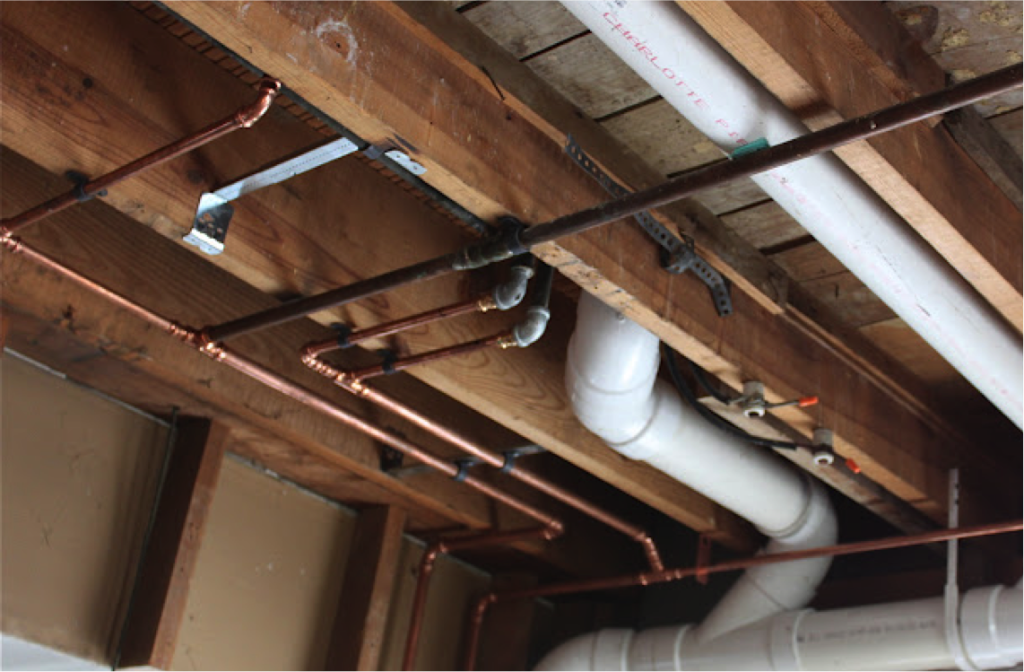
Leaks in plumbing pipes that run above the ceiling, such as water supply or drainage lines, can lead to water accumulation near the light fixture. Burst pipes, loose connections, or worn-out seals are frequent culprits.
3. Clogged Gutters
When gutters are clogged with leaves, debris, or ice, water can overflow and find its way into the attic or walls. This water can pool near the ceiling and make its way to light fixtures.
Read too: Kitchen Lighting For A Vaulted Ceiling: Illuminating Your Space with Style and Functionality
4. Condensation Issues
In humid environments, condensation can build up in poorly insulated ceilings, leading to water drips. Over time, this moisture can accumulate around ceiling fixtures.
5. Faulty Appliances or HVAC Systems
Appliances like washing machines, dishwashers, or air conditioners with water lines running above the ceiling can develop leaks. HVAC systems with damaged condensation lines may also contribute to this problem.
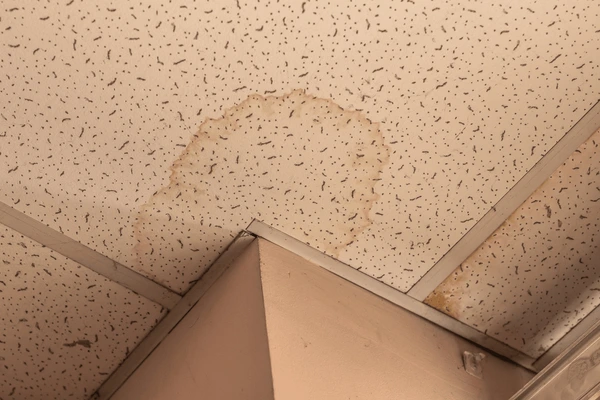
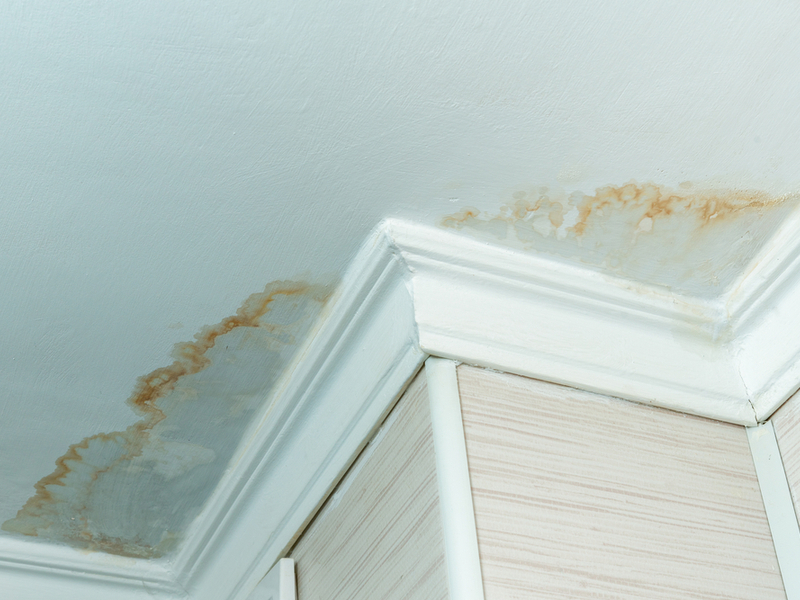
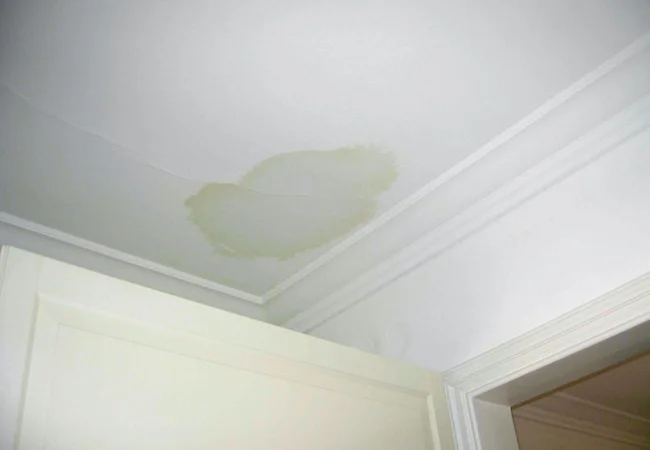
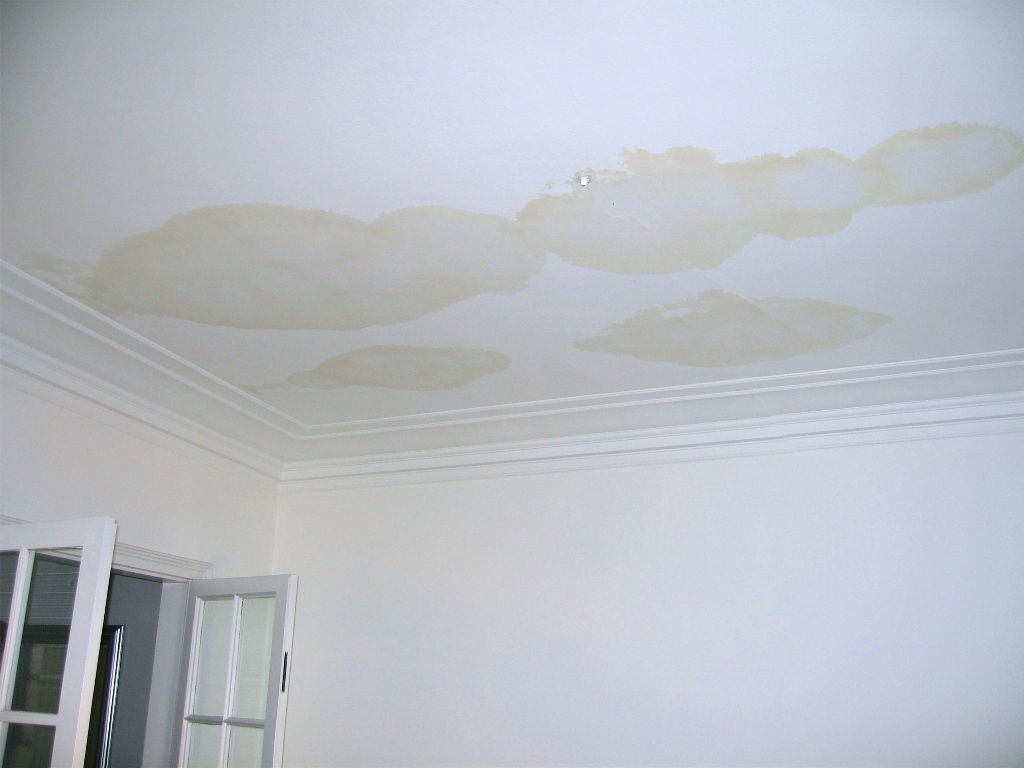
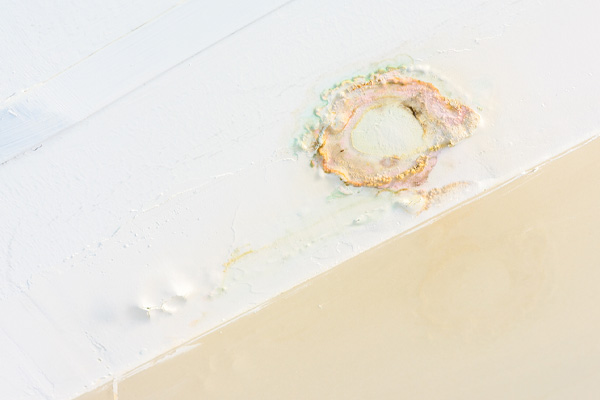
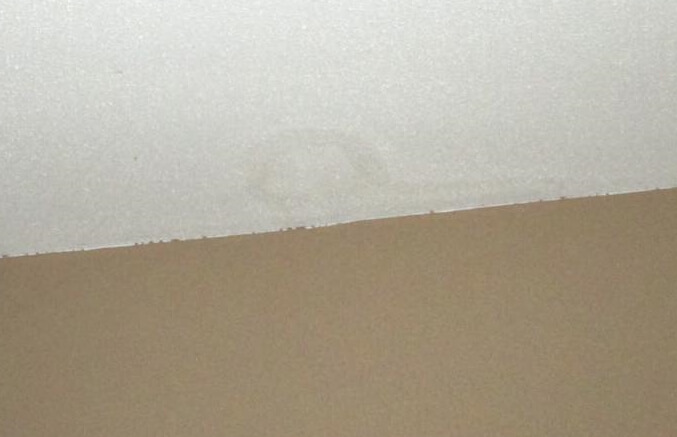
Water Leaking Through Ceiling Light Fixture: The Risks
Water leaking through a ceiling light fixture is not just a cosmetic issue. It poses serious risks, including:
1. Electrical Hazards
Water and electricity are a dangerous combination. Leaks around light fixtures can lead to short circuits, electrical fires, or the risk of electrocution.
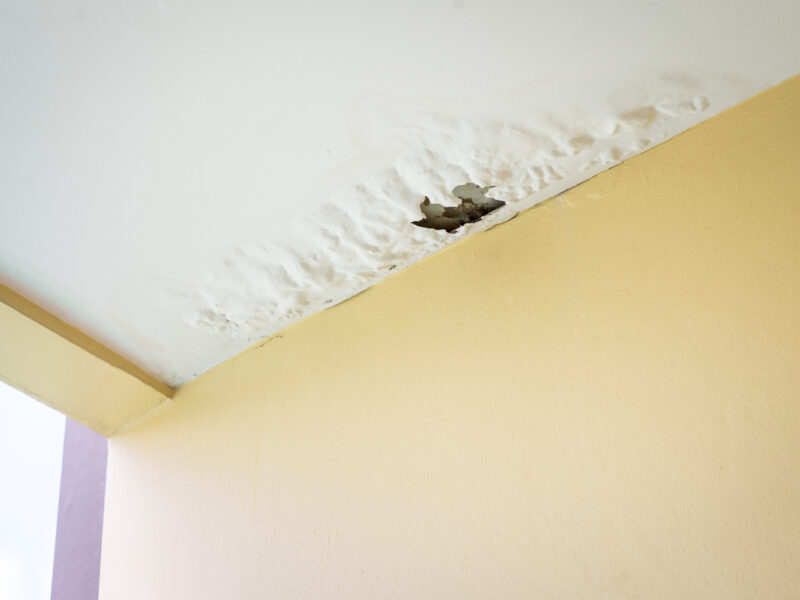
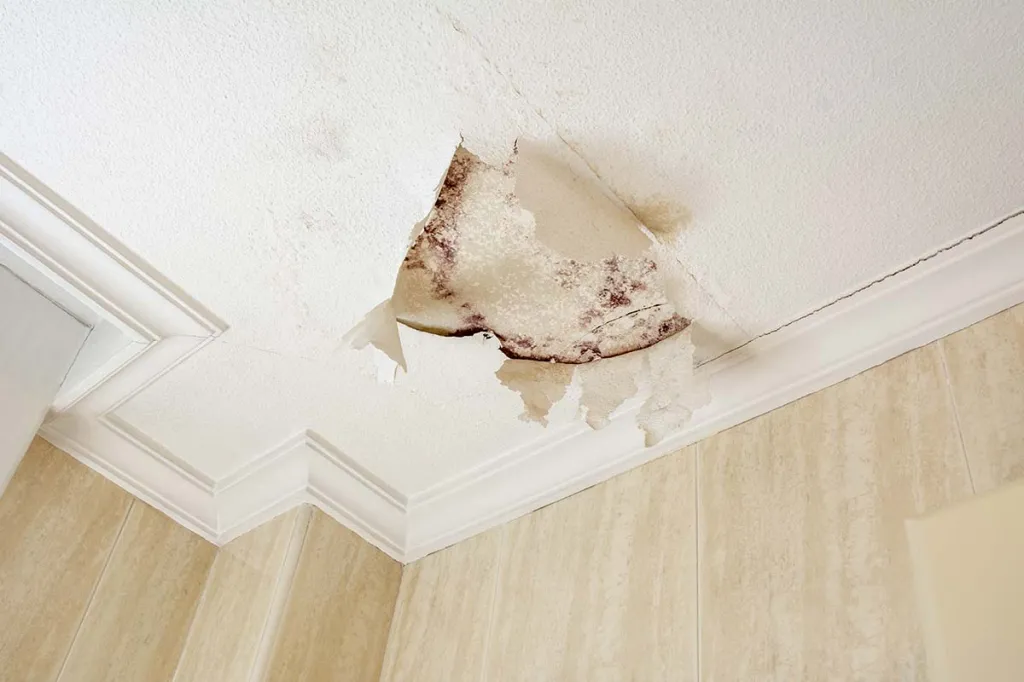
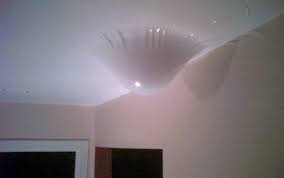
2. Structural Damage
Prolonged exposure to water can weaken ceiling materials, causing sagging, cracks, or even a collapse in severe cases.
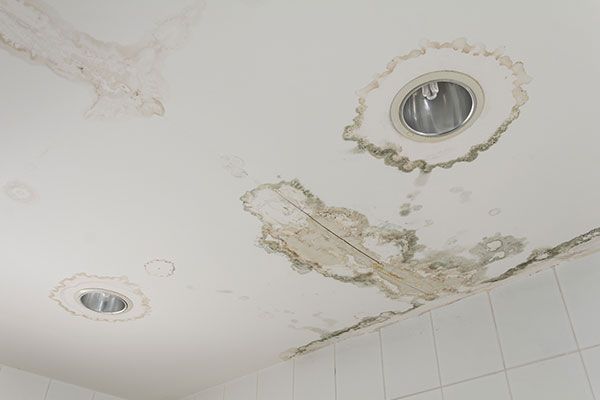
3. Mold and Mildew Growth
Moisture from leaks creates an ideal environment for mold and mildew. These fungi can spread rapidly, affecting air quality and causing health issues like allergies and respiratory problems.
4. Increased Repair Costs
Ignoring the problem can lead to extensive damage, requiring costly repairs to ceilings, electrical systems, and other affected areas.
What to Do When You Notice Water Leaking Through Ceiling Light Fixture
Acting quickly when you see water leaking through a ceiling light fixture can minimize damage and hazards. Follow these steps to address the issue:
1. Turn Off Electricity Immediately
Water coming into contact with electrical fixtures is extremely dangerous. Turn off the power to the affected area at your circuit breaker to avoid electrical hazards. Do not attempt to touch the light fixture or switch until the power is off.
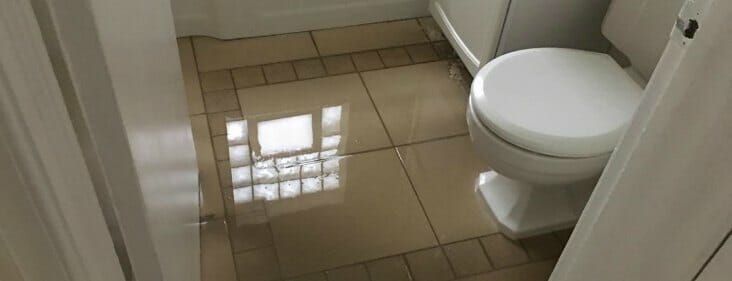
2. Stop the Water Source
If you suspect the water is coming from a plumbing leak, turn off the main water supply to your home. For roof leaks, try to prevent further water entry by covering the damaged area with a tarp or other waterproof material until repairs can be made.
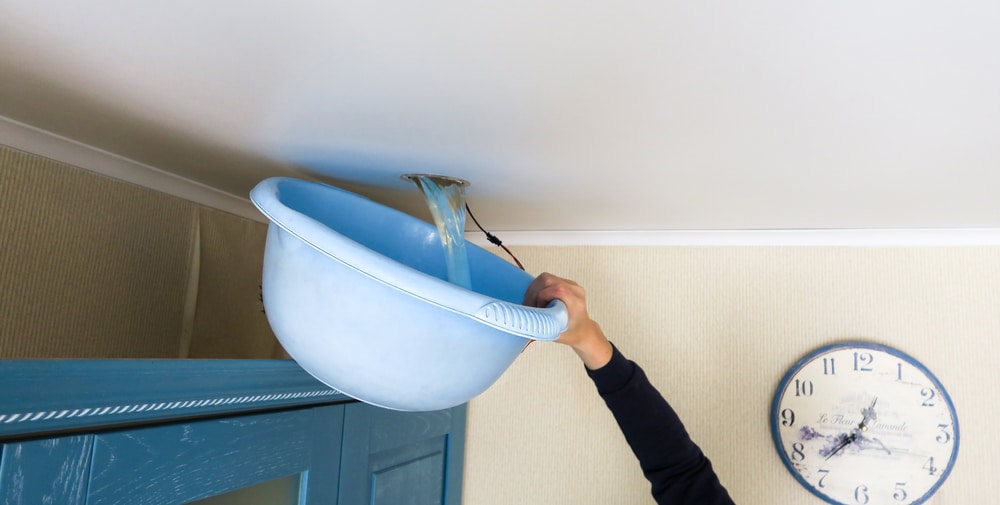
3. Contain the Water
Place buckets, towels, or containers under the leak to catch dripping water and prevent it from spreading further.
4. Inspect for Immediate Damage
Examine the ceiling for signs of sagging or cracks. If the ceiling appears unstable, avoid the area and contact professionals for assistance.
5. Call a Professional
Whether the leak originates from plumbing, the roof, or other sources, it’s important to consult a professional. Licensed plumbers, electricians, or roofers can accurately diagnose and fix the underlying problem.
How to Fix Water Leaking Through Ceiling Light Fixture
Once the immediate risks have been mitigated, it’s time to address the root cause of the leak and repair the damage.
1. Repair Roof Leaks
If the issue is due to a damaged roof:
- Inspect the roof for damage: Look for missing shingles, cracks, or holes.
- Seal minor leaks: Use roofing cement or sealant to patch small holes.
- Hire a roofer for major repairs: For significant damage, contact a professional roofer to replace sections of the roof or install new materials.
2. Fix Plumbing Issues
For plumbing-related leaks:
- Identify the source: Trace the water flow to find the damaged pipe or connection.
- Repair or replace pipes: Tighten loose fittings, seal leaks with plumber’s tape, or replace broken pipes.
- Call a plumber: For extensive plumbing issues, a licensed plumber can ensure repairs are done correctly.
3. Clean Gutters and Downspouts
If clogged gutters are causing water overflow:
- Clear debris: Remove leaves, dirt, and ice from gutters and downspouts.
- Install gutter guards: These can help prevent future clogs.
4. Improve Insulation
For condensation issues:
- Upgrade insulation: Add insulation to areas prone to moisture buildup.
- Use a dehumidifier: Reduce indoor humidity levels to prevent condensation.
5. Repair the Ceiling and Fixture
Once the leak has been resolved:
- Dry the area: Use fans or dehumidifiers to dry out the ceiling and surrounding areas thoroughly.
- Replace damaged materials: Remove and replace water-damaged drywall, insulation, or ceiling tiles.
- Inspect electrical components: Have an electrician check and repair the light fixture or wiring before restoring power.
Preventing Future Water Leaks
Taking proactive steps can help you avoid future instances of water leaking through a ceiling light fixture:
- Regular Roof Maintenance: Inspect your roof annually for damage and clean gutters regularly to ensure proper drainage.
- Plumbing Inspections: Check for leaks or worn-out pipes and address issues promptly.
- HVAC Maintenance: Service your HVAC system regularly to prevent condensation line problems.
- Proper Insulation: Ensure your attic and ceiling are well-insulated to prevent condensation and water seepage.
Final Thoughts
Water leaking through a ceiling light fixture is a serious issue that should never be ignored. Prompt action can help prevent electrical hazards, structural damage, and costly repairs. By understanding the causes, addressing the problem effectively, and implementing preventive measures, you can protect your home from further damage and ensure safety for you and your family.