Ceiling tiles are an integral part of interior design, enhancing both aesthetics and functionality. Whether you’re renovating your office, home, or commercial space, replacement ceiling tiles 24 X 24 offer an easy, effective solution to give your ceilings a fresh and polished look.
In this comprehensive guide, we’ll explore everything you need to know about replacement ceiling tiles 24 X 24, from their benefits and installation process to tips for selecting the right style and material.
Why Choose Replacement Ceiling Tiles 24 X 24?
1. Versatility
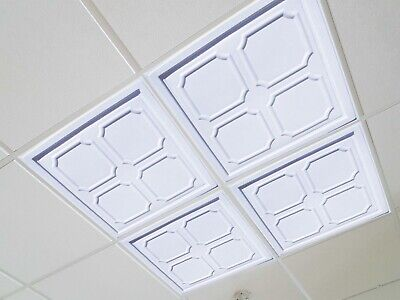
The 24 X 24 tile size is a standard option for drop ceilings, making it compatible with most suspended grid systems. Whether you’re replacing damaged tiles or updating the entire ceiling, these tiles fit seamlessly.
2. Ease of Replacement
Replacing ceiling tiles is a straightforward process that requires minimal tools. The 24 X 24 size allows for quick installation, saving you time and effort compared to custom-sized tiles.
3. Aesthetic Appeal
With various styles, patterns, and finishes available, replacement ceiling tiles 24 X 24 can transform any room. They can add sophistication, modernity, or a cozy vibe depending on your design preferences.
4. Acoustic and Insulation Properties
Many 24 X 24 ceiling tiles are designed to absorb sound and provide thermal insulation, improving the comfort and ambiance of the space.
5. Cost-Effective
Compared to completely revamping a ceiling, replacing damaged or outdated tiles is an affordable way to achieve a refreshed look.
Read too: Kitchen Lighting For A Vaulted Ceiling: Illuminating Your Space with Style and Functionality
Key Benefits of Replacement Ceiling Tiles 24 X 24
Durability
Modern ceiling tiles are crafted from durable materials like PVC, fiberglass, or mineral fiber. These materials resist moisture, warping, and stains, ensuring a long lifespan.
Fire Resistance
Some 24 X 24 ceiling tiles come with fire-rated properties, adding an extra layer of safety for homes and workplaces.
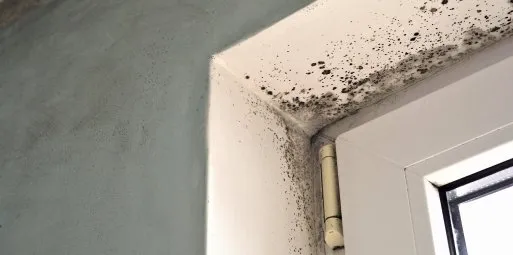
Improved Indoor Air Quality
High-quality ceiling tiles are designed to resist mold and mildew growth, contributing to a healthier indoor environment.
Eco-Friendly Options
Environmentally conscious homeowners can opt for tiles made from recycled materials, reducing their ecological footprint.
Popular Materials for Replacement Ceiling Tiles 24 X 24
1. PVC Ceiling Tiles
- Advantages: Lightweight, water-resistant, and easy to clean.
- Best For: Kitchens, bathrooms, and areas prone to moisture.
2. Mineral Fiber Tiles
- Advantages: Excellent sound absorption and thermal insulation.
- Best For: Offices, libraries, and quiet rooms.
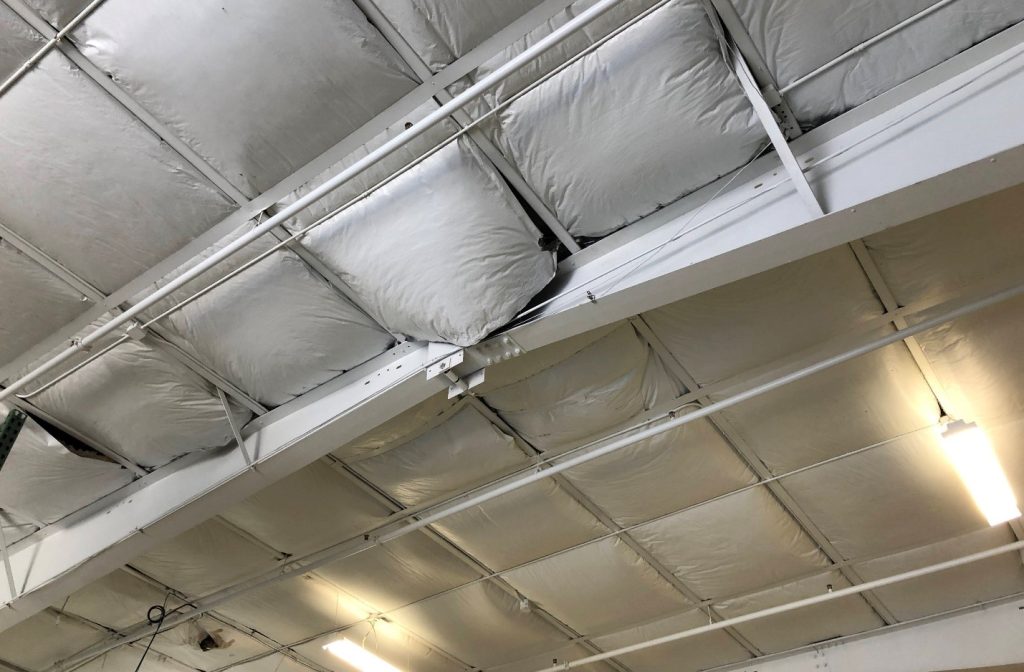
3. Metal Ceiling Tiles
- Advantages: Durable, reflective, and ideal for creating a modern or industrial look.
- Best For: Commercial spaces, bars, and lofts.
4. Fiberglass Ceiling Tiles
- Advantages: Lightweight, soundproof, and fire-resistant.
- Best For: Conference rooms and entertainment spaces.
5. Gypsum Ceiling Tiles
- Advantages: Smooth surface and great for decorative purposes.
- Best For: Living rooms and formal spaces.
Replacement Ceiling Tiles 24 X 24: Installation Guide
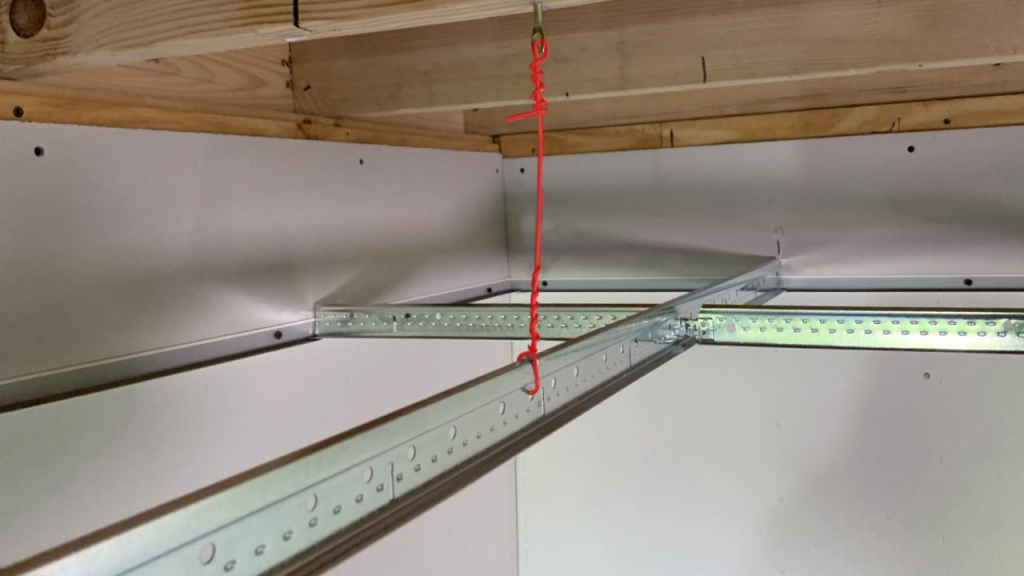
Step 1: Assess the Existing Ceiling
Before purchasing tiles, inspect the current ceiling grid for damage or alignment issues. Repair any problems before proceeding.
Step 2: Measure and Purchase Tiles
Measure your ceiling space to calculate the number of 24 X 24 tiles you’ll need. It’s wise to buy extra tiles to account for mistakes or future replacements.
Step 3: Remove Old Tiles
Carefully lift old tiles out of the grid. Dispose of them responsibly, especially if they contain materials like asbestos.
Step 4: Clean the Grid System
Wipe down the grid system to remove dust and debris. A clean grid ensures proper installation and enhances the appearance of the tiles.
Step 5: Install New Tiles
Place the new tiles into the grid, ensuring they fit snugly. Adjust any tiles that don’t align properly.
Step 6: Inspect the Finished Ceiling
Check for gaps, misaligned tiles, or damage. Make adjustments as necessary.
How to Choose the Best Replacement Ceiling Tiles 24 X 24
1. Purpose of the Space
Consider the room’s purpose when selecting ceiling tiles. For example, acoustical tiles are ideal for offices, while moisture-resistant tiles are better for kitchens and bathrooms.
2. Design and Style
Choose tiles that match your interior design. Modern tiles often feature sleek patterns, while vintage designs may include intricate embossing or metallic finishes.
3. Material Properties
Evaluate the properties of different materials, such as fire resistance, sound absorption, and durability.
4. Budget
Replacement ceiling tiles come in a wide price range. Determine your budget beforehand and look for options that offer the best value for money.
5. Brand and Warranty
Opt for tiles from reputable brands that offer warranties. This ensures product quality and gives you peace of mind.
Maintaining Replacement Ceiling Tiles 24 X 24
Proper maintenance extends the lifespan of your ceiling tiles and keeps them looking fresh.
Cleaning Tips
- Dust the tiles regularly using a microfiber cloth or a vacuum with a soft brush attachment.
- For stubborn stains, use a damp cloth with mild detergent. Avoid abrasive cleaners.
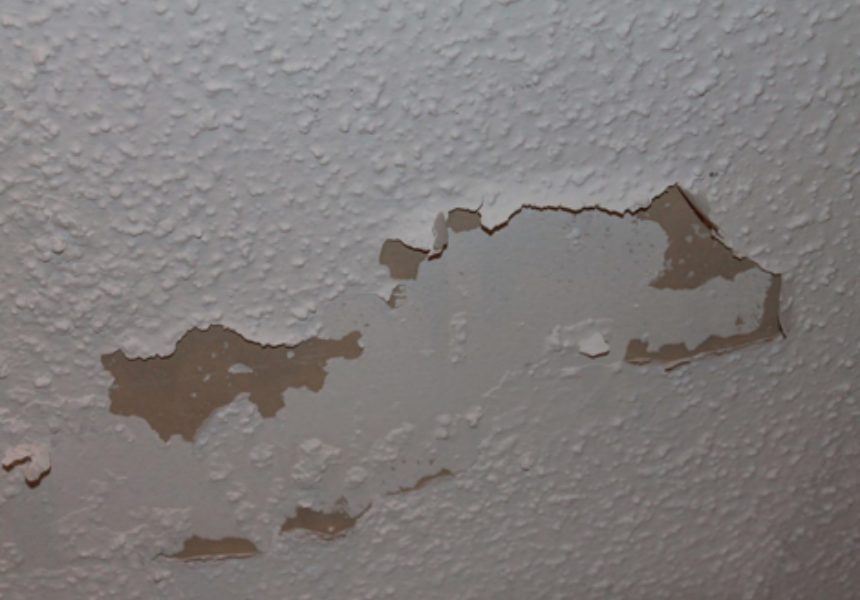
Preventive Care
- Address water leaks promptly to prevent staining and mold growth.
- Install additional insulation if needed to minimize tile warping or sagging.
Repairs
If a tile becomes damaged, replace it immediately to maintain the ceiling’s overall appearance and functionality.
FAQs
1. Can I paint ceiling tiles?
Yes, many ceiling tiles can be painted to match your decor. Use a high-quality, water-based paint for best results.
2. Are replacement ceiling tiles soundproof?
Some tiles, especially those made from mineral fiber or fiberglass, are designed to absorb sound. Check the tile specifications for acoustic ratings.
3. How do I know if my ceiling tiles contain asbestos?
If your building was constructed before the 1980s, have the tiles tested by a professional to check for asbestos before removal.
4. Can replacement ceiling tiles be used in commercial spaces?
Yes, they are widely used in offices, retail stores, and restaurants due to their versatility and professional appearance.
Eco-Friendly Options for Replacement Ceiling Tiles 24 X 24
For those prioritizing sustainability, consider tiles made from recycled or biodegradable materials. Many manufacturers offer eco-friendly options that perform just as well as traditional tiles while reducing environmental impact.
Final Thoughts
Replacement ceiling tiles 24 X 24 are a practical and stylish way to update your space. With their easy installation process, diverse material options, and durability, they cater to a wide range of needs and preferences. Whether you’re upgrading a small room or tackling a large commercial project, these tiles offer both functional and aesthetic benefits.
By choosing the right tiles and following proper installation and maintenance techniques, you can enjoy a beautiful, functional ceiling that enhances your space for years to come.