When designing or renovating a home, ceiling choices are often overlooked. However, a well-crafted ceiling can significantly enhance the aesthetics and functionality of any space. One of the best options available today is the Composite Tongue And Groove Ceiling. This modern ceiling solution offers a combination of beauty, strength, and ease of installation, making it a top choice for homeowners and designers alike.

Whether you’re aiming for a rustic, contemporary, or elegant look, a Composite Tongue And Groove Ceiling can transform your interior and exterior spaces. In this article, we will explore everything you need to know about this ceiling type, including its benefits, installation process, design options, and maintenance tips.
What is a Composite Tongue And Groove Ceiling?
A Composite Tongue And Groove Ceiling is a ceiling system made from composite materials, typically a mix of wood fibers and plastic resins. These materials are engineered to mimic the appearance of natural wood while offering superior durability and resistance to environmental factors.
Read too: Bathroom Flooded Through the Ceiling: A Comprehensive Guide
The “tongue and groove” design refers to the interlocking system used in the panels. Each panel has a “tongue” on one side and a “groove” on the other, allowing them to fit seamlessly together. This creates a smooth, continuous surface with a clean and polished look.
Composite tongue and groove ceilings are used in both interior and exterior applications, making them a versatile choice for homes, commercial spaces, and outdoor areas like patios and porches.
Advantages of a Composite Tongue And Groove Ceiling
1. Durability and Longevity
One of the biggest advantages of composite materials is their ability to withstand wear and tear. Unlike traditional wood ceilings, composite tongue and groove panels do not warp, crack, or rot over time. They are highly resistant to moisture, making them perfect for humid environments such as bathrooms and kitchens.
2. Low Maintenance
Traditional wood ceilings require regular sealing, staining, or painting to maintain their appearance. In contrast, composite tongue and groove ceilings need minimal upkeep. A simple wipe-down with a damp cloth is usually enough to keep them looking new.
3. Aesthetic Appeal
Composite ceilings offer the warmth and charm of wood without the associated drawbacks. Available in a variety of colors and finishes, they can complement any design style, from rustic farmhouse to sleek modern interiors.
4. Easy Installation
The tongue and groove system allows for quick and straightforward installation. The interlocking panels eliminate the need for complex mounting systems, making it an ideal DIY project or a quick job for professionals.
5. Pest and Mold Resistance
Since composite materials do not attract termites or other pests, they are an excellent alternative to wood. Additionally, they are resistant to mold and mildew, making them perfect for outdoor applications and high-humidity areas.
6. Eco-Friendly Option
Many composite ceiling products are made from recycled materials, making them an environmentally friendly choice. By opting for a composite tongue and groove ceiling, you’re contributing to sustainability without sacrificing style or quality.
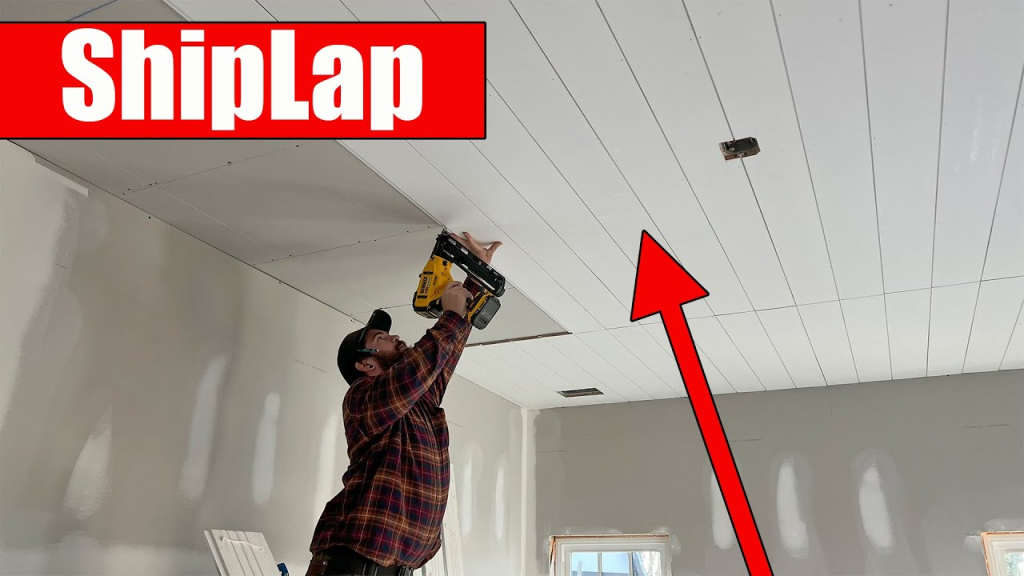
Installation Process of a Composite Tongue And Groove Ceiling
Installing a Composite Tongue And Groove Ceiling is a relatively simple process. Here’s a step-by-step guide:
Step 1: Gather Materials and Tools
Before starting, ensure you have the following:
- Composite tongue and groove panels
- Measuring tape
- Saw (for cutting panels to size)
- Screws or nails
- Drill or nail gun
- Level
- Adhesive (optional for added security)
Step 2: Prepare the Surface
Ensure that the ceiling surface is clean and dry. If installing over an existing ceiling, make sure it is structurally sound.
Step 3: Measure and Cut the Panels
Measure the ceiling area and cut the composite panels accordingly. Leave a small expansion gap along the edges to accommodate temperature changes.
Step 4: Install the First Panel
Start at one end of the ceiling. Attach the first panel securely using screws or nails along the edges. If using adhesive, apply it to the back of the panel before securing it in place.
Step 5: Connect the Panels
Slide the next panel’s tongue into the groove of the installed panel, ensuring a tight fit. Secure it in place and continue the process across the entire ceiling.
Step 6: Finishing Touches
Once all panels are installed, add trim or molding around the edges to create a polished look. Wipe down the ceiling to remove any dust or debris.
Design Ideas for Composite Tongue And Groove Ceilings
A Composite Tongue And Groove Ceiling can be used in a variety of settings. Here are some design ideas to inspire you:
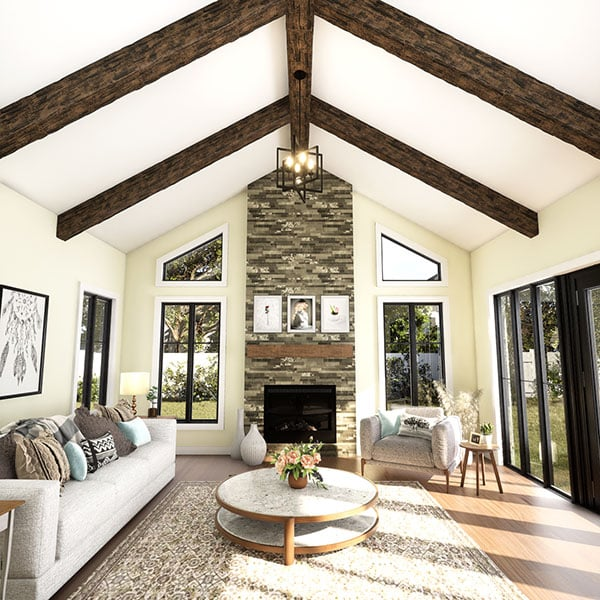
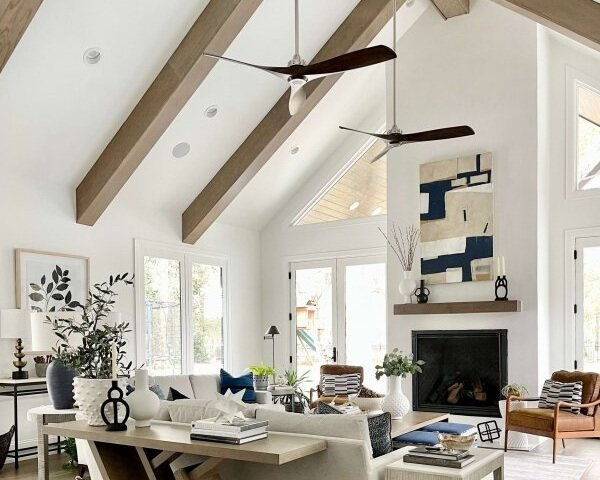
1. Rustic Charm
Opt for wood-grain composite panels in natural tones to create a cozy, cabin-like atmosphere in living rooms or bedrooms. Pair with exposed beams for added character.
2. Modern Minimalism
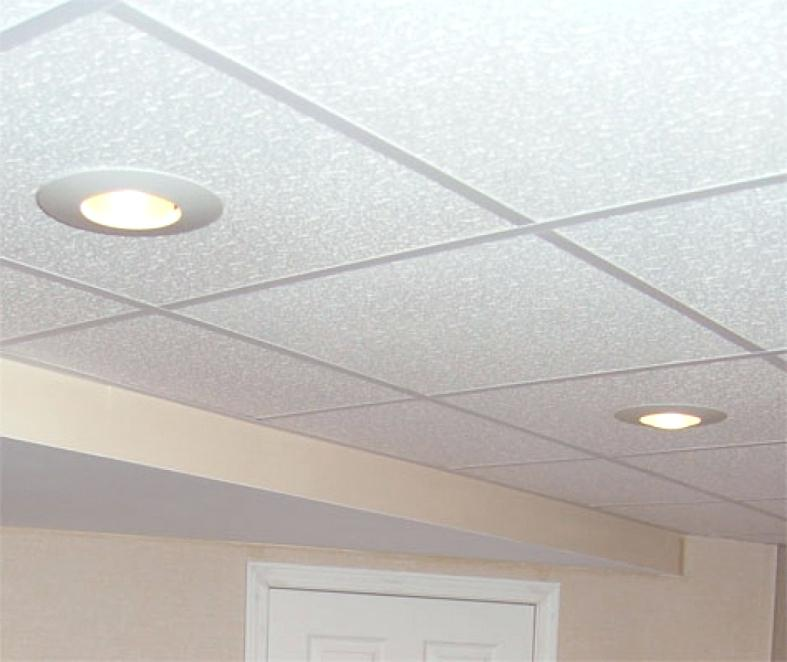
For a sleek and modern look, choose smooth, light-colored composite panels. Pair them with recessed lighting to enhance the contemporary aesthetic.
3. Outdoor Elegance
Use composite panels on a covered porch or patio ceiling to create a stylish outdoor space. Weather-resistant composite materials ensure long-lasting beauty.
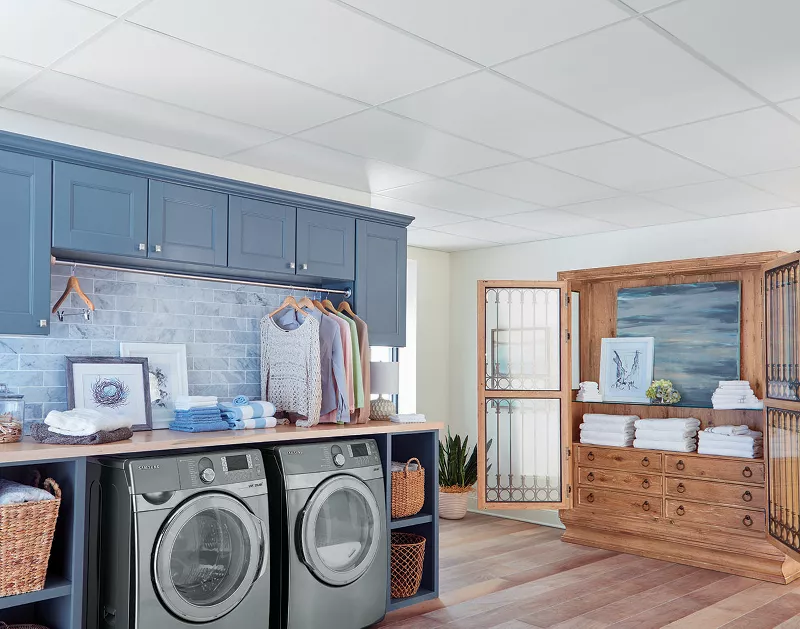
4. Coastal Vibes
Soft white or gray composite panels can create a breezy, beach-inspired look, perfect for vacation homes or sunrooms.
Maintenance Tips for Composite Tongue And Groove Ceilings
To keep your Composite Tongue And Groove Ceiling looking great for years, follow these simple maintenance tips:
- Regular Cleaning: Dust or wipe the panels with a damp cloth to remove dirt and debris.
- Avoid Harsh Chemicals: Use mild soap and water instead of abrasive cleaners to prevent damage.
- Inspect for Damage: Check periodically for any loose panels or screws and secure them if needed.
- Protect from Excess Moisture: While composite ceilings are moisture-resistant, prolonged exposure to water can affect their longevity. Ensure proper ventilation in humid areas.
Conclusion
A Composite Tongue And Groove Ceiling is an excellent choice for homeowners and designers looking for a stylish, durable, and low-maintenance ceiling solution. Whether used indoors or outdoors, its versatility and aesthetic appeal make it a standout feature in any space.
With a range of colors, finishes, and installation ease, this ceiling type provides an elegant yet practical alternative to traditional wood ceilings. If you’re planning to upgrade your home’s ceiling, a Composite Tongue And Groove Ceiling is definitely worth considering.