When it comes to enhancing your home decor while ensuring optimal comfort, Western Ceiling Fans with Lights offer the perfect solution. These ceiling fans are not only functional but also bring an attractive, rustic charm that complements a variety of interior styles. Whether you’re redesigning your living room, bedroom, or outdoor space, Western Ceiling Fans with Lights provide both aesthetic appeal and practical benefits like cooling and lighting.

In this comprehensive guide, we’ll explore everything you need to know about Western Ceiling Fans with Lights: their features, benefits, different styles, and how to choose the right one for your space. By the end of this article, you’ll understand why these fans are becoming an increasingly popular choice for homeowners who desire both functionality and flair.
What Are Western Ceiling Fans With Lights?
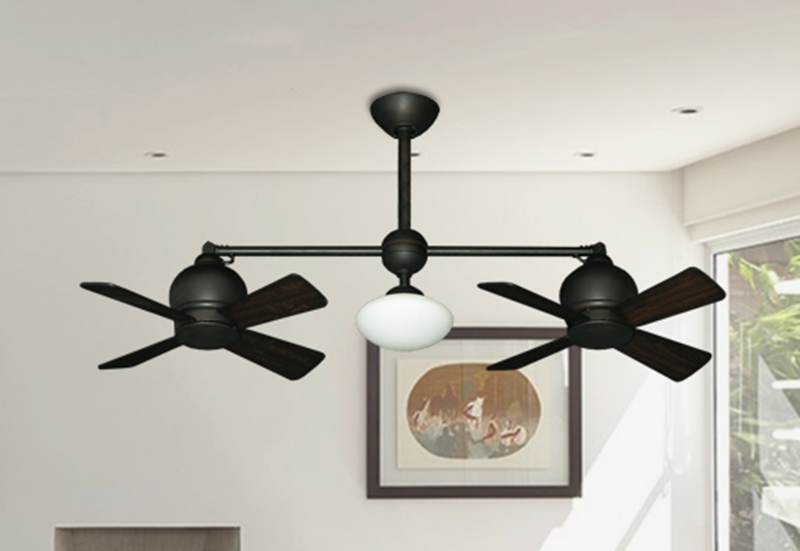
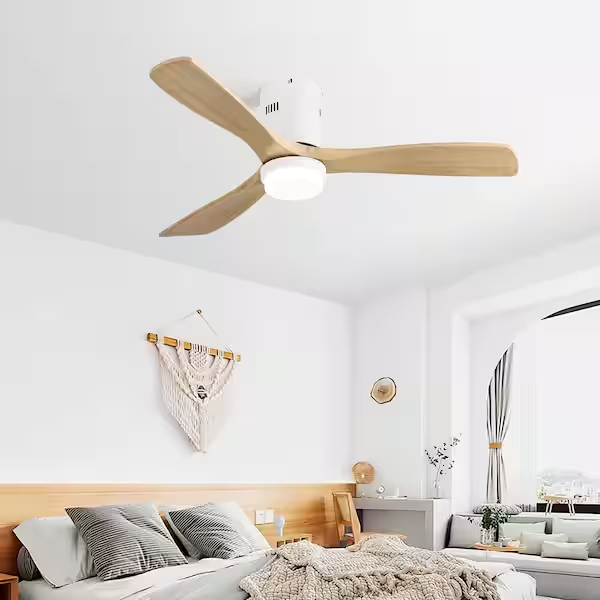
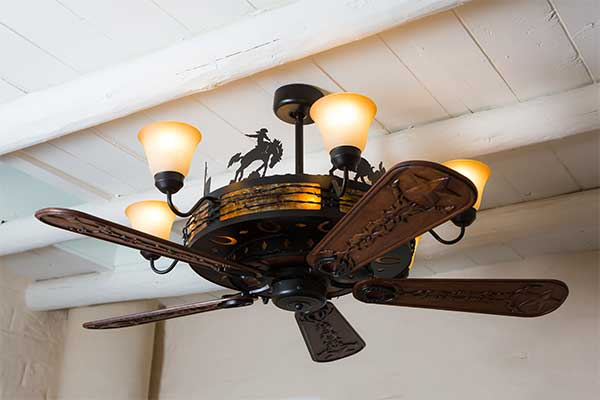
Western Ceiling Fans with Lights are designed with both a ceiling fan and light fixtures incorporated into one unit. These fans are often inspired by the rustic charm and warm aesthetics of the American West, incorporating natural materials like wood, metal, and leather, along with other elements reminiscent of traditional Western decor.
The fan blades are typically crafted from natural wood or other materials with a rustic, weathered finish, while the lighting can range from vintage-style Edison bulbs to more contemporary options like LED lighting. Whether you have a modern farmhouse or a more classic Western-style home, these ceiling fans with lights seamlessly blend functionality with the appeal of rustic charm.
Read too: Discovering the Charm of Nautical Outdoor Ceiling Fans for Your Coastal Retreat: Sail into Style
Benefits of Choosing Western Ceiling Fans With Lights
There are many advantages to installing Western Ceiling Fans with Lights in your home. Below are some of the key benefits:
1. Aesthetic Appeal
One of the most obvious reasons people choose Western Ceiling Fans with Lights is their aesthetic appeal. The rustic, charming design of these fans can instantly add a touch of warmth, sophistication, and elegance to any room. Whether you have a Southwestern, modern farmhouse, or classic Western-themed home, these fans provide the perfect touch to elevate your space.
2. Energy Efficiency
Another major advantage of ceiling fans with lights is their energy efficiency. Ceiling fans help circulate air throughout the room, making it easier to maintain a comfortable temperature. During the summer, they can help reduce the need for air conditioning, and in the winter, they help distribute heat more evenly across the room. The energy-efficient lighting options, such as LED bulbs, further contribute to reducing energy consumption.
3. Multi-Functionality
Western Ceiling Fans with Lights offer the perfect combination of two essential functions in one. Not only do you get the cooling effect of a ceiling fan, but you also gain the ability to illuminate your room, eliminating the need for separate light fixtures. This combination saves space, reduces clutter, and provides a more cohesive look in your room.
4. Versatility in Design
These fans come in a variety of designs, ensuring that they can be integrated into many different styles of decor. Whether you’re decorating a rustic cabin, a modern ranch home, or a traditional living room, you’ll find a Western Ceiling Fan with Lights that fits your space. From more ornate, detailed designs to minimalist looks, there are many options to match your style.
5. Improved Air Circulation and Comfort
In addition to their aesthetic and lighting benefits, Western Ceiling Fans with Lights improve air circulation, making your room more comfortable. They create a constant flow of air, which prevents the air from feeling stagnant. The constant airflow also helps prevent issues like mold and mildew growth, as air circulation is key to maintaining a healthy indoor environment.
Key Features of Western Ceiling Fans With Lights
When shopping for Western Ceiling Fans with Lights, there are several key features to consider. These features will help ensure that you get the right fan for your space and meet your specific needs.
1. Size of the Fan
The size of the ceiling fan you choose will depend on the size of the room where you plan to install it. Larger rooms require larger fans to move air effectively, while smaller rooms can accommodate more compact models. Make sure to measure your room and choose a fan that provides adequate airflow without overwhelming the space.
2. Materials and Finish
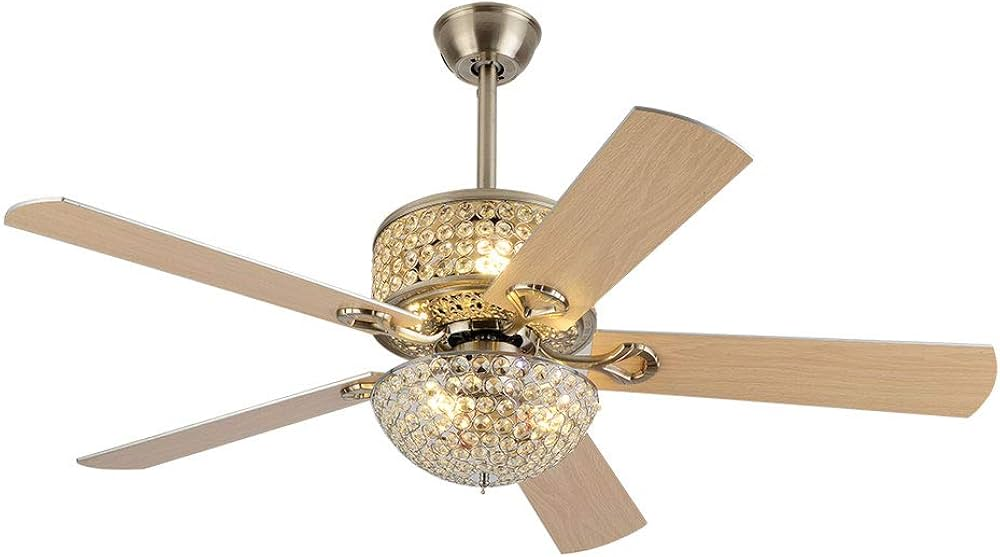
Western Ceiling Fans with Lights often feature materials like wood, wrought iron, and brass, which contribute to the rustic appeal. The finish of the fan blades can range from weathered wood to polished metal or distressed finishes. You can choose a finish that matches your existing furniture and decor for a cohesive look.
3. Lighting Options
The lighting options for Western Ceiling Fans with Lights vary widely. Many fans come with energy-efficient LED bulbs, while others may feature vintage-style Edison bulbs for a more traditional look. Some fans allow you to adjust the lighting intensity with dimmer switches, giving you more control over the ambiance of your room.
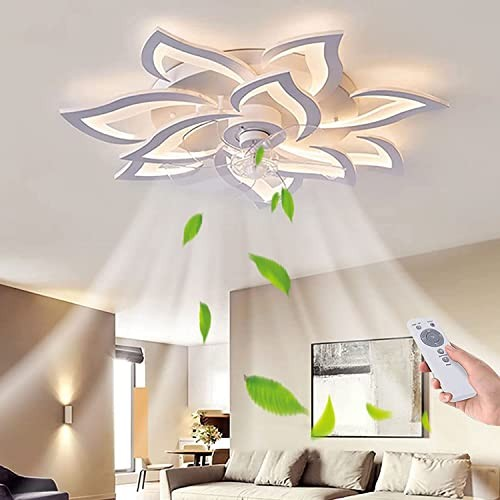
4. Speed Settings and Control Options
Many Western Ceiling Fans with Lights offer multiple speed settings, allowing you to adjust the airflow to your preference. Some models also come with remote controls, wall-mounted switches, or smartphone integration for easy control. These added features make it more convenient to operate your fan and lighting settings.
5. Reversible Motor
A reversible motor is a useful feature in a ceiling fan, allowing the fan blades to rotate in both clockwise and counterclockwise directions. In the summer, the fan should rotate counterclockwise to create a cool breeze, while in the winter, reversing the direction will circulate warm air down from the ceiling.
How to Choose the Right Western Ceiling Fan With Lights for Your Home
Choosing the right Western Ceiling Fan with Lights involves considering a few factors to ensure that it fits your space, design preferences, and functional needs. Here are some important things to keep in mind when making your selection:
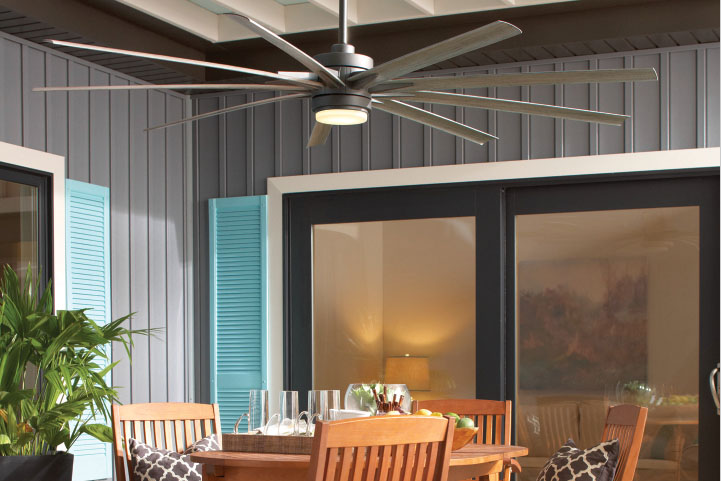
1. Room Size
As mentioned earlier, the size of your room will dictate the size of the fan you need. For large rooms or open spaces, choose a fan with a larger blade span (52 inches or more). Smaller rooms may only need a fan with a smaller blade span (42 inches to 44 inches). For rooms with low ceilings, choose a low-profile fan to prevent the blades from hanging too low.
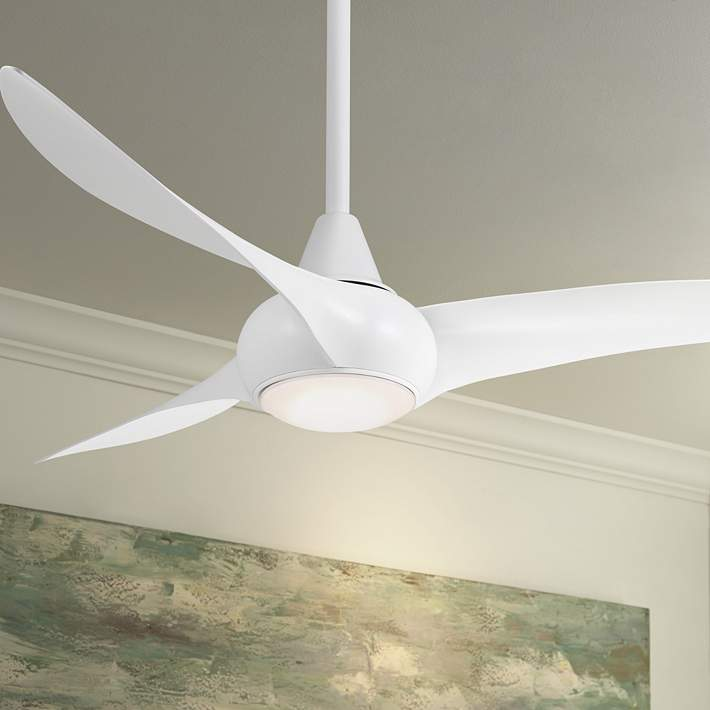
2. Style and Design
Since Western Ceiling Fans with Lights come in a variety of styles, it’s important to select one that complements the existing decor of your room. Whether you prefer a more ornate, vintage-inspired fan with decorative blades and fixtures or a simpler design with clean lines, there’s a fan for every aesthetic.
3. Lighting Requirements
Consider the lighting needs of the room when selecting a fan. If the room already has sufficient lighting, you may want a fan with a lower light output. However, if the fan is your primary source of lighting, make sure it includes bright, energy-efficient bulbs that can adequately light the room.
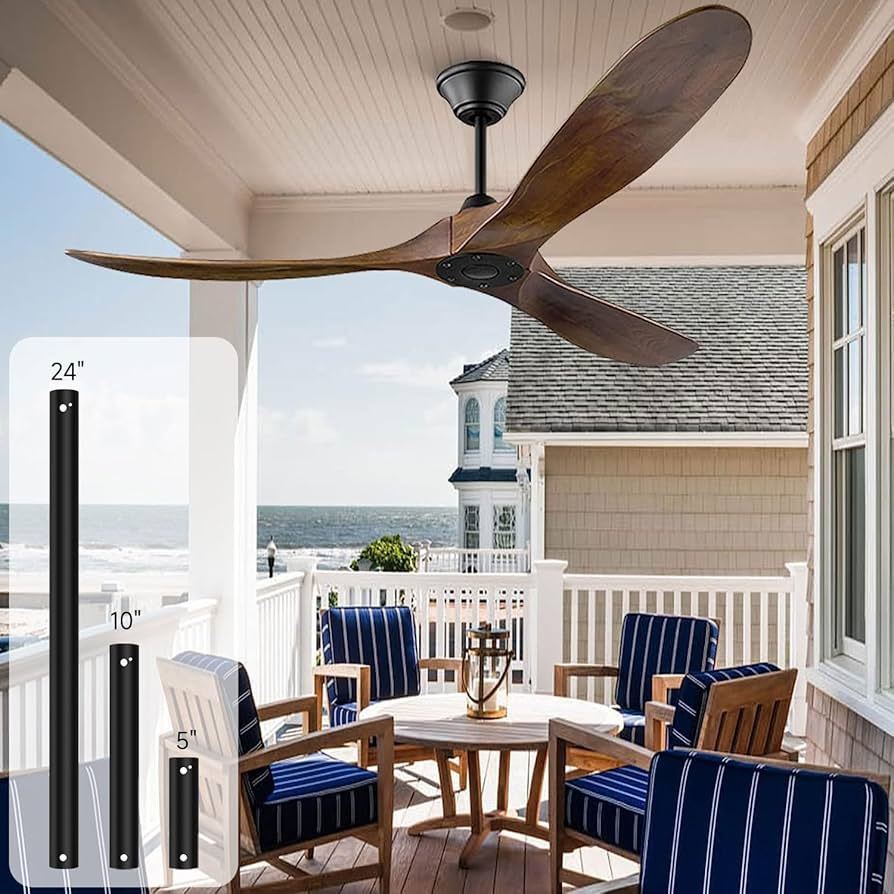
4. Installation Location
Consider where you plan to install the fan. In some rooms, you may need a fan that can be mounted on an angled or vaulted ceiling. Check if the fan is compatible with your ceiling type, and look for models that include extension rods or mounting kits for non-standard installations.
5. Budget
While Western Ceiling Fans with Lights come in a range of prices, it’s important to establish a budget before making a purchase. While high-end models with ornate finishes and high-tech features can be more expensive, there are also affordable options that provide the same functional benefits.
Top Picks for Western Ceiling Fans With Lights
If you’re looking for the perfect Western Ceiling Fan with Lights, here are a few top-rated options to consider:
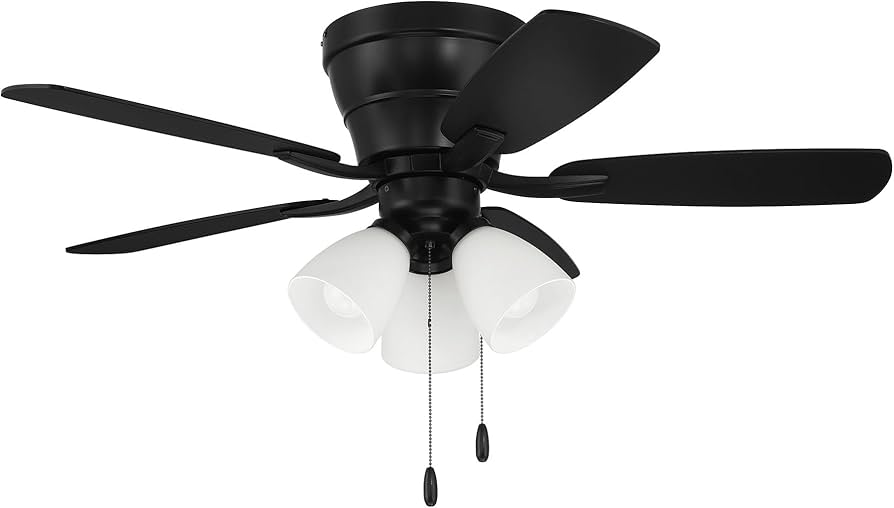
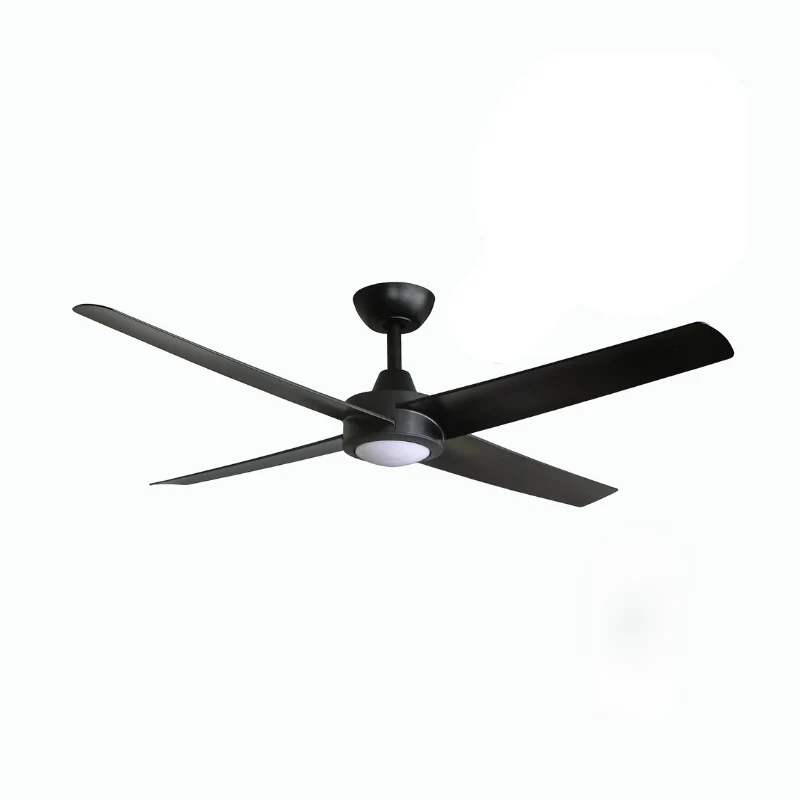
- Hunter Fan Company 52-Inch Rustic Ceiling Fan – A popular choice for rustic homes, this fan features weathered wood blades, a reversible motor, and a dimmable light kit for a customizable atmosphere.
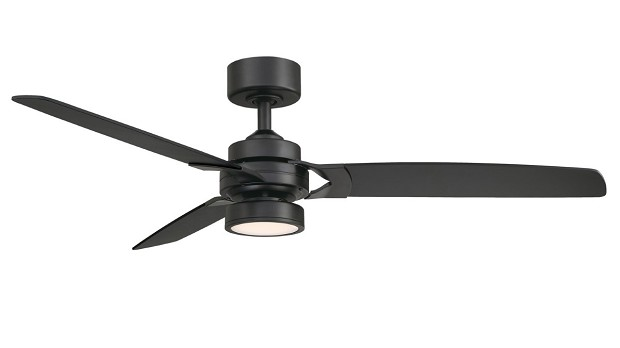
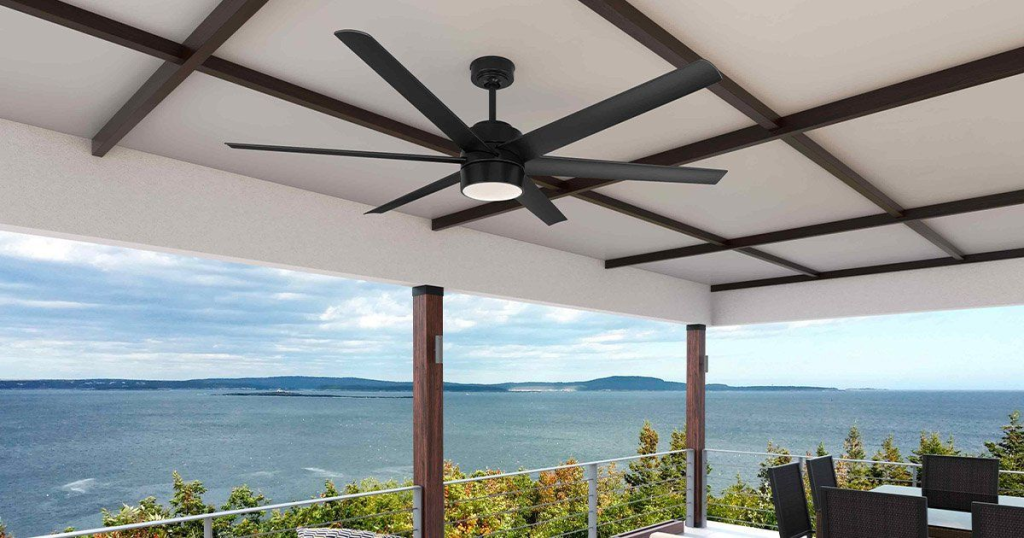
- Fanimation Karmic Ceiling Fan – A contemporary take on Western design, the Fanimation Karmic fan offers sleek metal blades and integrated LED lighting, perfect for modern homes with a Western twist.
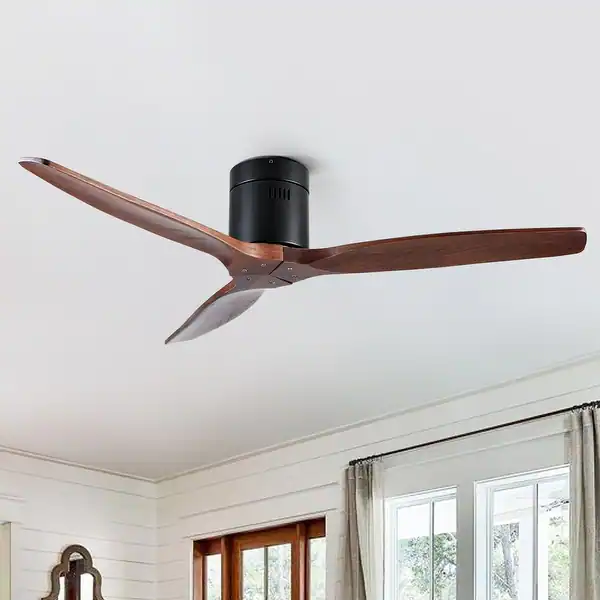
- Westinghouse Lighting 52-Inch Ceiling Fan – This fan features dark walnut blades, a matte black finish, and an energy-efficient LED light kit, combining modern functionality with rustic charm.
Conclusion
Western Ceiling Fans with Lights are the ideal combination of style and practicality. They offer both functional cooling and efficient lighting, while also enhancing the rustic charm of your home. With a wide range of designs, sizes, and features, these fans are a versatile addition to any room. By carefully selecting the right fan for your space, you can enjoy comfort, energy efficiency, and timeless style.