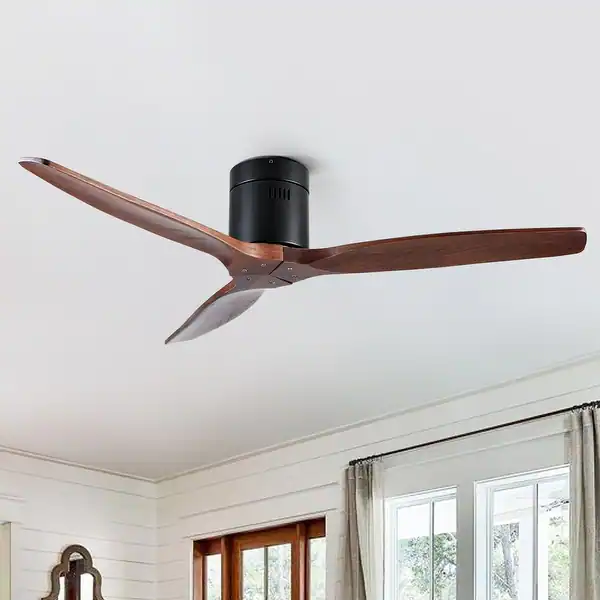
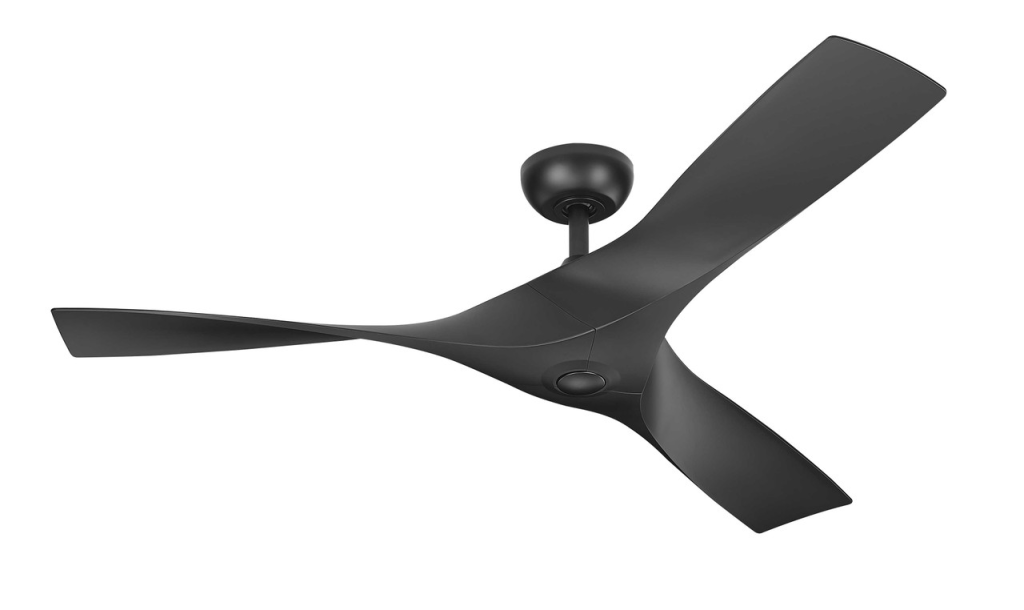
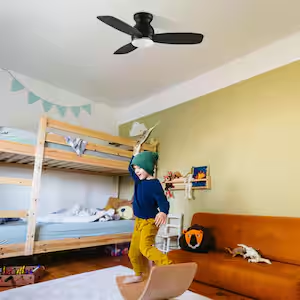
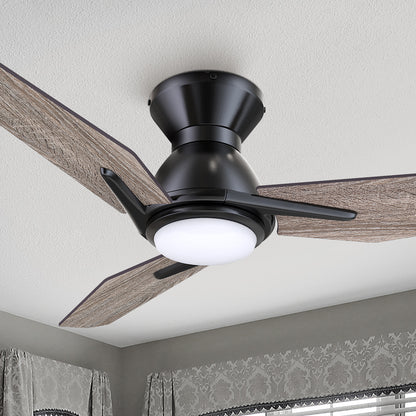
When it comes to mobile homes, space efficiency and functionality are top priorities. Bathrooms in mobile homes, in particular, often require extra attention when selecting fixtures like ceiling fans. A Mobile Home Bathroom Ceiling Fan serves an essential function by improving ventilation, eliminating humidity, and maintaining air quality in your bathroom. Choosing the right model can significantly enhance comfort while saving energy. In this article, we will cover the importance of installing a bathroom ceiling fan in your mobile home, the benefits of doing so, factors to consider when choosing the right one, and how to install and maintain your new fan.
Why is a Mobile Home Bathroom Ceiling Fan Important?
In any bathroom, proper ventilation is crucial for maintaining air quality and preventing moisture buildup. However, mobile homes often have smaller and more compact spaces compared to traditional houses, making efficient ventilation even more critical. A Mobile Home Bathroom Ceiling Fan plays a significant role in preventing humidity-related issues such as mold and mildew growth, as well as eliminating unpleasant odors.
Read too: Bathroom Flooded Through the Ceiling: A Comprehensive Guide
1. Improves Air Circulation
One of the main reasons for installing a Mobile Home Bathroom Ceiling Fan is to improve air circulation. Bathrooms can often become musty and damp due to high humidity levels from showers and baths. A ceiling fan helps to circulate the air, keeping the bathroom dry and reducing the risk of mold and mildew growth.
2. Reduces Humidity and Moisture
Bathrooms are naturally prone to high moisture levels, especially during hot showers. Without proper ventilation, this humidity can seep into walls, ceilings, and floors, leading to water damage and mold formation. A well-functioning Mobile Home Bathroom Ceiling Fan helps to reduce moisture by extracting humid air, allowing the space to stay dry and safe.
3. Prevents Bad Odors
In addition to reducing humidity, a ceiling fan can also help in reducing bathroom odors. Whether it’s after a shower or from other activities in the bathroom, the fan removes unwanted smells, ensuring that the space always feels fresh and clean.
4. Energy Efficiency
A Mobile Home Bathroom Ceiling Fan can be an energy-efficient solution for regulating temperature and humidity. It reduces the need for other energy-consuming systems, like air conditioners or dehumidifiers, by providing proper ventilation without drawing much power.
Key Features of a Mobile Home Bathroom Ceiling Fan
When shopping for a Mobile Home Bathroom Ceiling Fan, there are a few essential features to keep in mind to ensure you get the best product for your needs.
1. Size and Coverage
The size of the fan is one of the most critical factors when selecting a ceiling fan for a mobile home bathroom. The fan should be sized according to the square footage of your bathroom. A fan that is too small will struggle to provide proper ventilation, while a fan that is too large may consume unnecessary energy. The general rule of thumb is to choose a fan that provides about 1 CFM (cubic feet per minute) of airflow for each square foot of your bathroom.
2. Noise Level
You’ll want to consider the noise level of your Mobile Home Bathroom Ceiling Fan as well. Bathroom fans are available in a range of noise levels, from quiet to louder models. Typically, a fan that operates at 0.5 to 1.0 sones is considered to be quiet, while fans rated at higher sones can be louder. If noise is a concern, look for a fan with a low sone rating, ensuring a quieter and more pleasant bathroom experience.
3. Airflow Capacity (CFM)
The airflow capacity, measured in CFM, indicates how much air the fan moves in a given time. A fan with higher CFM will be more effective at ventilating a bathroom. The recommended airflow for a bathroom depends on its size. For instance, a small mobile home bathroom (50-100 square feet) typically requires a fan with at least 50-100 CFM. Be sure to match the fan’s CFM rating with the size of your bathroom for optimal performance.
4. Energy Efficiency
Energy efficiency is essential in any home, but especially in mobile homes where energy conservation is a priority. When looking for a Mobile Home Bathroom Ceiling Fan, consider choosing an ENERGY STAR® rated model. These fans are designed to operate efficiently, using less electricity while still providing powerful performance.
5. Humidity Sensing Features
Some modern Mobile Home Bathroom Ceiling Fans come equipped with built-in humidity sensors. These sensors automatically turn the fan on or off based on the level of moisture in the bathroom. If the humidity rises to a certain level, the fan activates, providing automatic ventilation. This feature is perfect for users who don’t want to worry about turning the fan on and off manually.
How to Choose the Best Mobile Home Bathroom Ceiling Fan
Choosing the right Mobile Home Bathroom Ceiling Fan depends on various factors such as bathroom size, ventilation needs, and personal preferences. Here are some tips to help you make an informed decision:
1. Consider Bathroom Size and Ventilation Needs
As mentioned earlier, one of the key considerations when selecting a Mobile Home Bathroom Ceiling Fan is the size of your bathroom. Make sure to choose a fan with the appropriate CFM rating for your space. A larger bathroom will require a fan with a higher CFM, while a smaller bathroom will require a fan with a lower CFM. If your bathroom is particularly small, a smaller, quieter fan may be more appropriate.
2. Choose a Quiet Model
While the primary function of a bathroom fan is ventilation, noise level is another important factor. A loud fan can be disruptive, especially if it’s used frequently. Therefore, choose a quiet model with a low sone rating for a more comfortable bathroom experience.
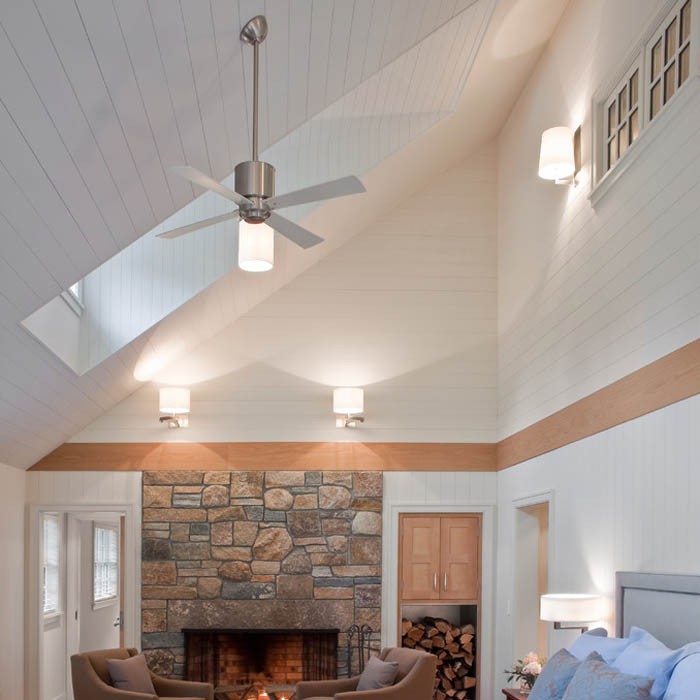
3. Look for a Multi-Function Fan
In some cases, a Mobile Home Bathroom Ceiling Fan may come with additional features, such as an integrated light or a built-in heater. If your bathroom lacks natural light or needs extra warmth during the colder months, consider choosing a fan with these added features.
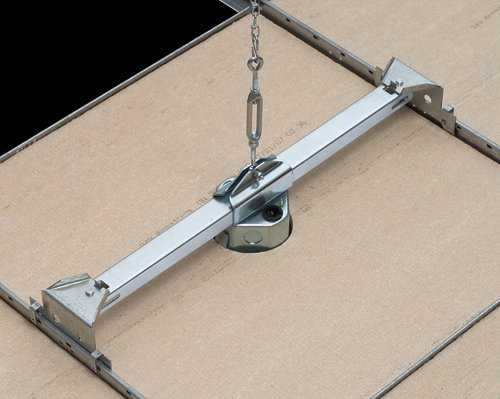
4. Ensure Easy Installation
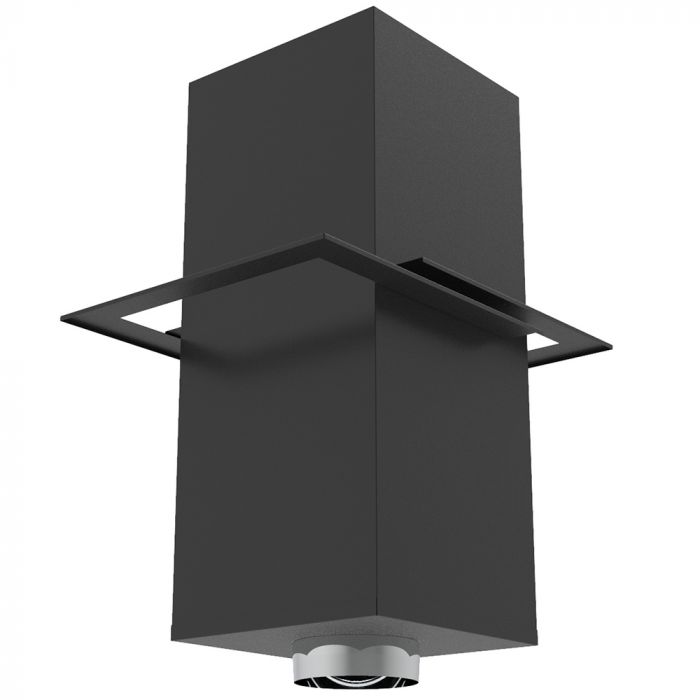
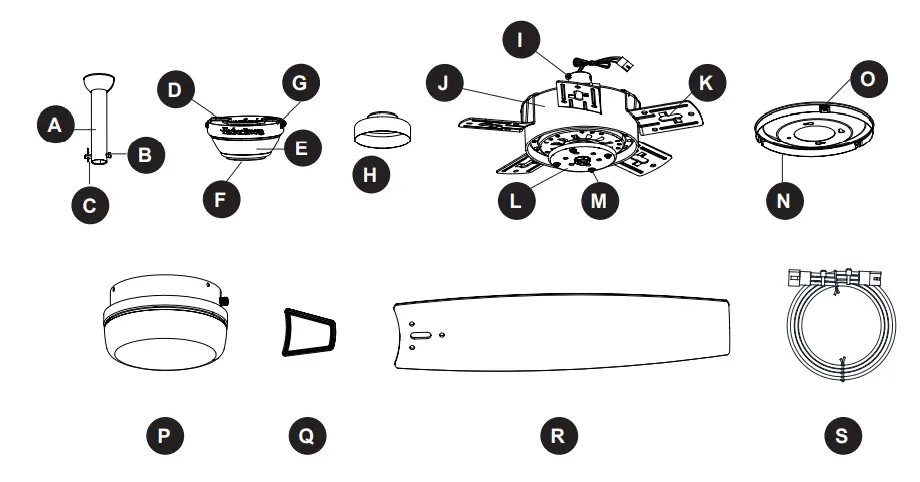
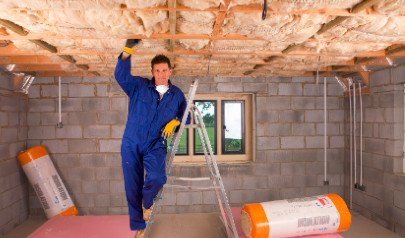
Installing a ceiling fan can be tricky, but choosing one designed for easy installation is important. Some Mobile Home Bathroom Ceiling Fans come with installation kits and instructions that make the process quicker and simpler. If you’re not familiar with electrical work, you may want to hire a professional to install your fan.
Installation Tips
Installing a Mobile Home Bathroom Ceiling Fan is a relatively simple process, but it requires some knowledge of electrical systems. Here are some key steps to follow when installing your fan:
- Turn Off Power: Always ensure that the power is turned off at the breaker before starting the installation to prevent electrical accidents.
- Remove Old Fixture: If you’re replacing an old fan or light fixture, remove it carefully, following all manufacturer instructions.
- Install the Mounting Bracket: Attach the mounting bracket to the ceiling, ensuring it is securely fastened.
- Wiring: Connect the wiring from the fan to the corresponding wires in the ceiling. If you’re not familiar with electrical work, consider hiring a licensed electrician to help with this step.
- Attach the Fan: Once the wiring is complete, attach the fan unit to the mounting bracket, ensuring it is aligned properly.
- Test the Fan: After installation, turn the power back on and test the fan to ensure it works as expected.
Maintenance and Care for Your Mobile Home Bathroom Ceiling Fan
Maintaining your Mobile Home Bathroom Ceiling Fan is essential for ensuring its longevity and performance. Here are some simple maintenance tips:
- Regular Cleaning: Dust and dirt can accumulate on the fan blades, reducing efficiency and causing the fan to make noise. Clean the blades regularly with a soft cloth or vacuum with a brush attachment.
- Check for Blockages: Make sure the fan’s exhaust vent is not obstructed by dust, debris, or cobwebs. Blockages can reduce airflow and decrease the fan’s effectiveness.
- Inspect for Damage: Periodically check the fan for any signs of damage or wear. If you notice anything unusual, it’s best to repair or replace the fan promptly to maintain safety.
Conclusion
A Mobile Home Bathroom Ceiling Fan is a practical, energy-efficient, and cost-effective solution for keeping your bathroom dry, fresh, and comfortable. Whether you need to reduce humidity, eliminate odors, or just improve air circulation, the right fan can make a significant difference. By considering factors such as size, airflow capacity, noise level, and energy efficiency, you can select the ideal fan for your mobile home bathroom.