Elevate the comfort and elegance of your living space with the exceptional Minka Roto Ceiling Fans. In this detailed review, we’ll explore the features, benefits, and installation process of the Minka Roto Ceiling Fan, providing you with all the information you need to enhance your home decor with this stylish and functional fixture.
Introducing
The Minka Roto Ceiling Fan is not just an ordinary cooling solution; it’s a design statement that brings both functionality and style to any room. With its sleek design and powerful performance, this ceiling fan is sure to become the focal point of your living space.
Key Features of the Minka Roto Ceiling Fan
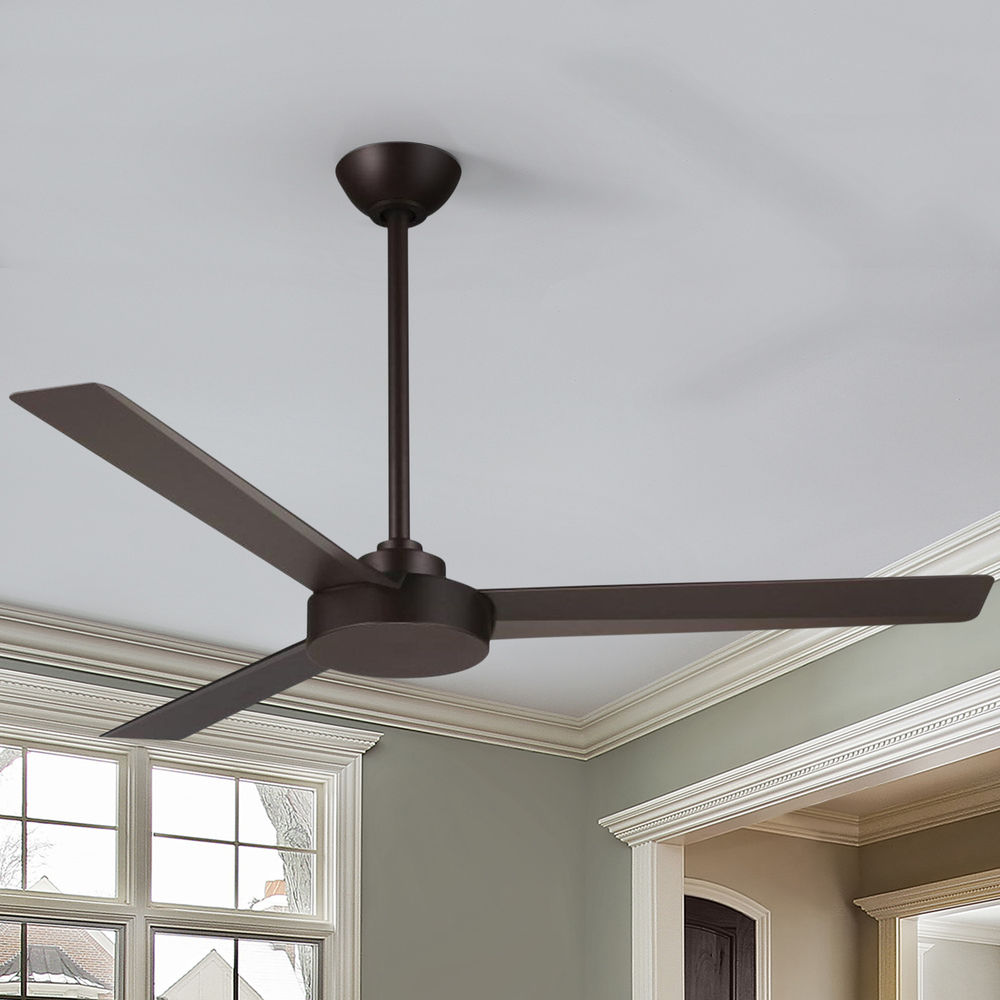
- Minimalist Design: The Minka Roto Ceiling Fan features a minimalist design with clean lines and a sleek profile, making it suitable for a wide range of interior styles, from modern to transitional.
- High-Performance Motor: Equipped with a powerful motor, the Minka Roto Ceiling Fan delivers exceptional airflow, keeping your room cool and comfortable even on the hottest days.
- Versatile Blade Options: Choose from a variety of blade finishes and sizes to customize the look of your Minka Roto Ceiling Fan and complement your existing decor.
- Integrated Light Kit: Many models of the Minka Roto Ceiling Fan come with an integrated light kit, providing both illumination and cooling in one stylish package.
Installing Your Minka Roto Ceiling Fan
Installing the Minka Roto Ceiling Fan is a straightforward process that can be completed in just a few simple steps. Follow these guidelines for a hassle-free installation experience:
- Preparation: Begin by turning off the power to the existing ceiling fan or light fixture at the circuit breaker. Remove the old fixture and prepare the ceiling junction box for installation.
- Mounting: Attach the mounting bracket to the ceiling junction box using the provided hardware. Ensure that the bracket is securely fastened and level.
- Wiring: Connect the wires from the ceiling junction box to the corresponding wires on the ceiling fan motor, following the manufacturer’s instructions carefully. Secure the wire connections with wire nuts and electrical tape.
- Blade Installation: Attach the fan blades to the motor housing using the included screws, making sure to align them properly and tighten the screws securely.
- Light Kit Installation: If your Minka Roto Ceiling Fan includes an integrated light kit, install it according to the provided instructions, ensuring that all connections are secure.
- Testing: Once the installation is complete, turn the power back on at the circuit breaker and test the operation of the ceiling fan and light kit to ensure everything is functioning properly.
Enhancing Your Home Decor with the Minka Roto Ceiling Fan
The Minka Roto Ceiling Fan not only provides superior comfort and functionality but also adds a touch of sophistication to any room. Whether you’re looking to update your living room, bedroom, or office space, this ceiling fan is sure to make a stylish statement.
Read too: Enhance Your Space with Acoustic Ceiling Tiles Paint: A Comprehensive Guide
Conclusion:
In conclusion, the Minka Roto Ceiling Fans offers unmatched performance, style, and versatility, making it the perfect addition to any home decor. With its sleek design, powerful motor, and customizable options, this ceiling fan is sure to enhance the comfort and elegance of your living space for years to come.