When it comes to selecting the right ceiling fan for your home, aesthetics and functionality are often top priorities. One style that combines both is the ceiling fan with cane blades. These fans are not only a beautiful addition to any room, but they also provide excellent airflow, making them a practical choice for many homeowners.

In this article, we will explore everything you need to know about ceiling fans with cane blades, including their history, benefits, design options, and how to incorporate them into your home. Whether you’re redecorating a living room, upgrading your bedroom, or enhancing an outdoor space, a ceiling fan with cane blades can make a stunning and functional statement.
What Is a Ceiling Fan with Cane Blades?
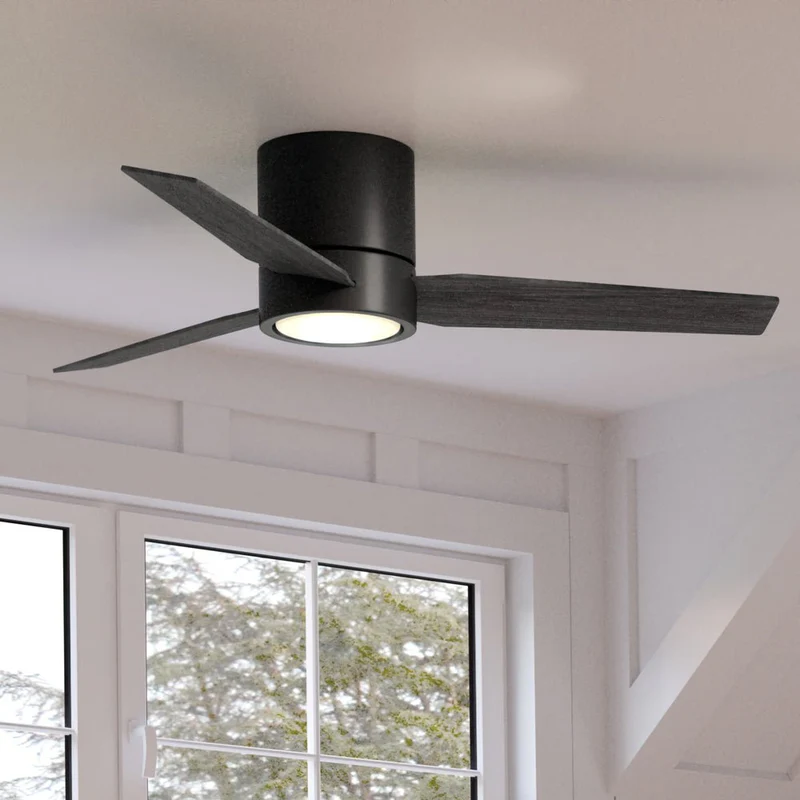
A ceiling fan with cane blades is exactly what it sounds like—a ceiling fan that features blades made from woven cane or wicker. Cane is a type of plant material that has been used for centuries to create lightweight, durable, and aesthetically pleasing items, including furniture and, in this case, ceiling fan blades. The blades are often handwoven, giving them a unique and rustic look that adds warmth and charm to a room.
Cane blades are typically paired with wooden or metal frames, which further enhance the fan’s style. These fans are perfect for creating a tropical, coastal, or bohemian atmosphere, making them an ideal addition to rooms with a relaxed, laid-back vibe. The natural look of the cane blades can complement various interior designs, from traditional to modern.
Read too: Discovering the Charm of Nautical Outdoor Ceiling Fans for Your Coastal Retreat: Sail into Style
The Benefits of a Ceiling Fan with Cane Blades
Ceiling fans with cane blades not only provide beauty but also deliver numerous practical benefits. Here are some of the advantages of choosing a fan with cane blades for your home:
1. Aesthetic Appeal
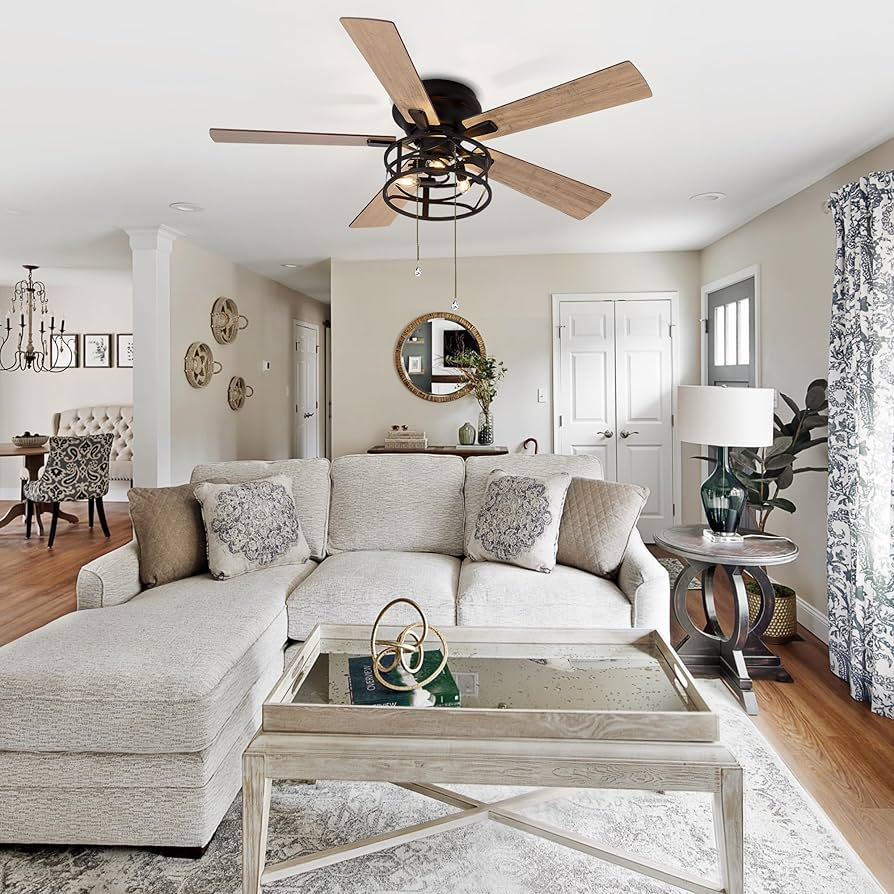
One of the primary reasons homeowners choose ceiling fans with cane blades is for their aesthetic appeal. The woven texture of cane adds a touch of nature and elegance to any room. These fans are often chosen for their ability to complement a variety of decor styles, including tropical, coastal, farmhouse, or even bohemian themes.
Cane blades evoke a relaxed, natural ambiance, making them perfect for rooms that are designed to feel open, airy, and cozy. They add texture and visual interest, making them a great focal point in the room.
2. Durability and Lightweight Design
Cane is a durable yet lightweight material, making it an excellent choice for ceiling fan blades. Despite its delicate appearance, cane is strong enough to withstand wear and tear while being light enough to reduce the load on the motor of the fan. This can help improve the fan’s efficiency, as it won’t have to work as hard to turn the blades.
Moreover, the lightweight nature of cane blades means that the fan’s overall weight is reduced, which can make installation easier and safer.
3. Excellent Air Circulation
Like all ceiling fans, a fan with cane blades serves the primary purpose of improving air circulation in a room. By increasing airflow, ceiling fans help regulate the temperature, making a room feel cooler during the warmer months. They are especially useful in rooms without air conditioning or in areas with mild climates.
Cane blades are great at catching air and helping it circulate throughout the room. This improves comfort and reduces the reliance on other cooling methods, such as air conditioners or box fans.
4. Eco-Friendly Choice
Since cane is a natural material, ceiling fans with cane blades are often considered an eco-friendly choice. Cane is a renewable resource, and many manufacturers use sustainable harvesting methods to ensure that the production of these fans doesn’t harm the environment. Choosing a ceiling fan with cane blades is a small yet impactful way to make an environmentally conscious choice for your home.
Design Options for Ceiling Fans with Cane Blades
One of the greatest things about ceiling fans with cane blades is the variety of design options available. These fans come in various styles, colors, and finishes, allowing you to find one that suits your home’s decor perfectly. Here are some design elements to consider when choosing a ceiling fan with cane blades:
1. Blade Shapes and Sizes
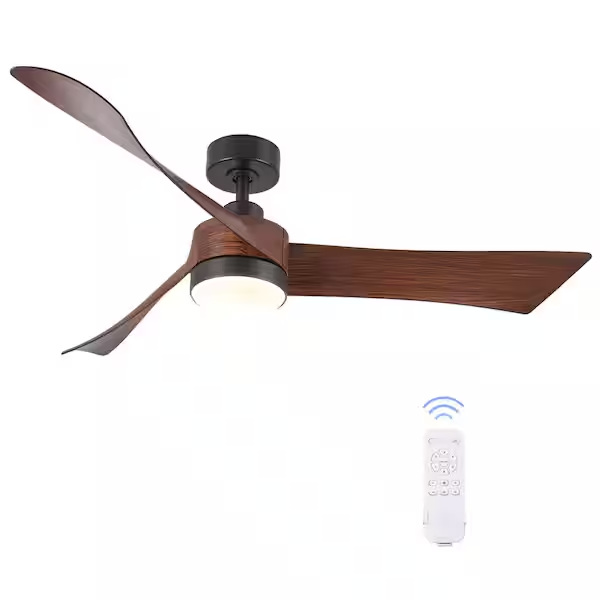
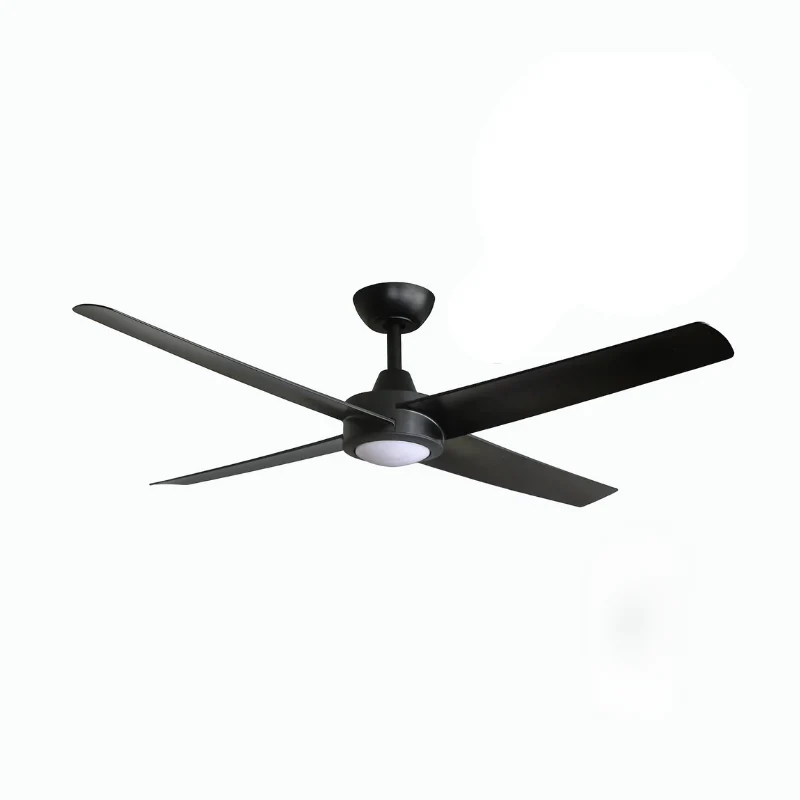
Ceiling fans with cane blades come in different shapes and sizes, depending on the size of the room and the desired airflow. The blades may be long and wide for larger rooms or shorter and more compact for smaller spaces. You can also choose between rounded or angular blade shapes, depending on the overall style you’re going for.
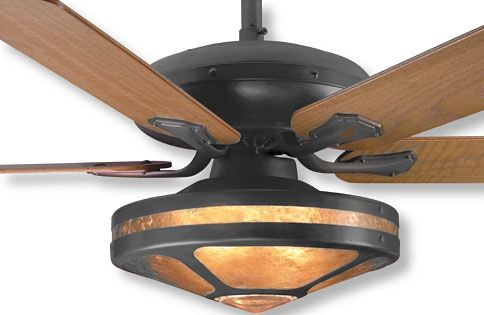
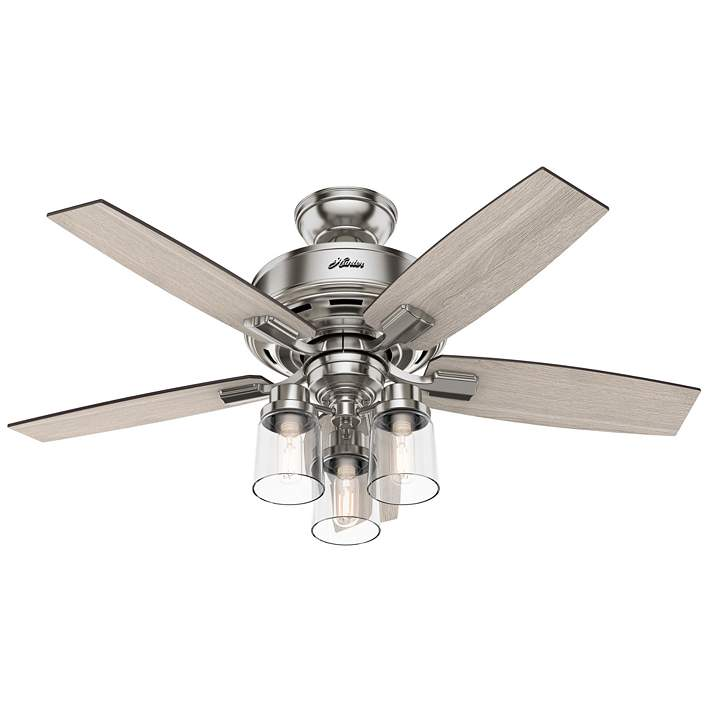
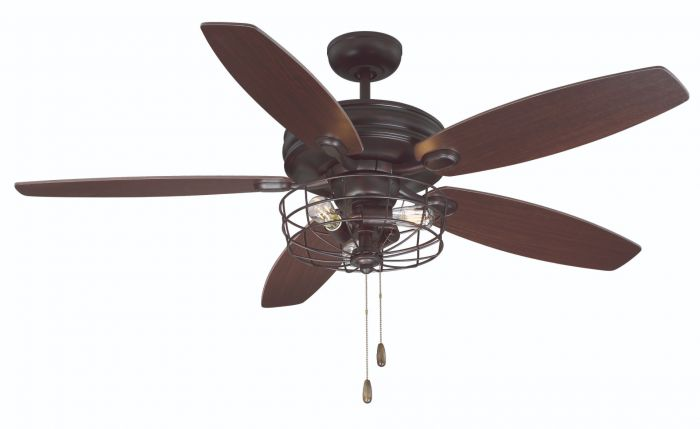
2. Frame Material
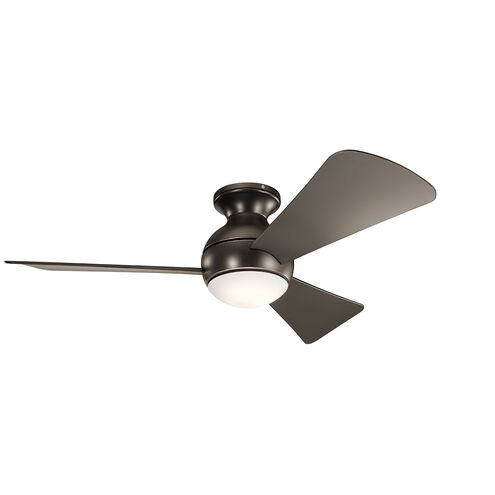
The frame of the fan can be made from various materials, such as wood, metal, or a combination of both. Wood frames are a popular choice as they add warmth and a rustic charm to the fan. Meanwhile, metal frames, often in finishes like brushed nickel or antique bronze, can give the fan a more contemporary or industrial look.
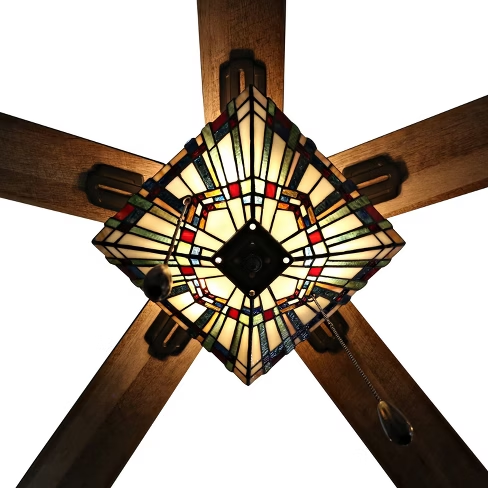
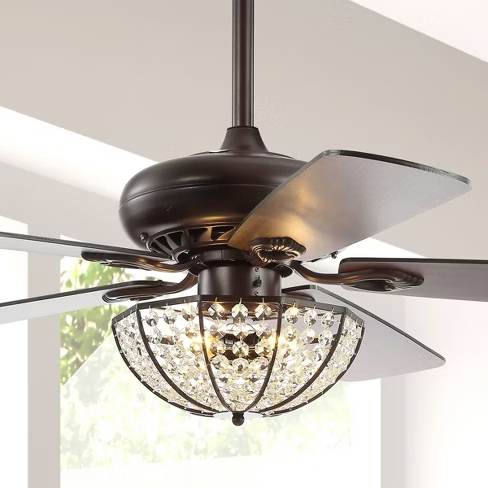
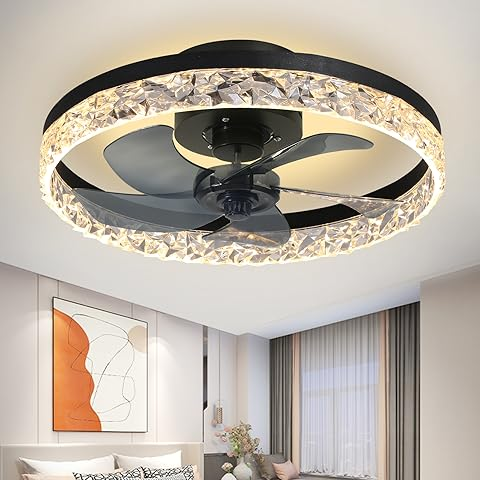
3. Lighting Features
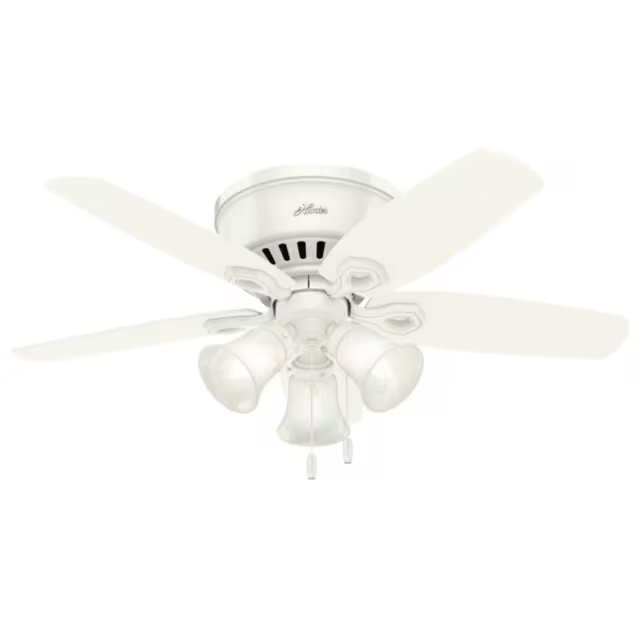
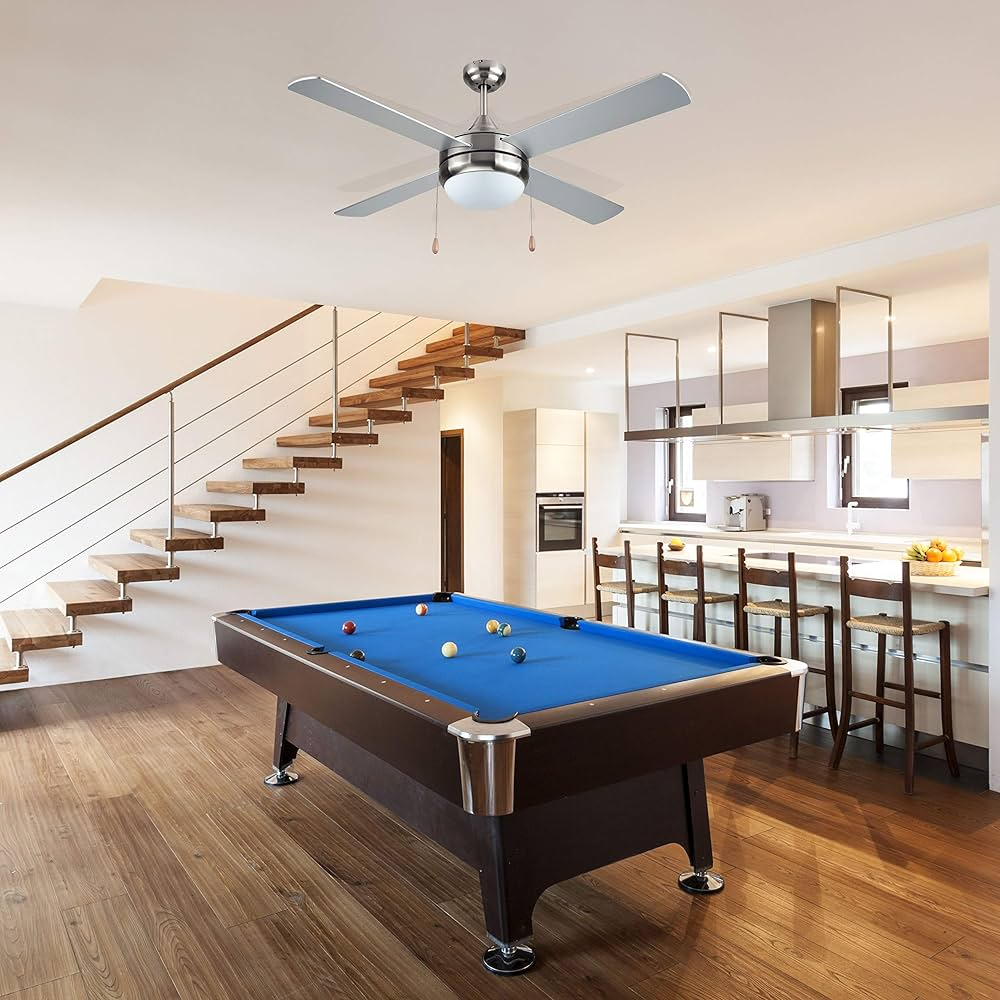
Many ceiling fans with cane blades also include integrated light fixtures. These fans are perfect for spaces where both air circulation and lighting are needed. You can find fans with either pendant-style lights or integrated LED lights, which provide ample illumination for rooms like kitchens, living rooms, or patios.
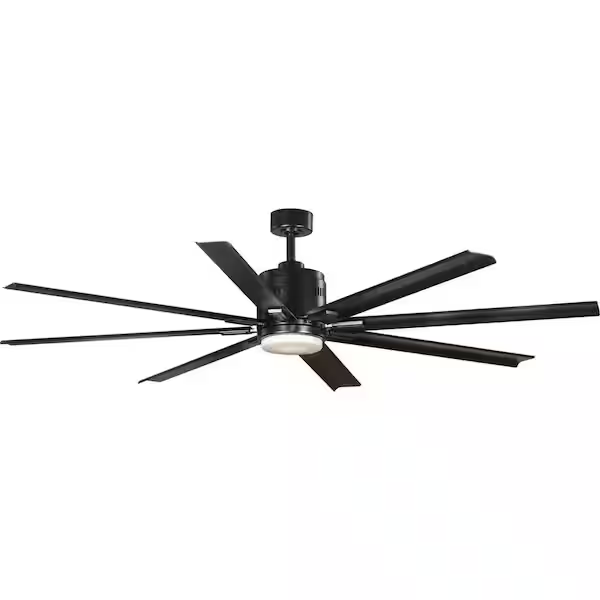
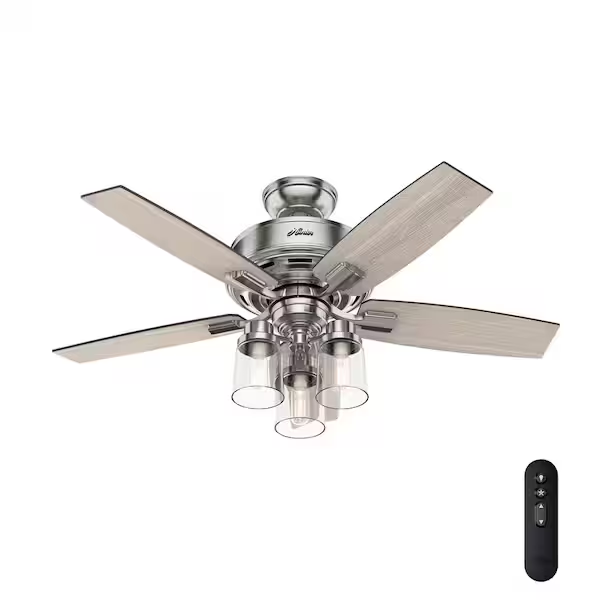
4. Color and Finish Options
When choosing a ceiling fan with cane blades, you’ll find a variety of color and finish options to match your space. Natural wood tones complement a variety of color schemes, while white or black finishes may suit more modern or minimalistic settings. If you’re designing a tropical-themed room, a fan with light-colored cane blades and a driftwood frame would be ideal.
How to Incorporate a Ceiling Fan with Cane Blades Into Your Home
Now that you know the benefits and design options of a ceiling fan with cane blades, let’s discuss how you can incorporate one into your home. Here are some tips on how to use a ceiling fan with cane blades to enhance your space:
1. Tropical or Coastal Rooms
A ceiling fan with cane blades is the perfect choice for creating a tropical or coastal-inspired space. The natural, airy look of the cane blades complements beachy and relaxed decor. Pair the fan with light-colored walls, woven furniture, and natural fiber rugs to complete the tropical look.
2. Bohemian Style Spaces
For a bohemian-inspired room, a ceiling fan with cane blade adds a touch of earthy texture and warmth. Use the fan in spaces with vibrant colors, eclectic furnishings, and plenty of plants. The natural texture of the cane blades will create a balanced, grounded vibe.
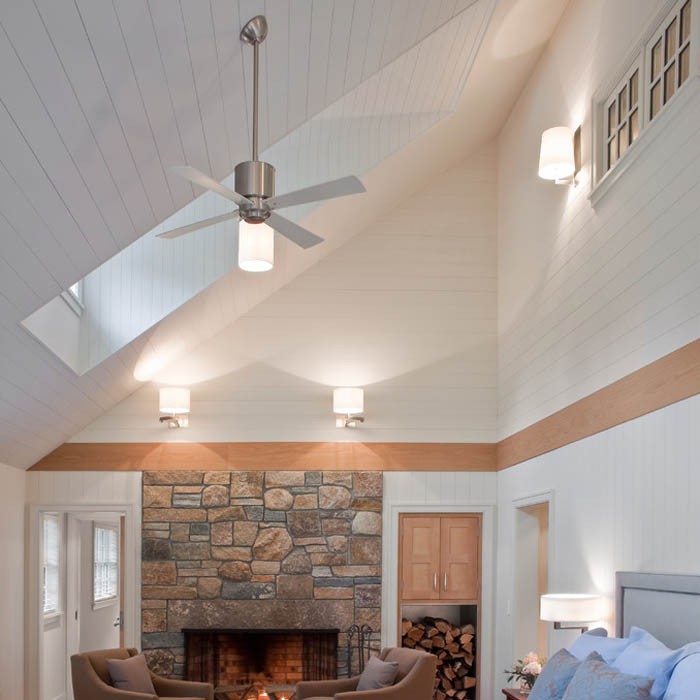
3. Farmhouse and Rustic Interiors
If you’re going for a rustic or farmhouse style, a ceiling fan with cane blades can complement your wooden beams and vintage decor. Opt for a fan with a wood frame to match the natural materials in your space, and pair it with other rustic accents like distressed furniture or antique lighting fixtures.
4. Outdoor Spaces
Ceiling fans with cane blades are also perfect for outdoor spaces like patios, porches, or sunrooms. They help cool down the area and provide a relaxing atmosphere. Choose a fan with weather-resistant features to ensure that it lasts through outdoor elements.
Maintenance Tips
Like any ceiling fan, a ceiling fan with cane blades requires regular maintenance to ensure its longevity and optimal performance. Here are some simple maintenance tips:
- Clean the Blades Regularly
Cane blades can accumulate dust and dirt over time, so it’s important to clean them regularly. Use a soft cloth or feather duster to gently wipe down the blades. Avoid using harsh chemicals or abrasive materials, as these can damage the cane. - Lubricate the Motor
To keep the fan operating smoothly, make sure to lubricate the motor as needed. This will help prevent squeaks and ensure that the fan runs quietly and efficiently. - Check for Loose Parts
Periodically check the fan for loose screws or parts. Tighten them as needed to ensure that the fan operates safely.
Conclusion
A ceiling fan with cane blades is an elegant and functional addition to any home. With its aesthetic appeal, durability, and excellent air circulation capabilities, it is a perfect choice for a variety of rooms, from tropical-inspired spaces to rustic farmhouse interiors. Whether you’re looking for a fan to keep your room cool or a stylish accent piece, a ceiling fan with cane blades offers the perfect combination of form and function.
When shopping for your ceiling fan, consider the size of your space, the materials and colors that complement your decor, and any additional features like lighting. With proper maintenance, a ceiling fan with cane blades will provide years of comfort and style for your home.