Can Raccoons Break Through Ceiling? Raccoons are clever and resourceful animals that can find their way into a variety of places, including your home. If you think you may have a raccoon in your attic, you may be wondering if they can break through your ceiling.
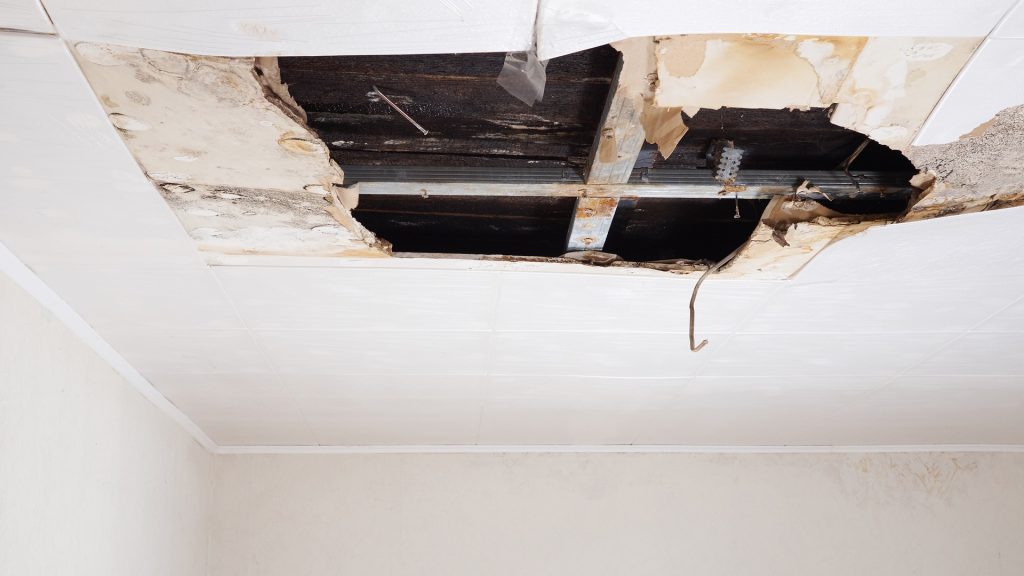
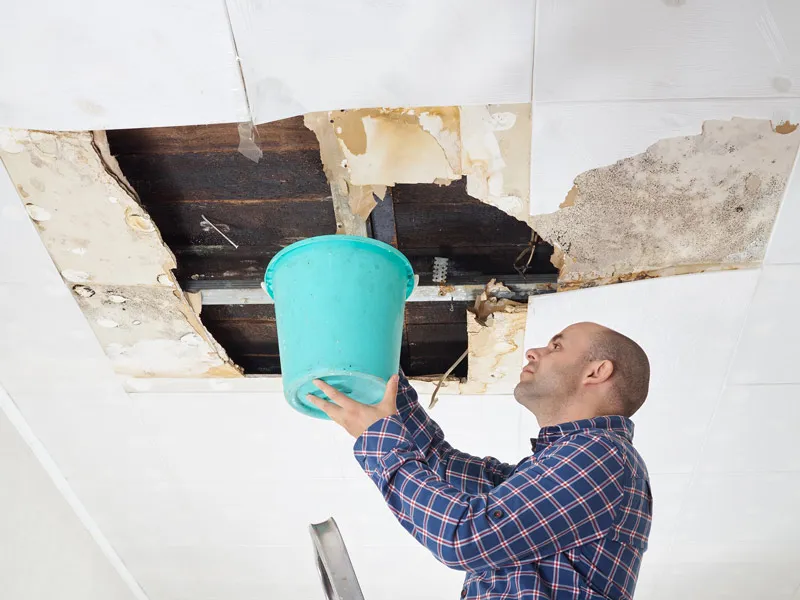
The answer is yes, raccoons can break through ceilings. They are strong and agile animals with sharp claws and teeth. They can use their claws to tear through drywall or plaster, and their teeth to chew through wood.
Can Raccoons Break Through Drywall Ceilings?
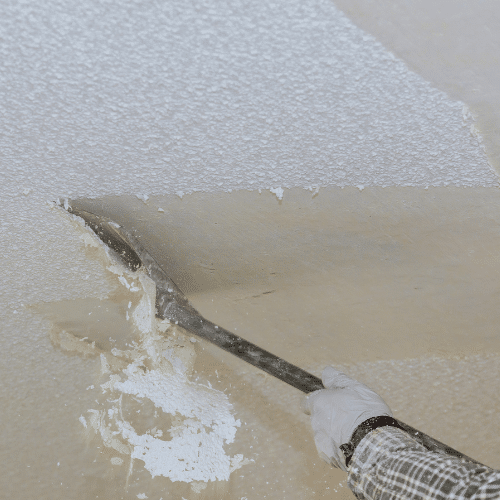
Drywall is a common type of ceiling material. It is made of a layer of gypsum board sandwiched between two layers of paper. Drywall is not very strong, and raccoons can easily tear through it.
Raccoons can also break through plaster ceilings. Plaster is a type of mortar that is applied to a wire mesh. It is stronger than drywall, but it is still possible for raccoons to break through it.
Raccoons can break through drywall or plaster ceilings in a variety of ways. They may use their claws to tear through the material, or they may use their teeth to chew through it. They may also use their hands to pull the material down.
Can Raccoons Break Through Wood Ceilings?
Wood ceilings are less common than drywall or plaster ceilings, but they are still possible. Raccoons can chew through wood, so they can break through a wood ceiling if they are determined.
Raccoons can break through wood ceilings in a variety of ways. They may use their teeth to chew through the material, or they may use their claws to tear through it. They may also use their hands to pry the material up.
Read too: Hunter Douglas Linear Metal Ceiling
What Can You Do to Prevent Raccoons from Breaking Through Your Ceiling?
There are a few things you can do to prevent raccoons from breaking through your ceiling:
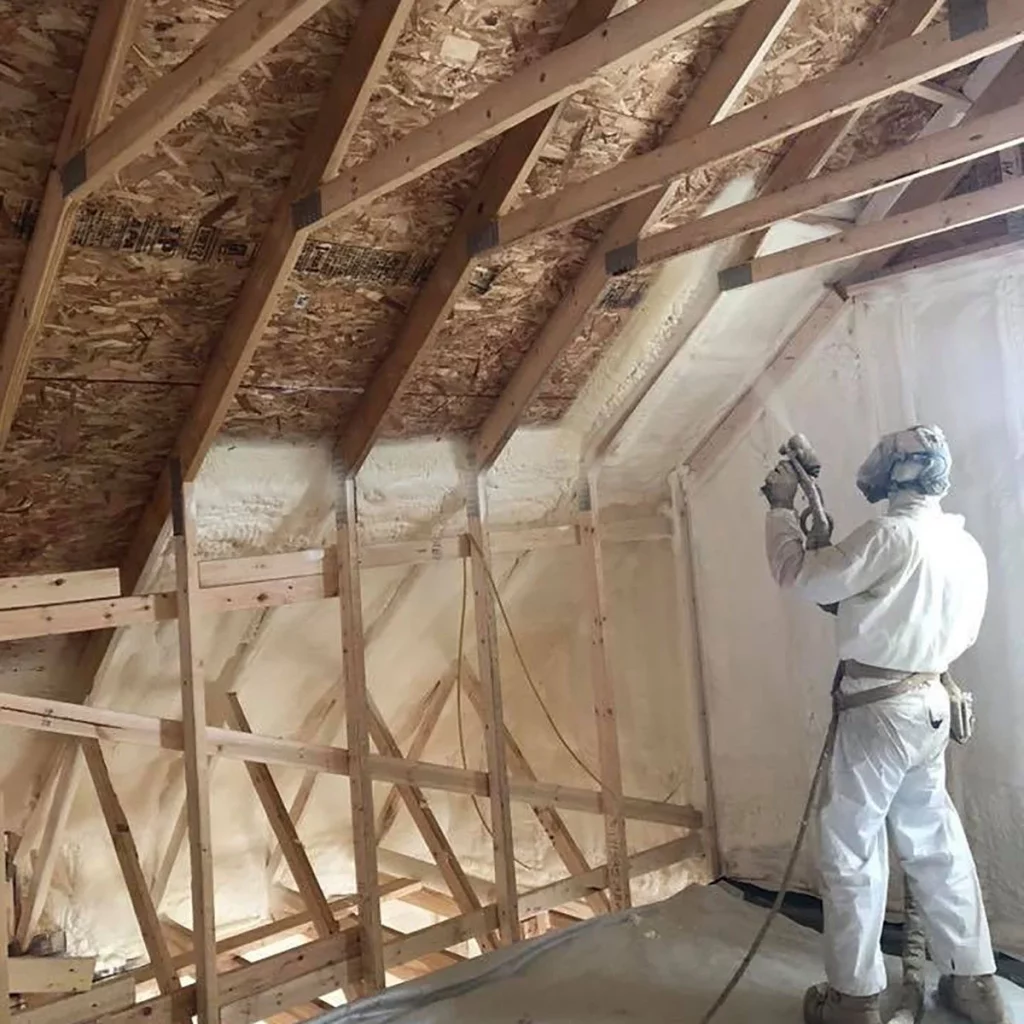
- Seal any openings in your attic. Raccoons can fit through very small openings, so it is important to seal any gaps or cracks in your attic. You can use caulk, weatherstripping, or metal flashing to seal these openings.
Raccoons can enter your attic through a variety of openings, including:
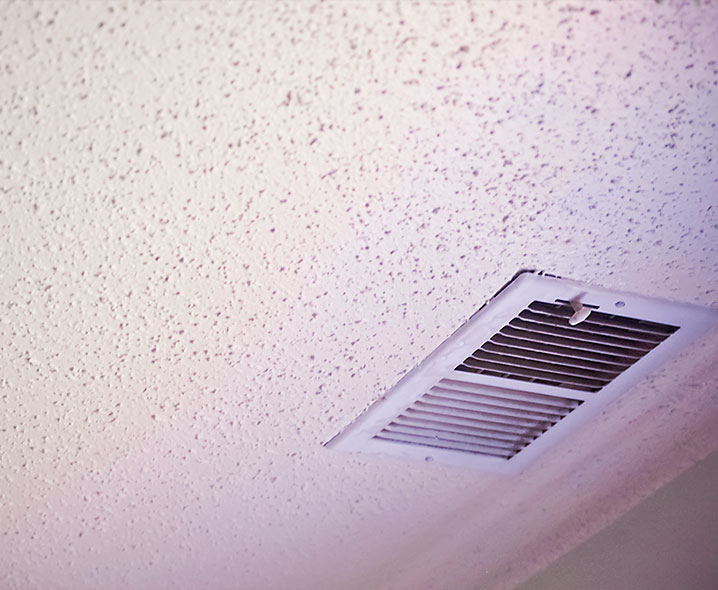
* Vents
* Soffits
* Flashing
* Roofing
* Eaves
* Electrical outlets
* Plumbing pipes
It is important to seal all of these openings to prevent raccoons from entering your attic.
- Install a raccoon guard. A raccoon guard is a metal mesh that is installed over an opening to prevent raccoons from entering. Raccoon guards are available at most hardware stores.
Raccoon guards are a good way to prevent raccoons from entering your attic through a specific opening. They are also a good way to keep raccoons out of your chimney or fireplace.
- Remove any food or water sources from your attic. Raccoons are attracted to food and water, so it is important to remove any sources of food or water from your attic. This will make your attic less attractive to raccoons.
Raccoons will eat a variety of foods, including:
* Fruit
* Nuts
* Seeds
* Garbage
* Pet food
It is important to remove all of these food sources from your attic to prevent raccoons from being attracted to it.
What to Do If You Think You Have a Raccoon in Your Attic
If you think you may have a raccoon in your attic, it is important to take action to remove the raccoon. Raccoons can cause damage to your home, and they can also carry diseases.
There are a few things you can do if you think you have a raccoon in your attic:
- Contact a professional wildlife removal company. A professional wildlife removal company will have the experience and equipment to safely remove the raccoon.
A professional wildlife removal company will use a variety of methods to remove the raccoon, including:
* Trapping
* Shooting
* Relocating
- Try to remove the raccoon yourself. If you are comfortable working with animals, you can try to remove the raccoon yourself. However, it is important to be careful, as raccoons can be aggressive.
If you choose to remove the raccoon yourself, you will need to use a trap or a humane cage. You will also need to be prepared to handle the raccoon once you have captured it.
Conclusion
Raccoons can break through ceilings, so it is important to take steps to prevent them from entering your home. By sealing any openings in your attic, installing a raccoon guard, and removing any food or water sources, you can help to keep raccoons out of your home.tunesharemore_vert