As the sun sets and temperatures begin to drop, there’s no need to retreat indoors and end your outdoor gatherings prematurely. With a ceiling mounted patio heater, you can extend your time spent on the patio, enjoying the fresh air and company of friends and family long into the evening. In this comprehensive guide, we’ll explore everything you need to know about ceiling mounted patio heaters, from their installation process to the benefits they bring to your outdoor space.

Understanding the Convenience of Ceiling Mounted Patio Heaters
Efficient Heating Solution
Ceiling mounted patio heaters offer an efficient and effective way to warm your outdoor space, providing targeted heat distribution and comfortable temperatures even on chilly evenings. By mounting the heater to the ceiling, you can maximize floor space and ensure even coverage across the entire patio area.
Exploring the Features of Ceiling Mounted Patio Heaters
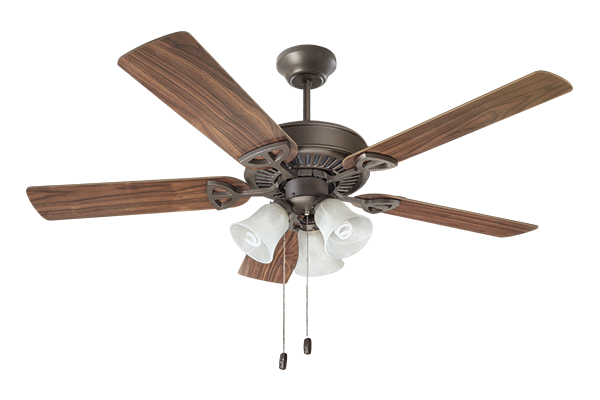
Versatile Design Options
Ceiling mounted patio heaters come in a variety of styles, sizes, and fuel options to suit any outdoor space and heating requirements. Whether you prefer the convenience of electric heaters or the ambiance of propane or natural gas models, there’s a ceiling mounted heater to meet your needs.
Read too: How To Extend Kitchen Cabinets To The Ceiling: A Complete Guide for Maximizing Space and Style
Installation Tips for Ceiling Mounted Patio Heaters
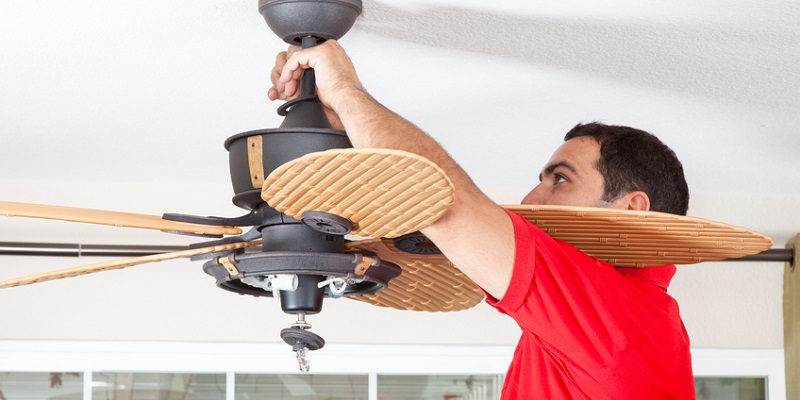
Proper Mounting and Placement
Follow these tips for a successful installation of your ceiling mounted patio heater:
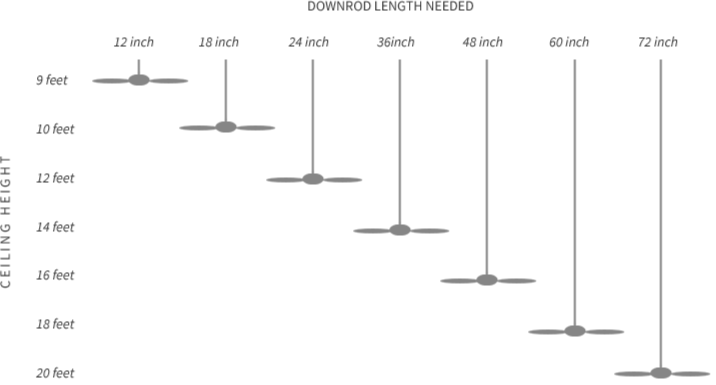
- Select the Right Location: Choose a central location on the patio ceiling for optimal heat distribution and coverage. Ensure that the mounting surface is sturdy and capable of supporting the weight of the heater.
- Secure Mounting Hardware: Use appropriate mounting hardware and follow manufacturer guidelines to securely attach the heater to the ceiling. Double-check the stability of the installation to prevent accidents or damage.
Benefits of Ceiling Mounted Patio Heaters
Extended Outdoor Season
By installing a ceiling mounted patio heater, you can enjoy your outdoor space year-round, even during cooler weather conditions. Whether you’re hosting a dinner party, relaxing with a book, or simply unwinding after a long day, a patio heater ensures that you can make the most of your outdoor oasis.
Expert Recommendations
Consideration for Safety and Maintenance
When using a ceiling mounted patio heater, prioritize safety and proper maintenance to ensure optimal performance and longevity. Regularly inspect the heater for any signs of wear or damage, and follow manufacturer guidelines for cleaning and maintenance tasks.
Conclusion
Enhance your outdoor living experience with the convenience and comfort of a ceiling mounted patio heater. Whether you’re entertaining guests, enjoying a quiet evening under the stars, or simply looking to make the most of your outdoor space, a patio heater provides the warmth and ambiance you need to create unforgettable moments. Follow the installation tips and expert recommendations outlined in this guide to select and install the perfect ceiling mounted patio heater for your outdoor oasis.