Are you considering upgrading your home with a new ceiling fan in Charlotte? Whether you’re looking to enhance comfort, improve air circulation, or add a stylish focal point to your space, proper installation is key to maximizing the benefits of your new fixture. In this guide, we’ll walk you through everything you need to know about ceiling fan installation in Charlotte, from planning and preparation to execution and troubleshooting.
Understanding Ceiling Fan Installation in Charlotte
Installing a ceiling fan may seem like a daunting task, but with the right knowledge and preparation, it can be a straightforward DIY project or a job for a professional installer. In Charlotte, where hot summers and humid conditions are common, ceiling fans play a crucial role in maintaining comfort and energy efficiency year-round.
Planning Your Installation: Ceiling Fan Installation Charlotte
Before diving into the installation process, it’s essential to plan carefully to ensure a successful outcome. Start by selecting the right fan for your space based on factors such as size, style, and functionality. Consider the height of your ceiling, the location of electrical wiring, and any additional features you may want, such as remote control or lighting.
Read too: How To Extend Kitchen Cabinets To The Ceiling: A Complete Guide for Maximizing Space and Style
Preparing for Installation: Ceiling Fan Installation Charlotte
Gather all the necessary tools and materials, including a ladder, screwdriver, wire cutter, and electrical tape. Turn off the power to the existing ceiling fixture at the circuit breaker to prevent accidents. If you’re not comfortable working with electrical wiring, it’s best to hire a licensed electrician for safety and peace of mind.
Step-by-Step Installation Process
1. Remove the Old Fixture
Carefully remove the existing ceiling fixture, exposing the electrical wiring and mounting bracket. Disconnect the wires and remove the mounting bracket from the ceiling.
2. Install the Mounting Bracket
Follow the manufacturer’s instructions to install the mounting bracket for your new ceiling fan. Ensure that it is securely attached to the ceiling and can support the weight of the fan.
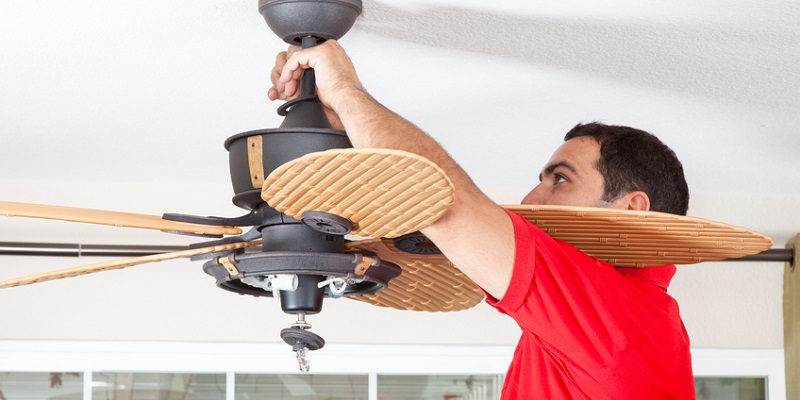
3. Assemble the Fan
Assemble the fan components according to the provided instructions, including attaching the blades, motor housing, and downrod. Double-check all connections to ensure they are tight and secure.
4. Wiring and Electrical Connections
Carefully connect the electrical wires from the fan to the corresponding wires in the ceiling, following proper color-coding and insulation techniques. Use wire nuts to secure the connections and electrical tape to cover exposed wires.
5. Mount the Fan
Lift the assembled fan into position and attach it to the mounting bracket on the ceiling. Ensure that the fan is balanced and level before tightening the screws.
6. Test and Adjust
Once the fan is securely mounted, restore power at the circuit breaker and test its operation. Make any necessary adjustments to the fan speed, direction, and lighting function as needed.
Troubleshooting Tips
If you encounter any issues during the installation process, such as wobbling or noisy operation, refer to the troubleshooting section of the manufacturer’s instructions or consult with a professional installer for assistance.
Conclusion
With the right tools, knowledge, and preparation, ceiling fan installation in Charlotte can be a rewarding and straightforward project. Whether you choose to tackle it yourself or enlist the help of a professional, a properly installed ceiling fan can enhance comfort, improve air circulation, and add value to your home for years to come.