When it comes to enhancing the aesthetics and functionality of your living or working space, one crucial aspect often overlooked is the choice of walls and ceilings. In the realm of architectural wonders, Dayton Walls And Ceilings stand out as pioneers in transforming ordinary spaces into extraordinary masterpieces.
Introduction
In the ever-evolving world of interior design, Dayton Walls And Ceilings have established themselves as leaders, setting the bar high for innovative and stylish solutions. In this article, we’ll delve into the significance of Dayton Walls And Ceilings, exploring the transformative impact they can have on any environment.
Why Dayton Walls And Ceilings Matter
This craftsmanship are more than just structural elements; they are canvases waiting to be adorned with creativity and style. The right walls and ceilings can redefine the ambiance of a room, offering a blend of functionality and aesthetic appeal that goes beyond the ordinary.
The Artistry of Dayton Walls And Ceilings
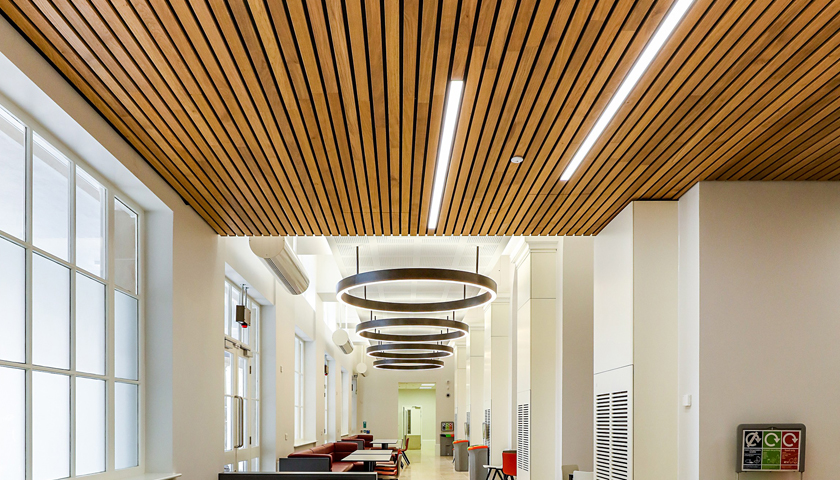
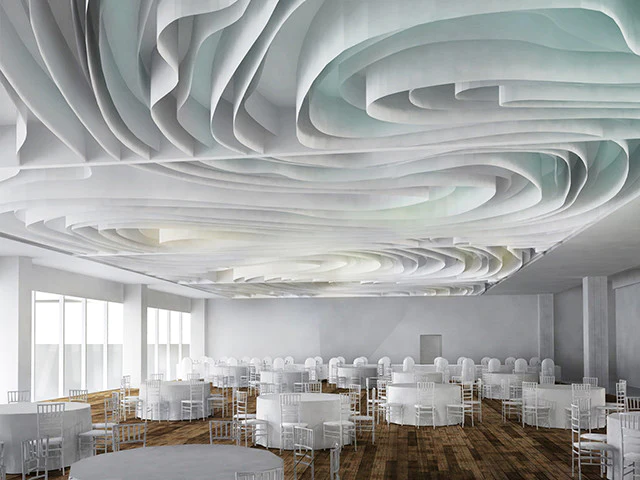
Creating a seamless blend between functionality and aesthetics, this craftsmanship bring forth a myriad of design possibilities. From textured finishes that add depth to a room to sleek, modern designs that exude sophistication, the options are limitless. The artistry embedded in these elements is a testament to Dayton’s commitment to elevating spaces.
Exploring the Variety
One of the key strengths of this craftsmanship lies in their diverse range of offerings. Whether you’re looking for classic designs that exude timeless elegance or contemporary options that resonate with modern sensibilities, Dayton has something for everyone. The variety ensures that you can find the perfect fit for your unique style and preferences.
Incorporating Innovation
Innovation is at the core of Dayton’s philosophy, evident in the cutting-edge solutions they provide for walls and ceilings. From acoustic panels that enhance sound quality to eco-friendly materials that contribute to a sustainable future, Dayton continues to push the boundaries of what walls and ceilings can achieve.
Transformative Impact on Home Spaces
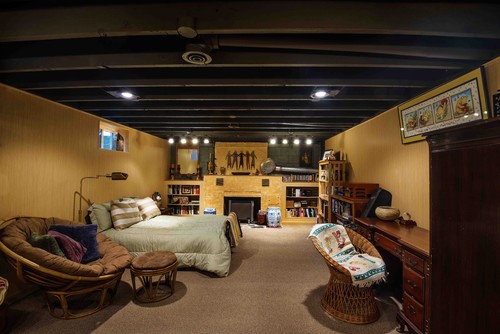
A well-designed home is a harmonious blend of functionality and aesthetics. Dayton’s walls and ceilings play a pivotal role in achieving this balance. By carefully selecting and installing the right elements, homeowners can witness a transformation that not only enhances the visual appeal of their living spaces but also contributes to a comfortable and inviting atmosphere.
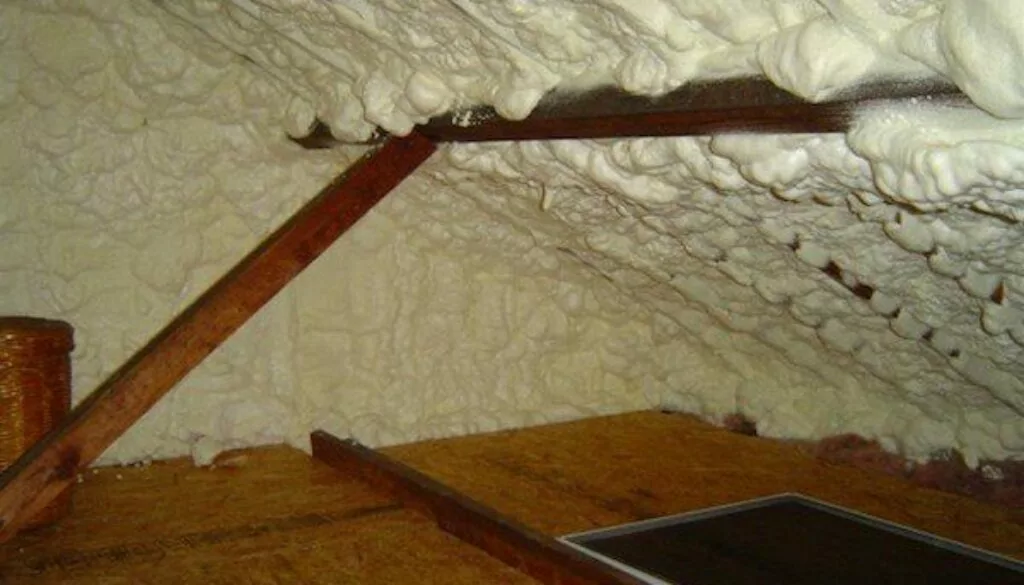
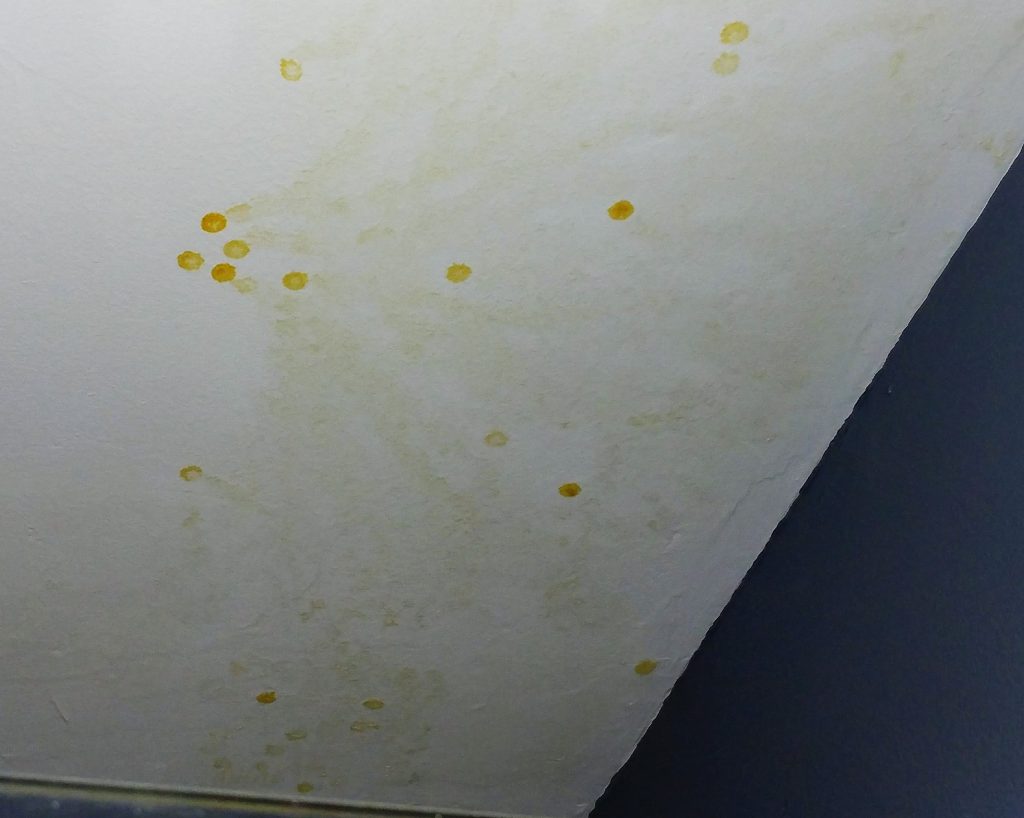
Read too: Understanding and Addressing a Condensation Leak in the Ceiling: Decoding the Drip
The Dayton Difference in Walls And Ceilings
When it comes to choosing the perfect walls and ceilings for your space, the Dayton Difference cannot be overstated. This section explores what sets Dayton apart in the realm of interior design.
Quality Craftsmanship: This craftsmanship boast unparalleled quality craftsmanship. Each element is meticulously crafted to ensure durability and longevity, standing as a testament to the brand’s commitment to excellence.
Customization Options: One size does not fit all, and Dayton understands this well. With a plethora of customization options, homeowners can tailor their walls and ceilings to suit their unique tastes and preferences.
Sustainability Initiatives: In an era where sustainability is paramount, Dayton Walls And Ceilings take the lead with eco-friendly materials and practices. Choosing Dayton means choosing a greener, more sustainable future for your living spaces.
Creating Timeless Spaces
The mark of exceptional walls and ceilings is their ability to withstand the test of time. Dayton’s commitment to timeless design ensures that your investment in their products is a long-term investment in the beauty and functionality of your home.
Conclusion
In conclusion, Dayton Walls And Ceilings are not just elements of construction; they are gateways to unparalleled design possibilities. From classic to contemporary, Dayton’s offerings cater to a diverse range of tastes and preferences. The transformative impact of these walls and ceilings goes beyond aesthetics, contributing to the overall functionality and ambiance of any space.
Elevate your living or working environment with this craftsmanship and experience the fusion of innovation, artistry, and quality craftsmanship in every corner of your space. Choose Dayton, and let your walls and ceilings tell a story of timeless elegance and modern sophistication.