Are you looking to add a touch of elegance and functionality to your space? Explore the allure of white flush mount ceiling fan and how they can transform your room into a stylish and comfortable retreat. Discover installation insights, design inspirations, and top-rated options to elevate your home décor.
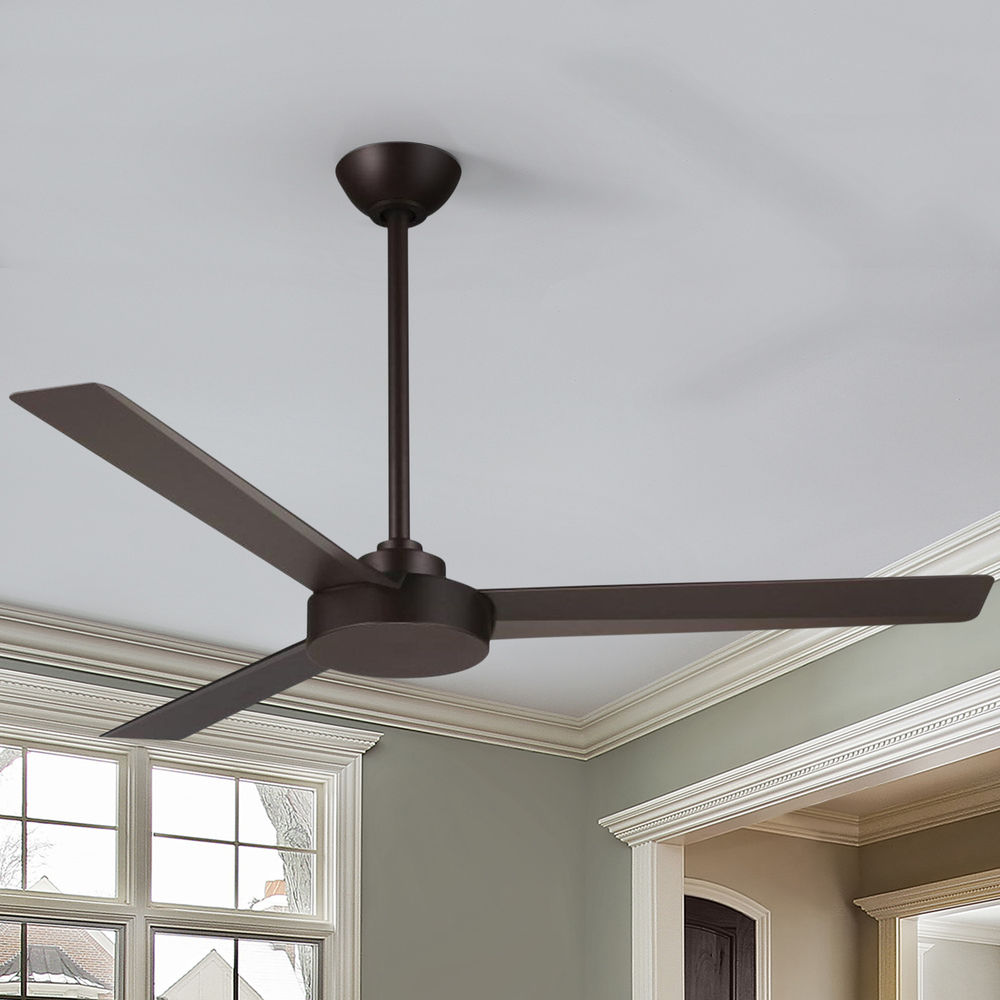
Elevate Your Space with a White Flush Mount Ceiling Fan
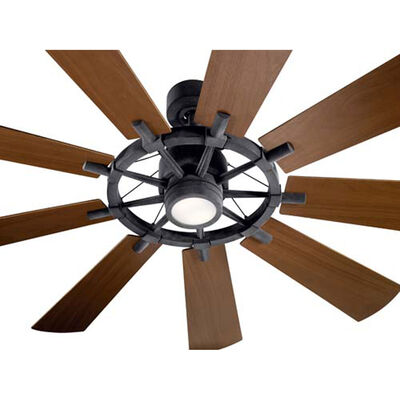
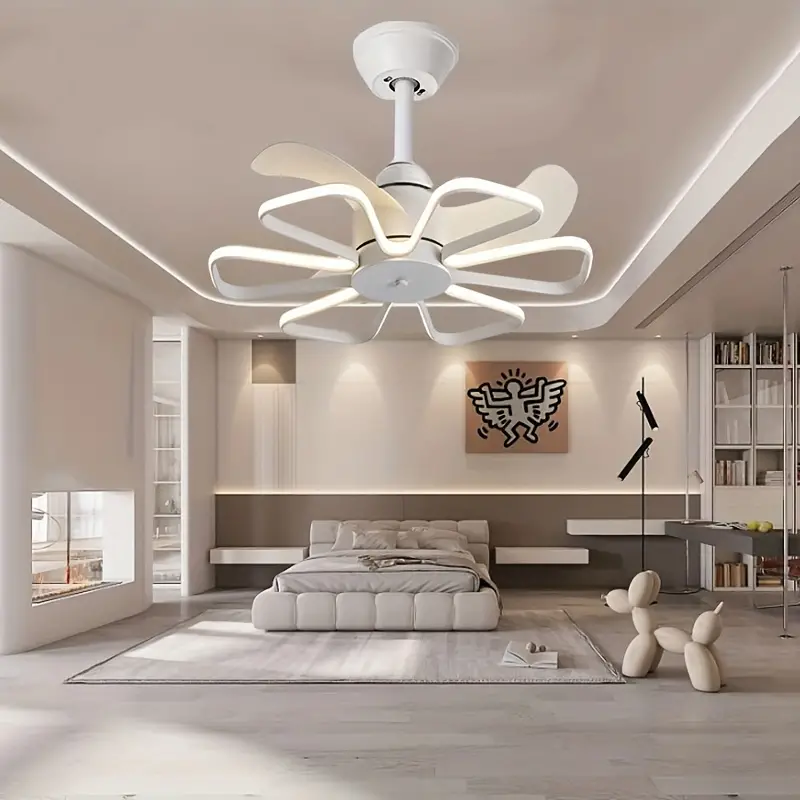
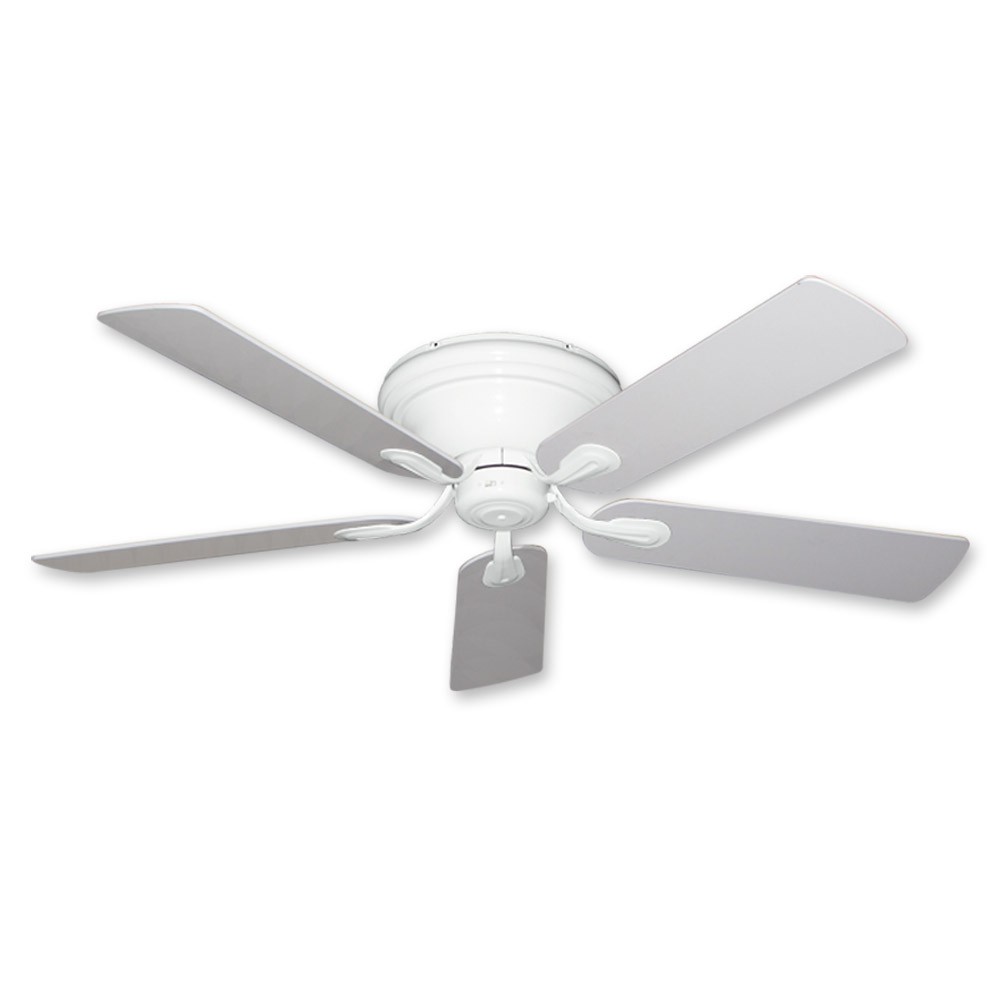
A white flush mount ceiling fan offers a sleek and understated design that complements any interior style. Whether you prefer modern minimalism or classic elegance, these versatile fixtures blend seamlessly into your space while providing optimal air circulation and comfort.
Read too: Discovering the Charm of Nautical Outdoor Ceiling Fans for Your Coastal Retreat: Sail into Style
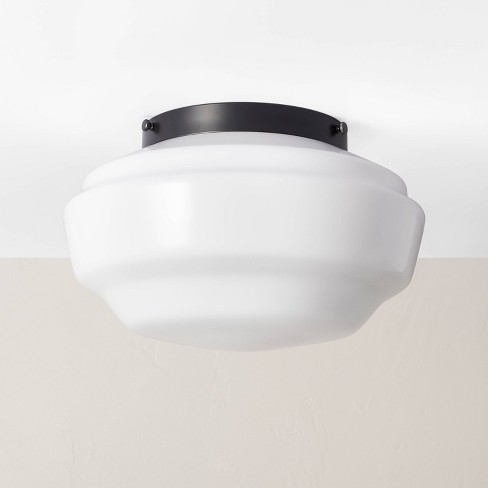
Why Choose a White Flush Mount Ceiling Fan?
- Space-Saving Design: Flush mount ceiling fans are ideal for rooms with low ceilings or limited space. Their streamlined profile hugs the ceiling, creating a clean and unobtrusive look that maximizes headroom and visual appeal.
- Versatile Aesthetic: White finish adds a timeless and versatile touch to any room, enhancing its brightness and creating a sense of openness. Whether you’re aiming for a coastal-inspired retreat or a contemporary vibe, a white flush mount ceiling fan effortlessly complements your décor scheme.
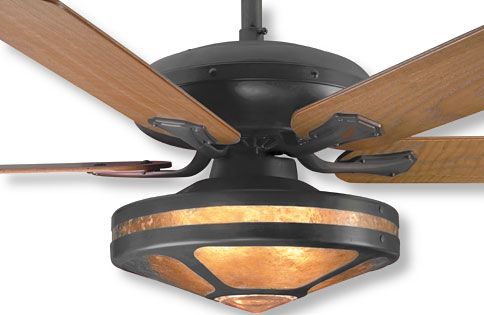
- Efficient Air Circulation: Despite their compact design, white flush mount ceiling fans deliver powerful airflow, keeping your room cool and comfortable year-round. With advanced motor technology and blade designs, these fans provide efficient performance without compromising on style.
Installation Tips
Installing a white flush mount ceiling fan is a relatively straightforward process, but it requires careful attention to detail to ensure optimal performance and safety. Follow these installation tips to achieve professional results:
- Prepare the Mounting Location: Choose a suitable location for the ceiling fan, ensuring that there is sufficient clearance and support for the fixture. Remove any existing light fixtures or ceiling fans and patch up any holes or imperfections in the ceiling.
- Secure the Mounting Bracket: Attach the mounting bracket securely to the ceiling joist or support structure using appropriate screws and hardware. Ensure that the bracket is level and stable to prevent wobbling or imbalance during operation.
- Assemble the Fan Components: Follow the manufacturer’s instructions to assemble the fan components, including the motor housing, blades, and light kit (if applicable). Pay attention to the wiring connections and blade alignment to ensure smooth and quiet operation.
- Connect the Wiring: Carefully connect the fan’s wiring to the corresponding wires in the ceiling, following standard electrical procedures and safety precautions. Use wire nuts to secure the connections and cover them with the provided wire housing for added safety.
- Test and Balance the Fan: Once the installation is complete, turn on the power and test the fan to ensure that it operates smoothly and quietly. Use a balancing kit to adjust the blade alignment if necessary, ensuring optimal airflow and performance.
Design Inspiration: White Flush Mount Ceiling Fan Ideas
Coastal Retreat
Create a serene coastal oasis with a white flush mount ceiling fan paired with natural materials, soft blue accents, and beach-inspired décor. The clean lines and crisp finish of the fan evoke the tranquility of seaside living, while the gentle breeze enhances the laid-back ambiance.
Modern Elegance
Achieve a contemporary look with a white flush mount ceiling fan featuring sleek blades and minimalist design. Pair it with sleek furniture, metallic accents, and monochromatic tones for a sophisticated and polished aesthetic that exudes modern elegance.
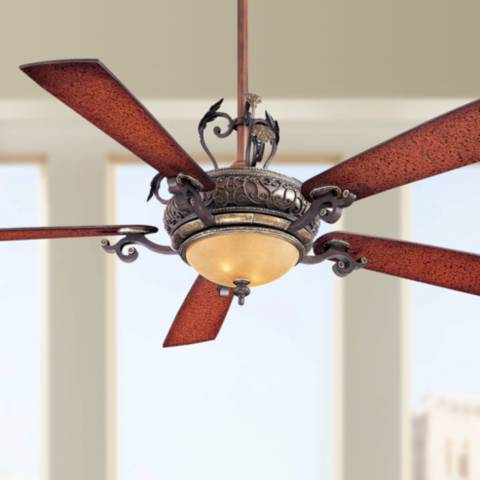
Classic Charm
Capture the timeless appeal of traditional design with a white flush mount ceiling fan adorned with ornate details and vintage-inspired elements. Pair it with rich wood finishes, floral patterns, and antique accents for a cozy and inviting atmosphere reminiscent of old-world charm.
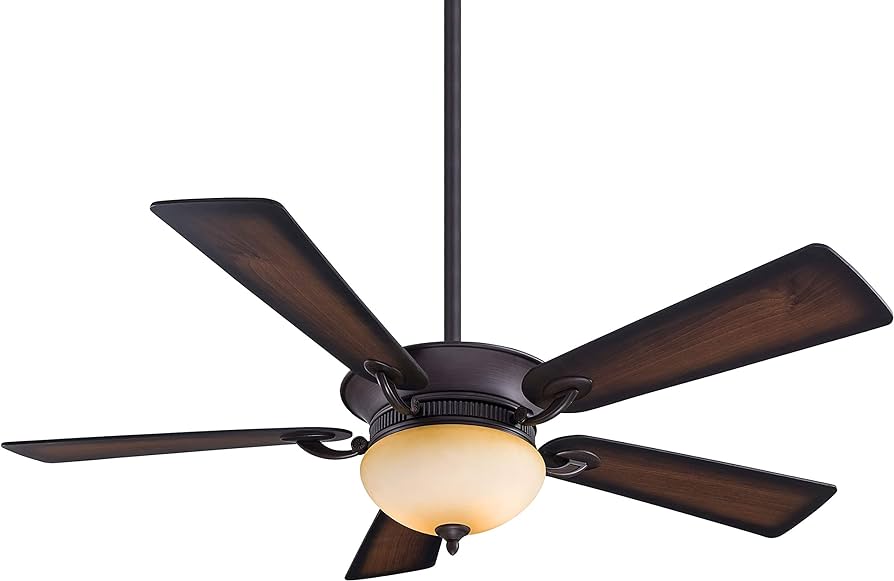
Top-Rated White Flush Mount Ceiling Fans Options
- Hunter Dempsey Low Profile Ceiling Fan: This stylish fan features a clean white finish, reversible blades, and a dimmable LED light kit, making it a versatile choice for any room.
- Emerson Curva Sky Ceiling Fan: With its sleek and modern design, this fan adds a contemporary flair to your space while providing efficient airflow and energy-saving performance.
- Minka-Aire Concept II Flush Mount Ceiling Fan: Ideal for low ceilings, this fan boasts a seamless flush mount design, quiet operation, and customizable speed and light settings for personalized comfort.
- Casablanca Isotope Ceiling Fan: Combining form and function, this fan features a low-profile design, integrated LED light, and advanced motor technology for optimal performance and style.
Conclusion
In conclusion, a white flush mount ceiling fans offers a versatile and stylish solution for enhancing your home’s comfort and aesthetics. Whether you prefer a modern, coastal, or traditional look, there’s a white flush mount ceiling fans to suit your design preferences and elevate your space with a refreshing breeze and chic ambiance.