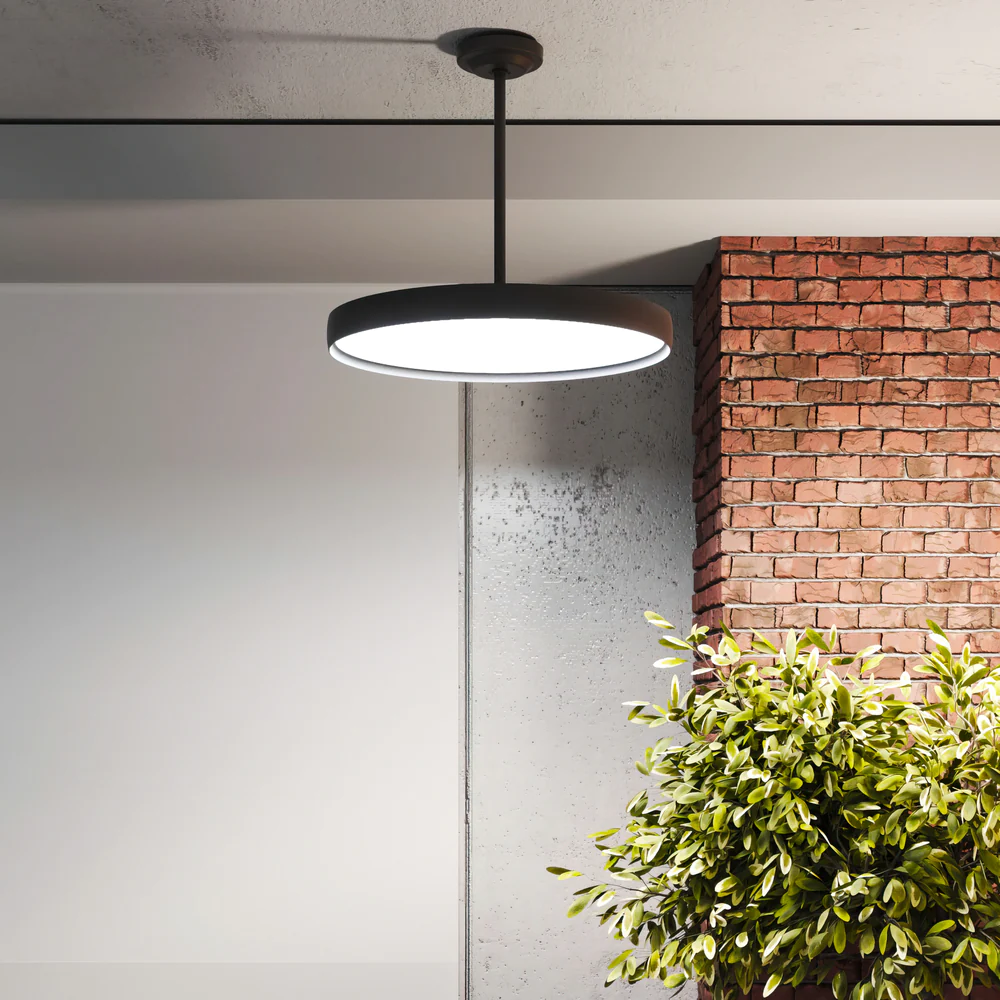
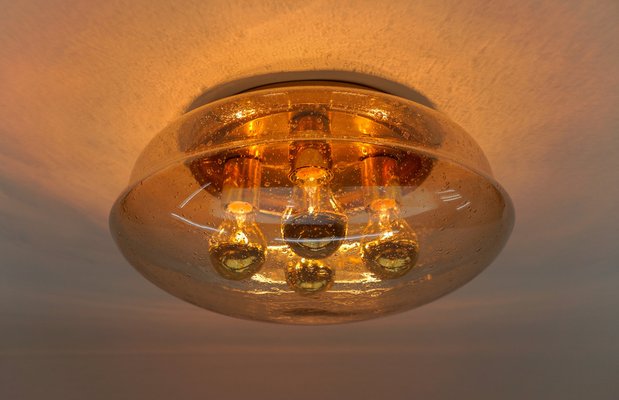
Step into a world of radiant elegance with the enchanting glow of a 4 Light Pendant Ceiling Lights. In this comprehensive guide, we will unravel the allure of these fixtures, exploring their design versatility, installation considerations, and how they can elevate the ambiance of your living spaces.
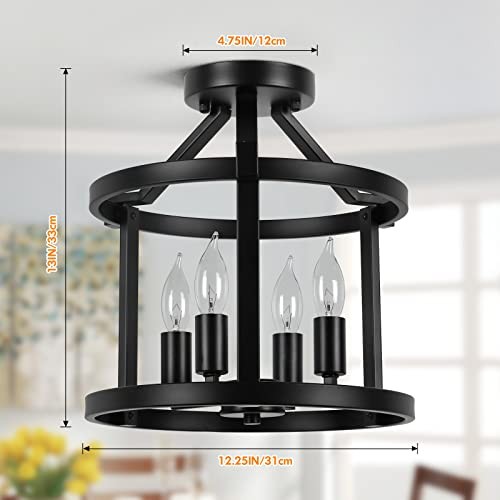
4 Light Pendant Ceiling Light: A Symphony of Radiance
Embracing Radiance: The 4 Light Pendant Ceiling Light
At the heart of our exploration is the captivating allure of the 4 Light Pendant Ceiling Light. Let’s delve into the radiance that these fixtures bring, understanding how they serve as both functional lighting solutions and exquisite design elements within your home.
1. Design Versatility and Aesthetic Appeal:
The 4 Light Pendant Ceiling Light stands as a testament to design versatility and aesthetic appeal. Explore the diverse styles, materials, and finishes available, allowing you to choose a fixture that complements your interior design theme while creating a focal point that captivates attention.
2. Illuminating Every Corner: The Power of Four Lights:
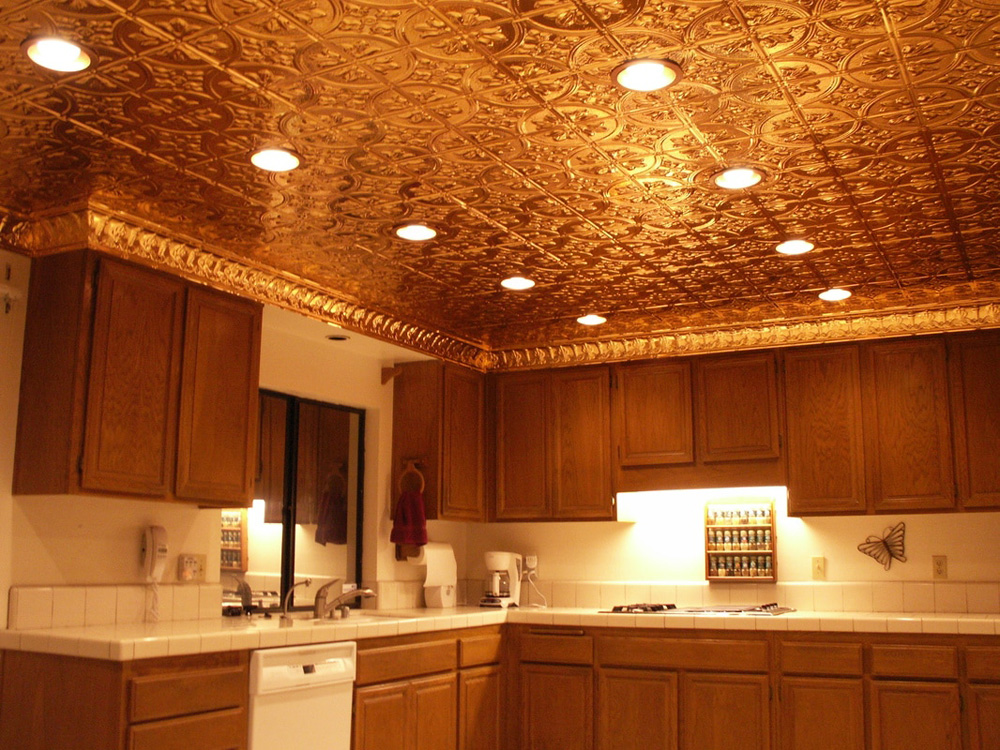
Delve into the functional brilliance of a 4 Light Pendant Ceiling Light. Understand how the arrangement of four lights within a single fixture provides ample illumination, making it an ideal choice for various settings, from dining rooms and kitchens to entryways and living spaces.
3. Installation Considerations: A Guide to Hanging Elegance:
Master the art of hanging elegance with a 4 Light Pendant Ceiling Light. This section provides a comprehensive guide to the installation process, covering aspects such as height considerations, wiring, and the importance of choosing the right ceiling mount. Ensure a seamless and visually stunning addition to your space.
Elevating Design: Where to Use a 4 Light Pendant Ceiling Light
Now that we’ve explored the radiance and functionality, let’s discuss the various applications and spaces where a 4 Light Pendant Ceiling Light can shine brightest. From residential settings to commercial spaces, these fixtures add a touch of sophistication and charm.
1. Dining Delight: Enhancing the Culinary Experience:
Discover how a 4 Light Pendant Ceiling Light becomes the centerpiece in dining areas, creating an inviting ambiance for shared meals and special occasions. Explore the recommended height for hanging over dining tables and the visual impact it brings to the overall dining experience.
2. Kitchen Brilliance: Illuminating Culinary Creativity:
In the kitchen, functionality meets design with a 4 Light Pendant Ceiling Light. Explore the ways these fixtures enhance task lighting over countertops or kitchen islands, adding a layer of brilliance to culinary spaces. Learn about the ideal placement and design considerations for maximum impact.
3. Living Room Elegance: Creating a Cozy Ambiance:
Transform your living room into a cozy haven with the warm glow of a 4 Light Pendant Ceiling Light. Explore creative ways to integrate these fixtures into your living space, whether as a central lighting element or as part of a layered lighting design. Understand the design possibilities that elevate the overall aesthetics.
Design Harmony: Matching Your Style with a 4 Light Pendant Ceiling Light
Choosing the perfect 4 Light Pendant Ceiling Light involves understanding how it harmonizes with your existing design elements. From contemporary to traditional, this section guides you through the process of finding a fixture that seamlessly blends with your unique style.
1. Contemporary Chic: Sleek Lines and Modern Appeal:
For contemporary interiors, explore 4 Light Pendant Ceiling Light options that feature sleek lines, minimalist designs, and modern finishes. Discover how these fixtures contribute to the overall chic aesthetic, creating a harmonious balance within contemporary living spaces.
2. Traditional Elegance: Timeless Designs and Rich Finishes:
In traditional settings, embrace the timeless elegance of a 4 Light Pendant Ceiling Light with classic designs and rich finishes. Explore options that incorporate ornate details, vintage-inspired elements, and warm tones, adding a touch of sophistication to traditional interiors.
3. Industrial Edge: Raw Materials and Urban Flair:
For those drawn to industrial aesthetics, consider 4 Light Pendant Ceiling Lights with raw materials and urban flair. Explore fixtures featuring exposed bulbs, metal accents, and a rugged charm that complements the industrial design theme, creating a visually striking impact.
Conclusion:
In conclusion, a 4 Light Pendant Ceiling Lights transcends the ordinary, merging functionality with exquisite design. Whether it’s illuminating your dining space, kitchen, or living room, these fixtures add a layer of sophistication and charm. Embrace the radiance and design versatility of a 4 Light Pendant Ceiling Light, and let your space shine with timeless elegance.