Are you ready to add a touch of glamour and sophistication to your space? Explore the timeless elegance of Art Deco Ceiling Tile in this comprehensive guide. Discover the history, design options, and installation tips to create a breathtaking interior that captures the essence of Art Deco luxury.
Introduction
Art Deco design has stood the test of time, captivating enthusiasts with its bold geometric patterns, luxurious materials, and sleek lines. One of the most iconic elements of Art Deco interiors is the use of intricate ceiling tiles that exude opulence and grandeur. In this article, we’ll delve into the world of Art Deco Ceiling Tiles and how they can transform any space into a masterpiece of design.
History of Art Deco Ceiling Tiles
The Art Deco movement emerged in the early 20th century, reaching its peak during the 1920s and 1930s. Characterized by its emphasis on modernity and luxury, Art Deco design influenced architecture, fashion, and the decorative arts. Ceiling tiles became a popular feature in Art Deco interiors, serving as both a functional and decorative element.
Design Elements of Art Deco Ceiling Tiles
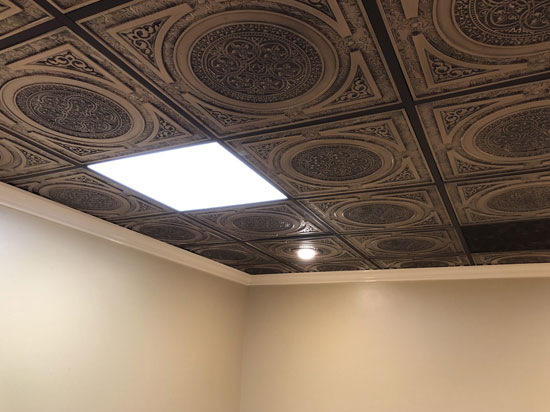
Art Deco Ceiling Tiles are renowned for their geometric motifs, bold colors, and lavish materials. Here are some key design elements to consider:
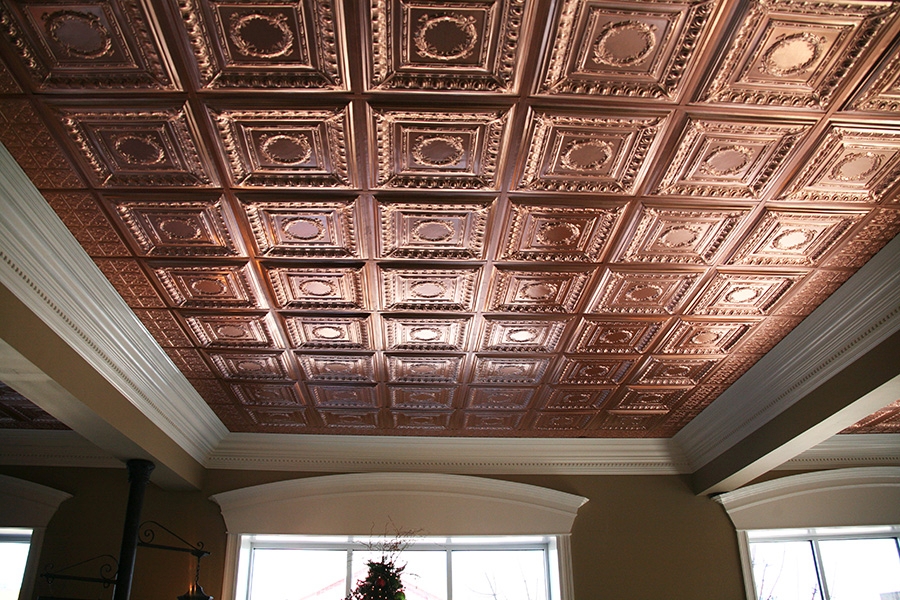
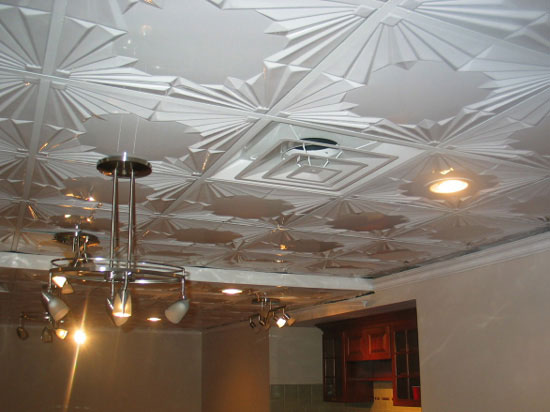
- Geometric Patterns: Art Deco often incorporates geometric shapes such as squares, triangles, and chevrons into its design. Ceiling tiles may feature intricate patterns inspired by these geometric forms, creating a visually striking effect.
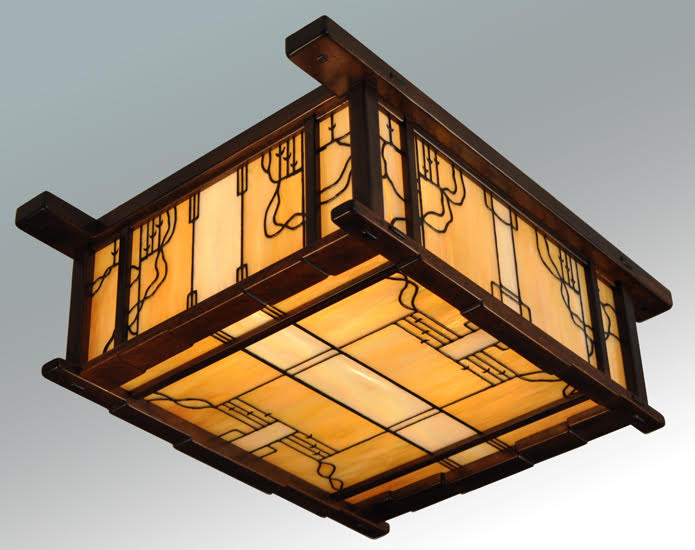
- Lavish Materials: Art Deco emphasizes luxury, with ceiling tiles crafted from materials like metal, glass, and plaster. Metallic finishes such as gold, silver, and bronze add a touch of glamour to the space.
- Bold Colors: Vibrant hues such as emerald green, sapphire blue, and ruby red are commonly used in Art Deco design. Ceiling tiles may showcase these bold colors, either through painted finishes or stained glass inserts.
Benefits of Art Deco Ceiling Tiles
- Enhanced Aesthetics: Art Deco Ceiling Tiles can elevate the look of any room, adding sophistication and charm.
- Versatility: With a wide range of design options available, Art Deco Ceiling Tiles can complement various interior styles, from classic to contemporary.
- Durability: High-quality materials ensure that Art Deco Ceiling Tiles stand the test of time, maintaining their beauty for years to come.
Installation Tips for Art Deco Ceiling Tiles
Installing Art Deco Ceiling Tiles requires careful planning and attention to detail. Here are some tips to ensure a successful installation:
- Prepare the Surface: Ensure that the ceiling surface is clean, smooth, and free of any debris or imperfections.
- Measurements: Take accurate measurements of the ceiling area to determine the quantity of tiles needed.
- Layout: Plan the layout of the ceiling tiles, considering the placement of lights, vents, and other fixtures.
- Adhesive Application: Use a high-quality adhesive suitable for the chosen tile material, applying it evenly to the back of each tile.
- Secure Installation: Press each tile firmly into place, ensuring proper alignment and spacing between tiles.
Maintenance and Care
To maintain the beauty of your Art Deco Ceiling Tiles, follow these care tips:
- Regular Cleaning: Wipe the tiles with a soft, damp cloth to remove dust and dirt.
- Avoid Harsh Chemicals: Use gentle cleaning products to avoid damaging the finish of the tiles.
- Inspect for Damage: Periodically inspect the tiles for any signs of damage or wear, repairing or replacing them as needed.
Conclusion
Art Deco Ceiling Tile are a timeless design choice that adds sophistication and style to any interior space. Whether you’re renovating a historic property or adding a touch of glamour to a modern home, Art Deco Ceiling Tiles are sure to make a statement. Explore the endless possibilities of Art Deco design and create a space that reflects your unique taste and personality.
Read too: A Comprehensive Mr Cool Ceiling Cassette Review: Unveiling Excellence