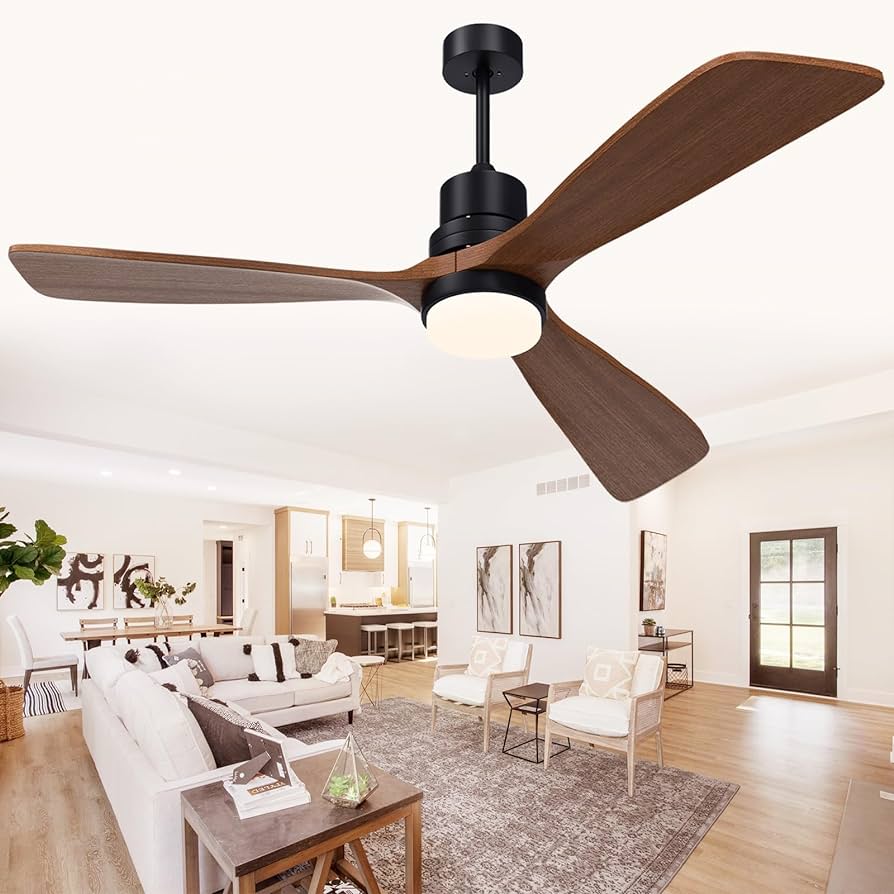
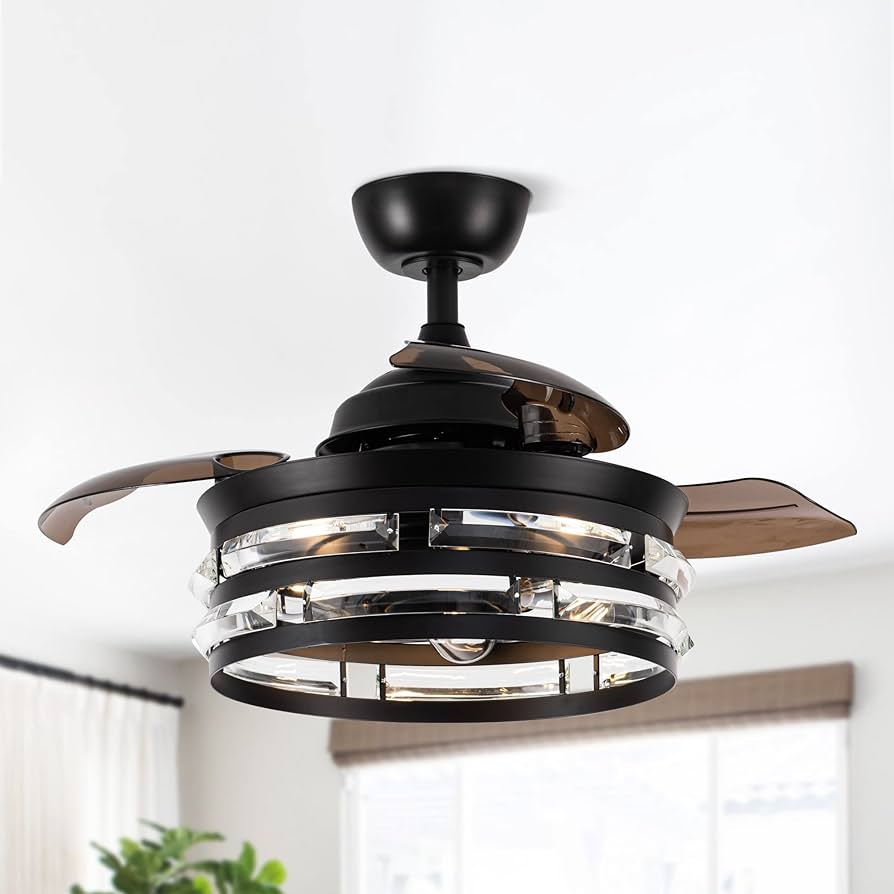
Elevate your home décor and lighting game with the versatile and stylish Five Light Ceiling Fans. Discover the features, functionality, and aesthetic appeal of this multi-functional fixture that combines the cooling power of a ceiling fan with the illumination of a five-light fixture.
Introduction
In the realm of interior design, finding the perfect balance between functionality and aesthetics is key to creating a space that is both comfortable and visually appealing. The Five Light Ceiling Fan offers a practical solution for cooling your space while adding a touch of elegance and illumination. In this comprehensive guide, we’ll delve into the features, benefits, and design options of the Five Light Ceiling Fan, helping you make an informed decision for your home or office.
Exploring the Five Light Ceiling Fan
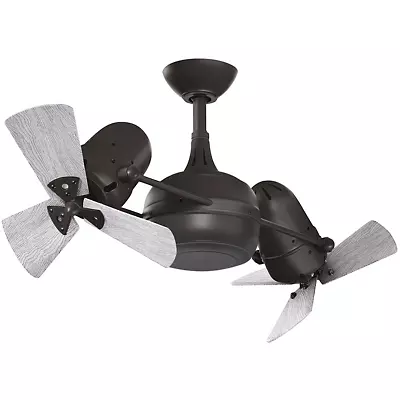
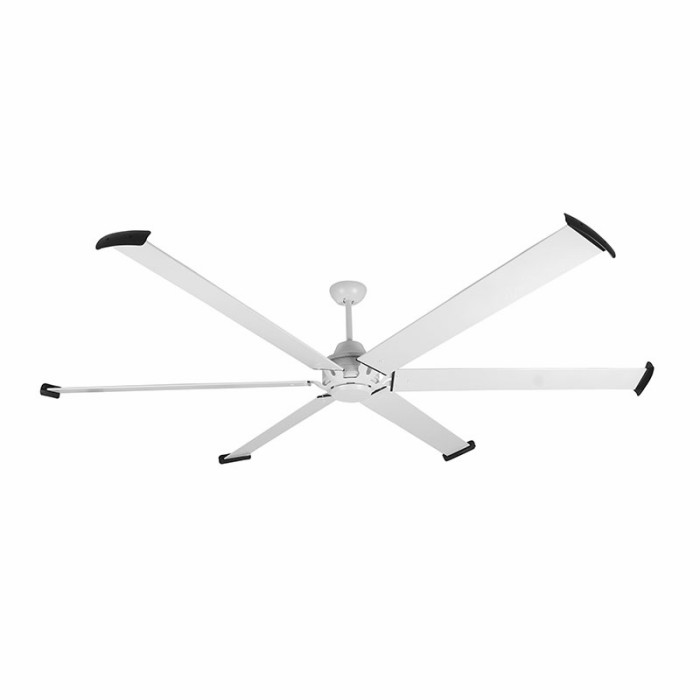
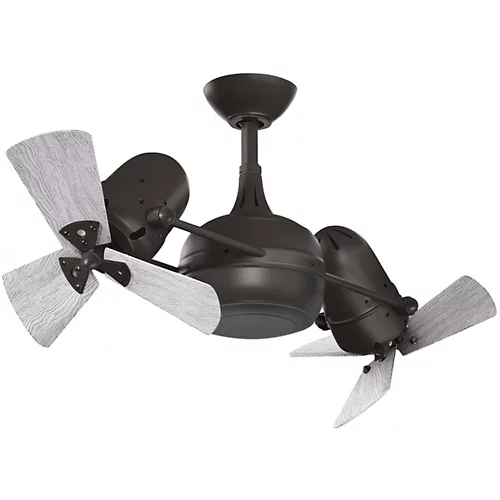
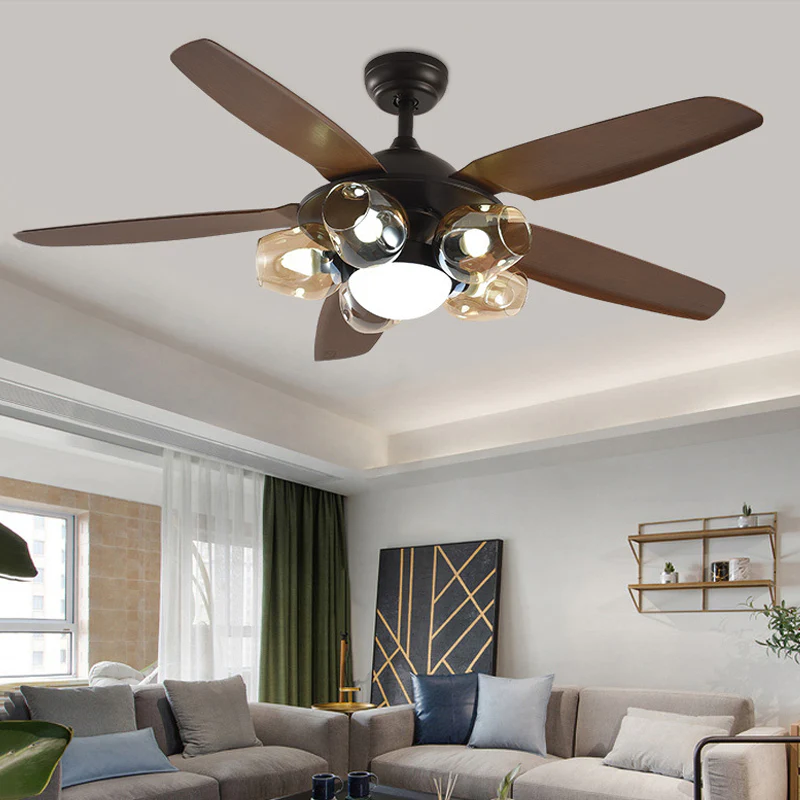
A Five Light Ceiling Fan is a combination fixture that integrates a traditional ceiling fan with a five-light fixture. This hybrid design provides the dual functionality of circulating air and illuminating your space, making it an ideal choice for rooms where both cooling and lighting are needed.
Features and Functionality
- Multiple Speed Settings: Like traditional ceiling fans, the Five Light Ceiling Fan typically offers multiple speed settings to adjust the airflow according to your comfort level.
- Reversible Blades: Many Five Light Ceiling Fans come with reversible blades, allowing you to change the direction of the airflow to either cool or warm your space as needed.
- Adjustable Lighting: The five-light fixture provides ample illumination for the room, and the positioning of the lights can often be adjusted to direct light where it’s needed most.
- Remote Control: Some models of Five Light Ceiling Fans come with a remote control for added convenience, allowing you to adjust both the fan speed and light settings from the comfort of your seat.
Benefits of a Five Light Ceiling Fan
- Space-Saving Design: By combining a ceiling fan and light fixture into one unit, the Five Light Ceiling Fan helps save space and reduce clutter in your room.
- Energy Efficiency: Using a ceiling fan can help reduce the need for air conditioning, leading to lower energy consumption and utility bills.
- Versatility: The ability to control both the fan and lights independently makes the Five Light Ceiling Fan a versatile addition to any room, allowing you to customize the ambiance to suit your mood or activities.
Design Options
Five Light Ceiling Fans come in a variety of styles, finishes, and blade options to complement any décor scheme. Whether you prefer a sleek and modern look or a more traditional aesthetic, there’s a Five Light Ceiling Fan to suit your taste.
Installation and Maintenance
You can typically install a Five Light Ceiling Fan straightforwardly by following the manufacturer’s instructions. Routine maintenance, such as cleaning the blades and replacing light bulbs, is minimal and ensures optimal performance and longevity of the fixture.
Read too: Striped Schoolhouse Ceiling Light Fixtures: Unveiling the Timeless Charm
Conclusion
In conclusion, the Five Light Ceiling Fans offers a winning combination of style, functionality, and convenience for any space. Whether you’re looking to cool your room, brighten your space, or enhance your décor, this versatile fixture has you covered. Invest in a Five Light Ceiling Fan today and enjoy the perfect blend of form and function in your home or office.