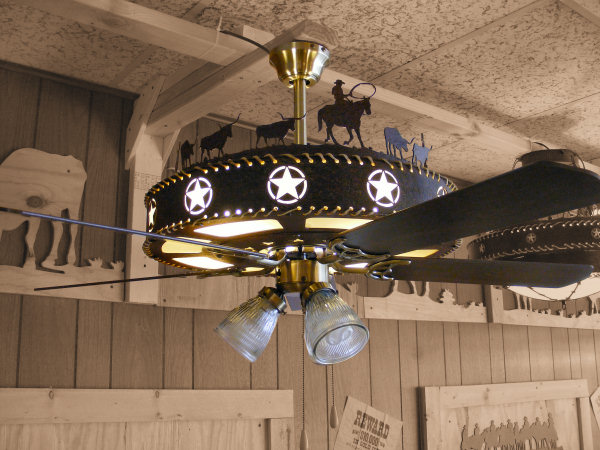
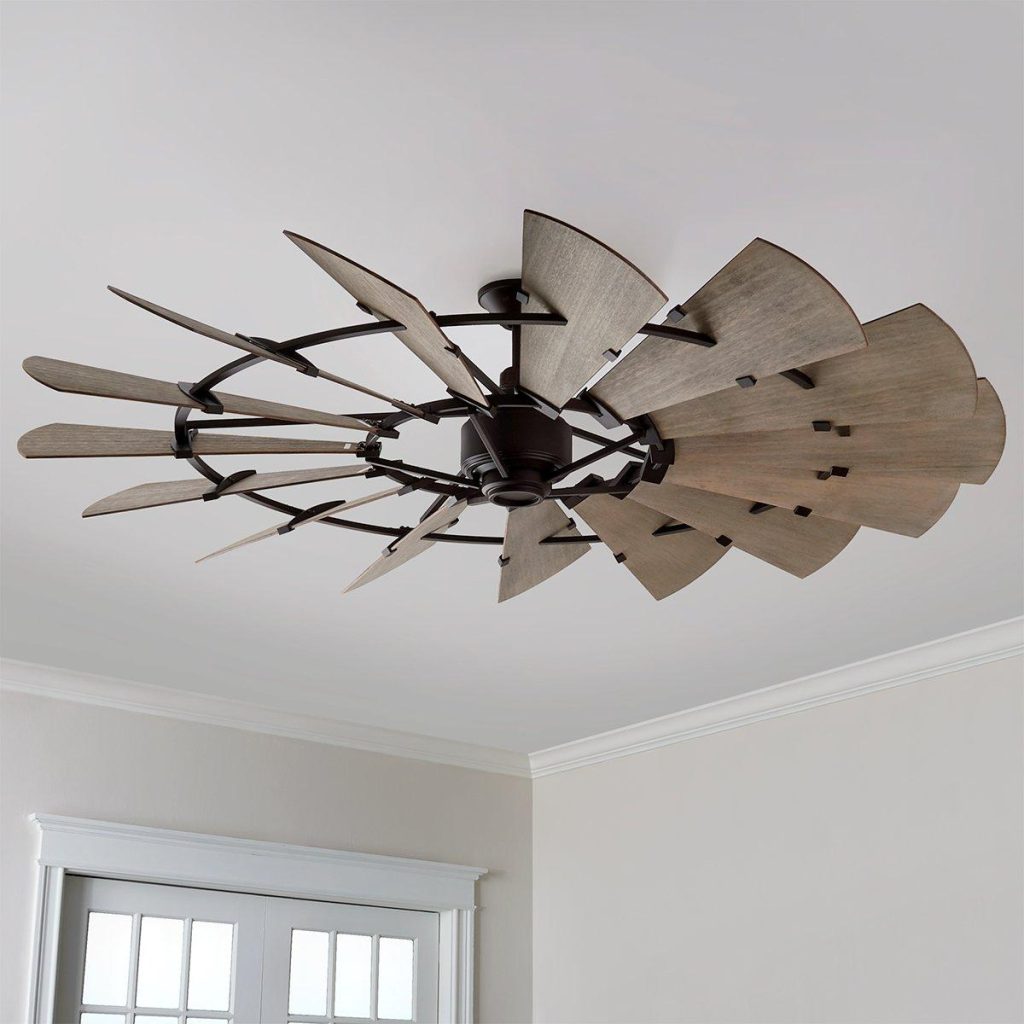
In the realm of home decor and interior design, few elements can make a statement quite like a ceiling fan. And when it comes to making a grand impression while ensuring optimal airflow, the 72 Windmill Ceiling Fan stands tall as a beacon of elegance and functionality.
Exploring the Majesty of 72 Windmill Ceiling Fan
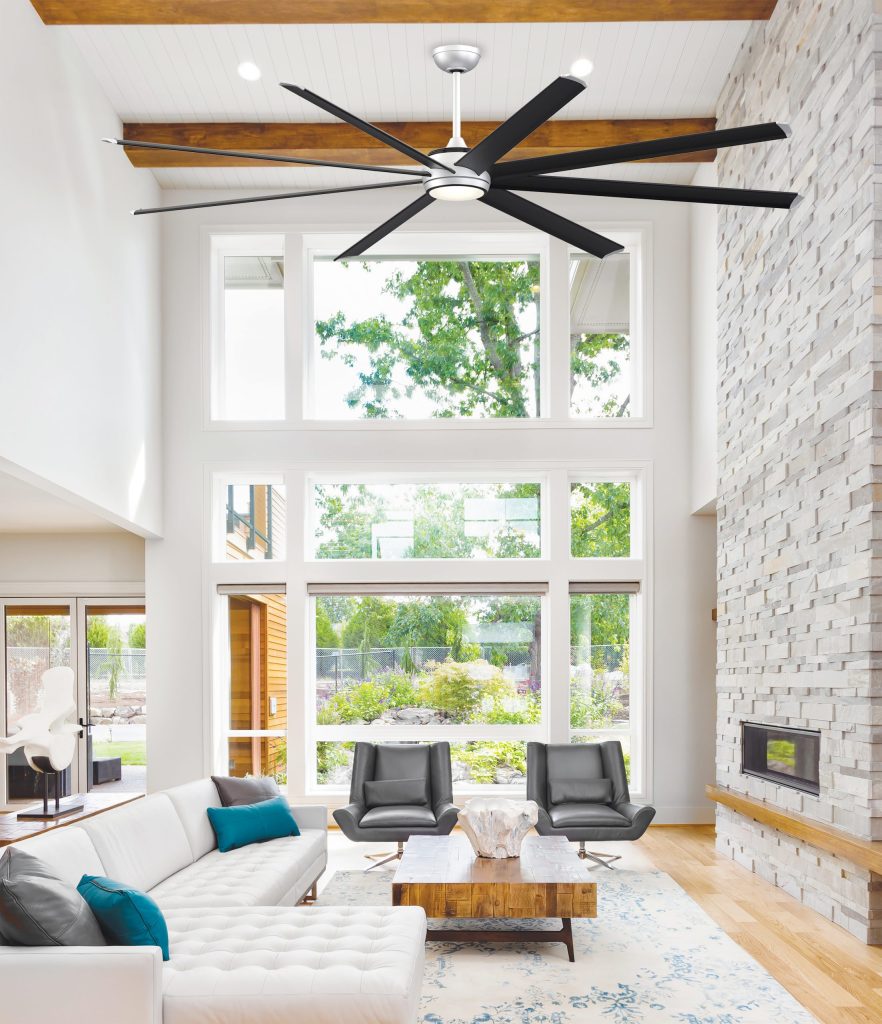
When it comes to ceiling fans, size does matter, and the 72 Windmill Ceiling Fan certainly makes its presence known. With its impressive span of 72 inches, this majestic fixture commands attention in any room it graces. But beyond its size, what sets this ceiling fan apart?
Design Excellence: 72 Windmill Ceiling Fan
The 72 Windmill Ceiling Fan is not just a functional appliance; it’s a work of art. Crafted with meticulous attention to detail, its design blends seamlessly with a variety of decor styles, from rustic farmhouse to contemporary chic. With its intricate detailing and artisan craftsmanship, it adds a touch of sophistication to any space.
Read too: Discovering the Charm of Nautical Outdoor Ceiling Fans for Your Coastal Retreat: Sail into Style
Superior Performance
While aesthetics are important, a ceiling fan’s primary function is to circulate air effectively. In this regard, the 72 Windmill Ceiling Fans excels. Equipped with powerful motors and aerodynamic blades, it delivers unparalleled airflow, keeping your room cool and comfortable even on the hottest days. Its whisper-quiet operation ensures that you can enjoy a peaceful environment without any distracting noise.
Energy Efficiency
In today’s eco-conscious world, energy efficiency is a key consideration for any household appliance. The 72 Windmill Ceiling Fans is designed with sustainability in mind, utilizing advanced technology to minimize energy consumption without compromising on performance. With its low energy consumption, it not only reduces your carbon footprint but also helps you save on utility bills.
Customization Options
No two homes are alike, which is why the 72 Windmill Ceiling Fan offers a range of customization options to suit your unique needs and preferences. From different blade finishes to adjustable speed settings, you can tailor this ceiling fan to complement your decor and lifestyle. Whether you prefer a sleek, modern look or a more traditional aesthetic, there’s a configuration to match your style.
Installation and Maintenance: 72 Windmill Ceiling Fan
Despite its impressive size, installing and maintaining the 72 Windmill Ceiling Fans is a breeze. With user-friendly instructions and hassle-free maintenance requirements, you can enjoy the benefits of this exceptional fixture with minimal effort. Plus, with its durable construction and long-lasting performance, it’s an investment that will enhance your home for years to come.
Conclusion
In conclusion, the 72 Windmill Ceiling Fans is more than just a cooling solution; it’s a statement piece that elevates any room it inhabits. With its blend of elegance, efficiency, and functionality, it’s a must-have addition to any home. Whether you’re looking to enhance your decor or improve your comfort, this ceiling fan delivers on all fronts. Experience the majesty of the 72 Windmill Ceiling Fans for yourself and transform your living space today.