Are you looking to make a statement in your home with a stunning chandelier for your high ceilings? Explore our curated collection of high ceiling chandelier ideas to find inspiration for illuminating and beautifying your space. From grandiose crystal designs to modern and minimalist fixtures, we have ideas to suit every taste and style.
Understanding High Ceiling Chandeliers
High ceiling chandeliers are designed to make an impact in rooms with tall ceilings, creating a focal point and adding visual interest to the space. These fixtures come in a variety of sizes, styles, and materials, allowing you to choose the perfect chandelier to complement your home decor and architecture.
Read too: Exploring Craftsman Style Ceiling Fans for Your Home: Embracing Timeless Elegance
High Ceiling Chandelier Ideas for Every Style
- Grand Crystal Chandeliers: Make a statement in your foyer or dining room with a grand crystal chandelier that sparkles and shines. These timeless fixtures add a touch of luxury and elegance to any space, creating a stunning focal point that will impress your guests.
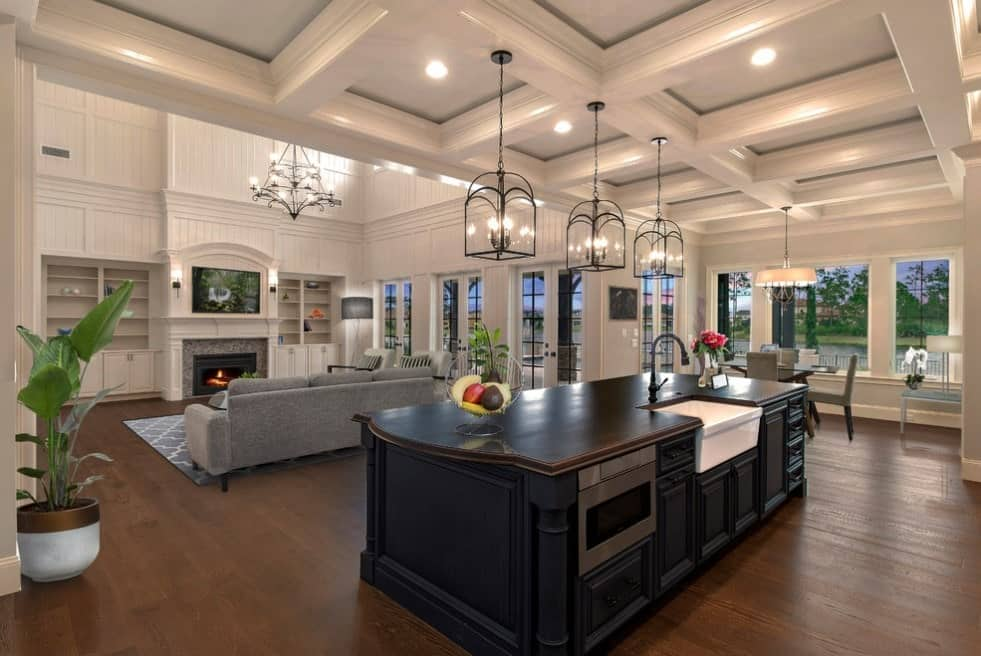
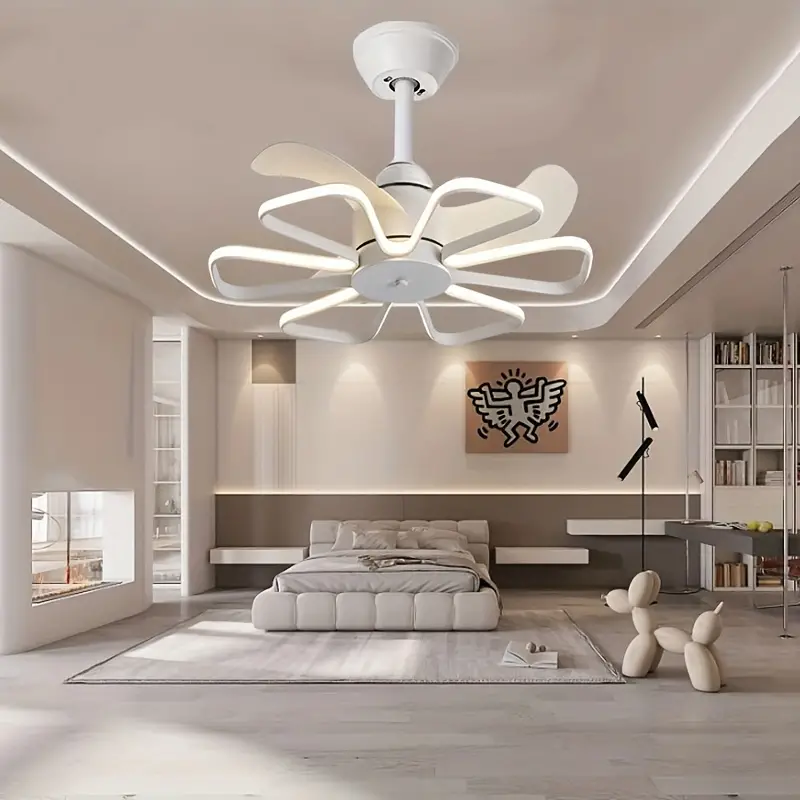
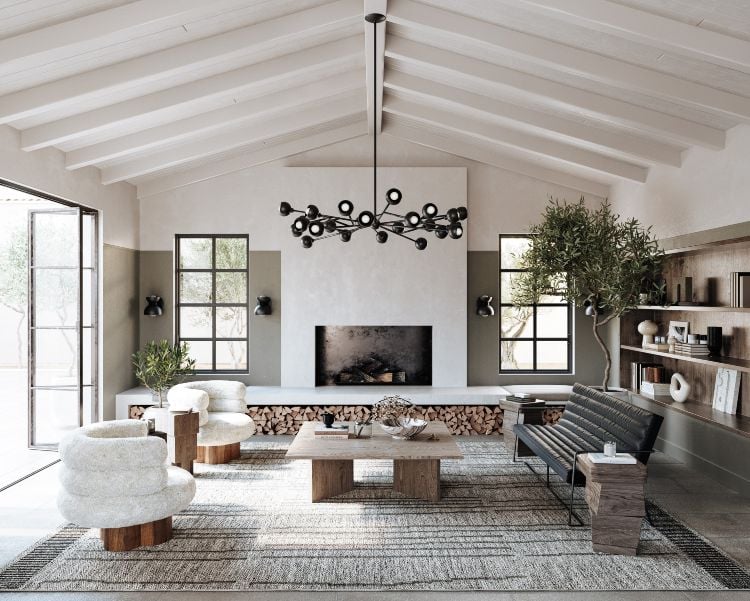
- Modern Geometric Designs: For a contemporary twist on traditional chandeliers, consider a modern geometric design. These sleek and stylish fixtures feature clean lines and minimalist shapes, making them perfect for modern and transitional spaces.
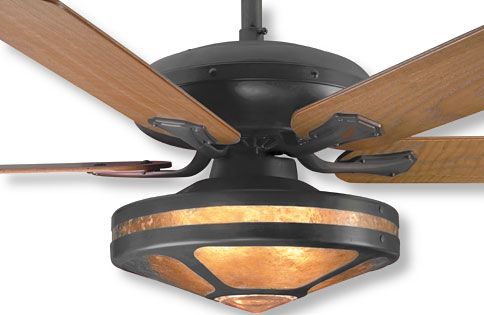
- Rustic Farmhouse Chandeliers: Bring a touch of rustic charm to your high ceilings with a farmhouse-style chandelier. These fixtures often feature distressed wood, wrought iron accents, and vintage-inspired designs, adding warmth and character to any room.
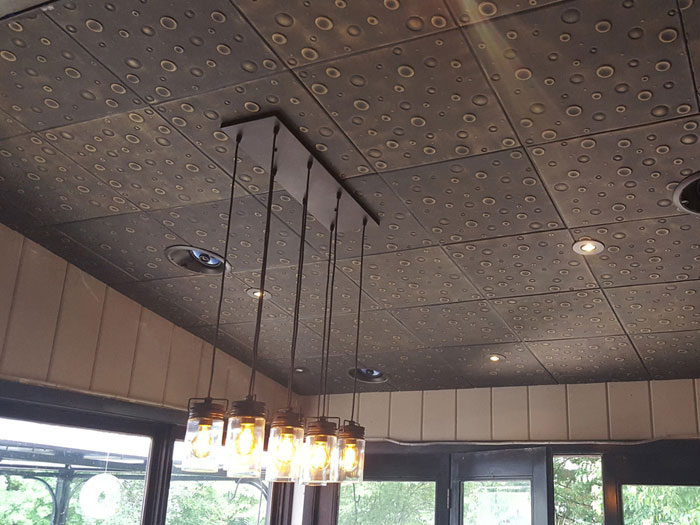
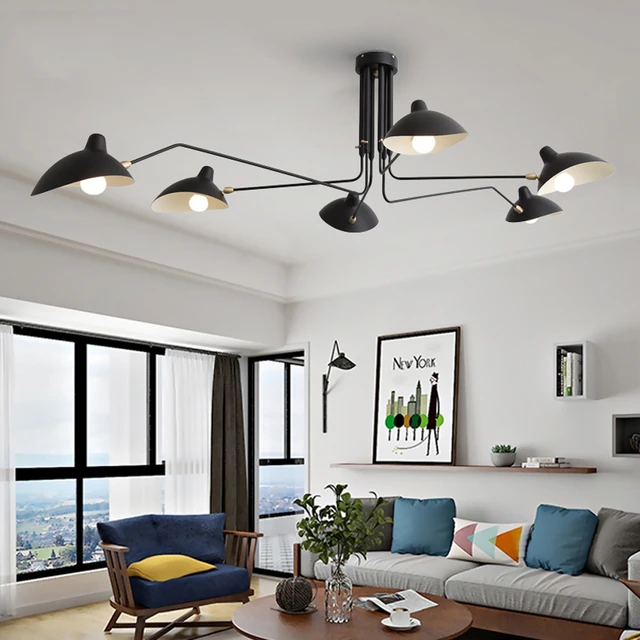
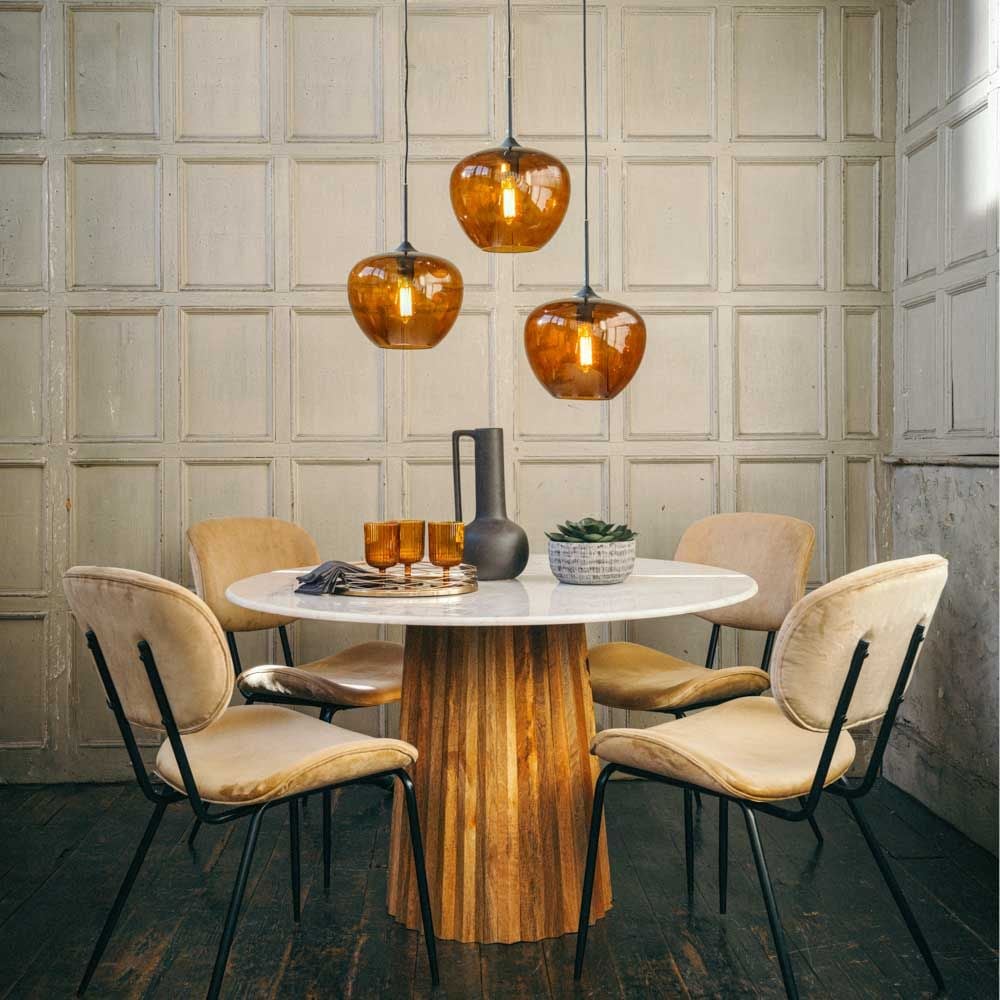
- Industrial Pendant Lights: Add an urban edge to your space with industrial-style pendant lights. These rugged fixtures feature exposed bulbs, metal hardware, and raw materials, making them perfect for loft apartments, industrial-inspired homes, and contemporary spaces.
- Sleek and Minimalist Designs: Keep it simple yet stylish with a sleek and minimalist chandelier. These understated fixtures feature clean lines, neutral finishes, and subtle details, making them versatile enough to complement any decor style.
Tips for Choosing the Right High Ceiling Chandelier
- Consider the Scale: When choosing a chandelier for high ceilings, consider the scale of the fixture in relation to the size of the room. Opt for a larger chandelier for spacious rooms to ensure it makes a statement without looking overwhelmed by the space.
- Match the Style: Choose a chandelier that complements the style of your home decor and architecture. Whether your style is traditional, modern, or eclectic, select a chandelier that enhances the overall aesthetic of the room.
- Mind the Height: Take into account the height of your ceilings when selecting a chandelier. Opt for a fixture with an adjustable chain or rod to accommodate varying ceiling heights and ensure proper placement.
- Consider the Lighting Needs: Think about the function of the room and the amount of light needed when choosing a chandelier. Select a fixture with multiple bulbs or adjustable brightness settings to provide ample illumination for your space.
Conclusion
With the right high ceiling chandelier, you can elevate the style and ambiance of any room in your home. Whether you prefer a grand crystal design, a sleek modern fixture, or a rustic farmhouse chandelier, there are endless options to suit your taste and style. Explore our high ceiling chandelier ideas and transform your space into a sophisticated and inviting retreat.