Are you considering installing a ceiling fan in your Charlotte, NC home? Discover everything you need to know about ceiling fan installation services in Charlotte, including expert tips and recommendations for a stress-free process.
Why Choose Professional Ceiling Fan Installation in Charlotte, NC?
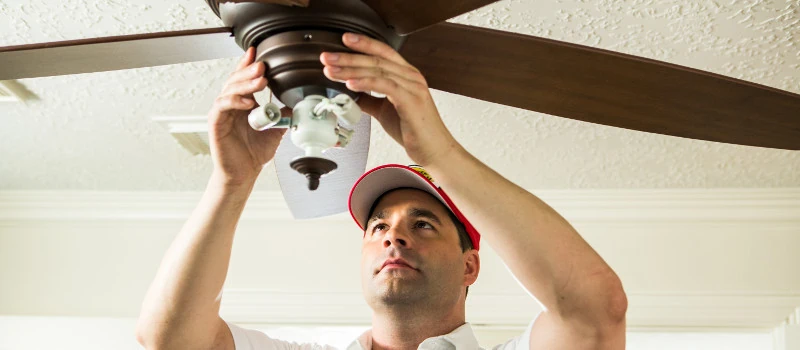
Installing a ceiling fan may seem like a straightforward task, but it requires precision, electrical expertise, and safety precautions to ensure optimal performance and longevity. Here are some compelling reasons to enlist the help of professional installers for your ceiling fan installation project in Charlotte, NC:
- Safety First: Professional electricians have the knowledge and experience to safely install ceiling fans, minimizing the risk of electrical hazards and ensuring compliance with local building codes and regulations.
- Proper Wiring and Mounting: Proper wiring and mounting are crucial for the efficient operation of ceiling fans. Professional installers have the skills and tools to securely mount the fan, balance the blades, and connect the wiring correctly for optimal performance.
- Time and Convenience: Hiring professionals saves you time and hassle, allowing you to focus on other priorities while experienced technicians handle the installation process efficiently and effectively.
- Warranty Protection: Many ceiling fan manufacturers require professional installation to maintain the warranty coverage. By hiring professionals, you ensure that your fan is installed correctly and protected under warranty for any potential issues that may arise.
Expert Tips for Ceiling Fan Installation in Charlotte, NC
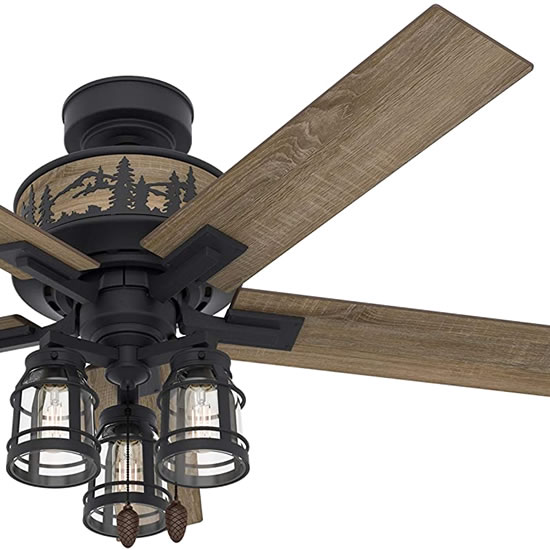
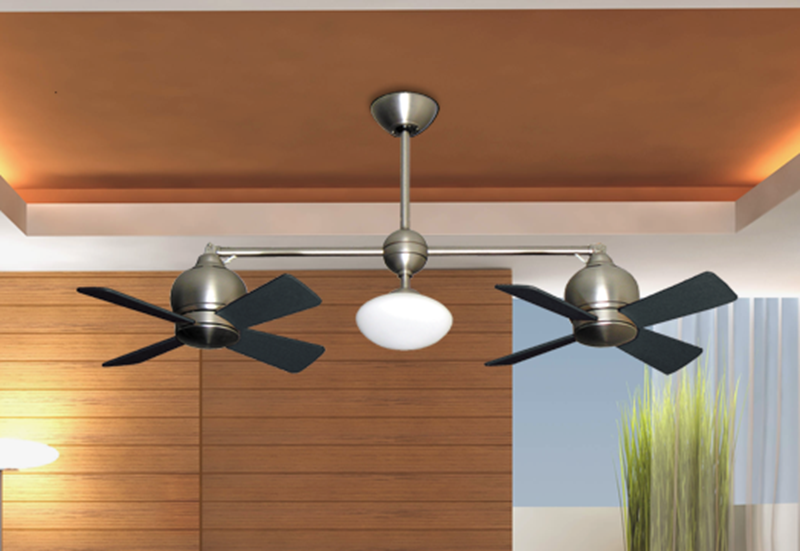
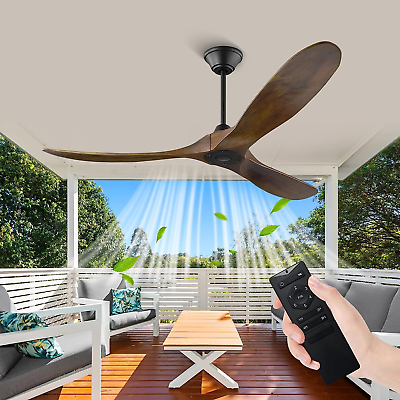
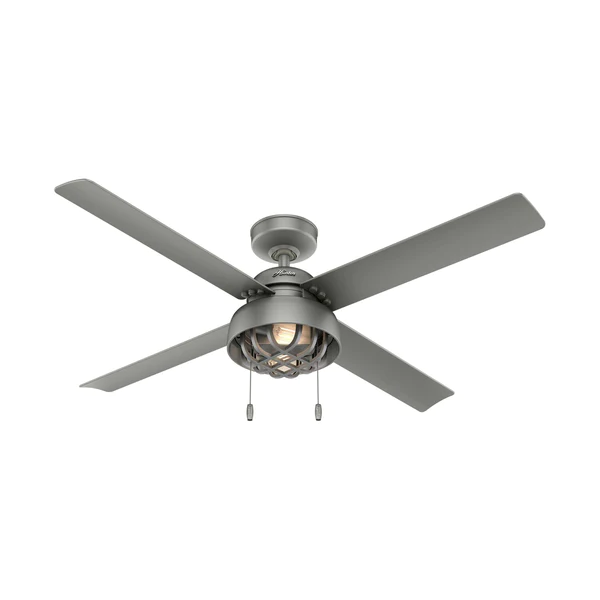
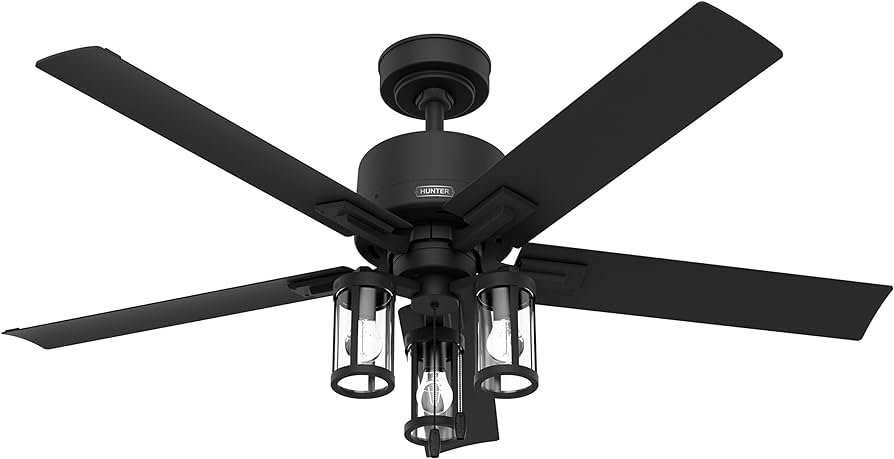
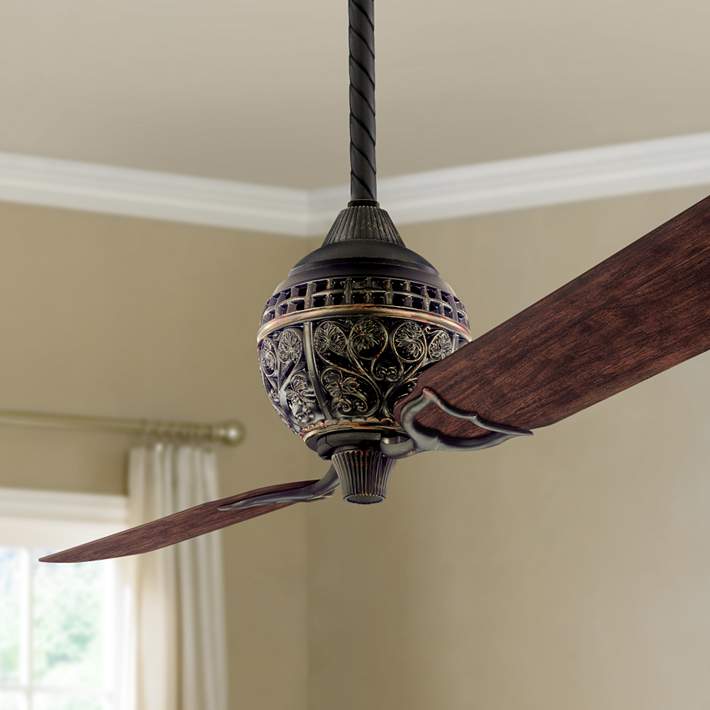
1. Choose the Right Size and Style
- Select a ceiling fan that complements the size and décor of your room. Consider factors such as blade span, blade material, and finish options to achieve the desired look and functionality.
2. Ensure Proper Electrical Wiring
- Before installing a ceiling fan, ensure that your home’s electrical wiring can support the additional load. If necessary, consult with a licensed electrician to upgrade the wiring and install the appropriate switches and controls.
3. Measure Twice, Install Once
- Take accurate measurements of the ceiling height and fan location before installing the fan. Ensure that there is sufficient clearance between the fan blades and any obstacles such as walls, lights, or furniture.
4. Balance the Blades
- After installing the ceiling fan, use a balancing kit to ensure that the blades are evenly weighted and aligned for smooth and quiet operation. Properly balanced blades help to reduce noise and vibration, prolonging the lifespan of the fan motor.
Read too: Discovering the Charm of Nautical Outdoor Ceiling Fans for Your Coastal Retreat: Sail into Style
Finding Reliable Ceiling Fan Installation Services in Charlotte, NC
When searching for professional ceiling fan installation services in Charlotte, NC, consider the following factors:
- Experience and Expertise: Choose a company with extensive experience and a proven track record of providing high-quality installation services in the Charlotte area.
- Licensing and Insurance: Verify that the installers are licensed, bonded, and insured to protect yourself and your property in case of any accidents or damages during the installation process.
- Customer Reviews and Recommendations: Check online reviews, testimonials, and referrals from previous customers to gauge the company’s reputation and customer satisfaction levels.
Conclusion
In conclusion, professional ceiling fan installation services in Charlotte, NC, offer numerous benefits, including safety, convenience, and peace of mind. By following expert tips and hiring reliable installers, you can enjoy the comfort and efficiency of your new ceiling fan for years to come.