In the realm of interior lighting design, versatility and functionality are paramount. When it comes to illuminating a space effectively while adding a touch of style, Swing Arm Ceiling Light fixtures stand out as a practical and aesthetically pleasing solution. In this comprehensive guide, we’ll explore the various aspects of Swing Arm Ceiling Lights, from their design and installation to their applications and benefits.
Understanding Swing Arm Ceiling Lights
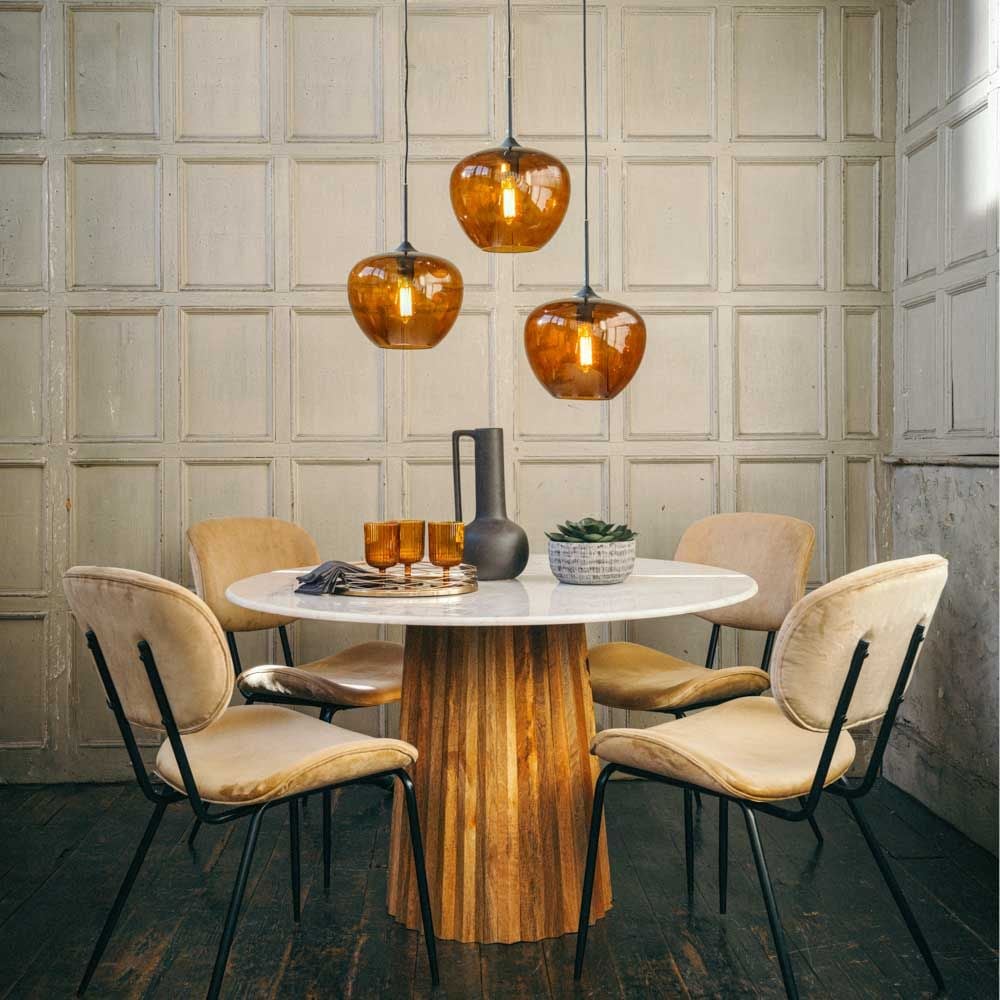
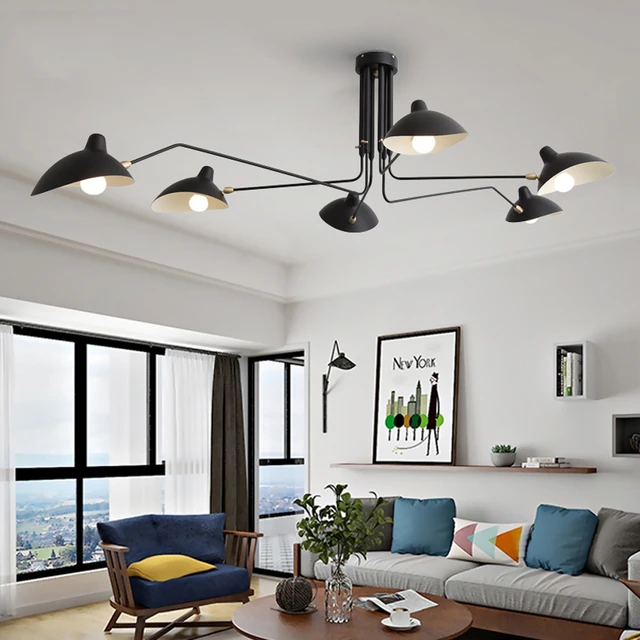
Swing Arm Ceiling Lights are fixtures designed to provide adjustable illumination while conserving valuable floor and table space. Unlike traditional ceiling lights that are fixed in place, these fixtures feature arms that can pivot and extend, allowing users to direct light precisely where it’s needed. Whether used for ambient lighting, task lighting, or accent lighting, Swing Arm Ceiling Lights offer versatility and flexibility that traditional fixtures cannot match.
Features and Benefits
- Adjustable Lighting: One of the primary advantages of Swing Arm Ceiling Lights is their ability to provide adjustable lighting. The swing arm mechanism allows users to pivot and extend the light source, making it easy to customize the illumination level and direction to suit specific tasks or activities.
- Space-Saving Design: Swing Arm Ceiling Lights are ideal for rooms where floor and table space is limited. By mounting the fixture directly to the ceiling and utilizing a swing arm design, these lights free up valuable surface area while still providing ample illumination.
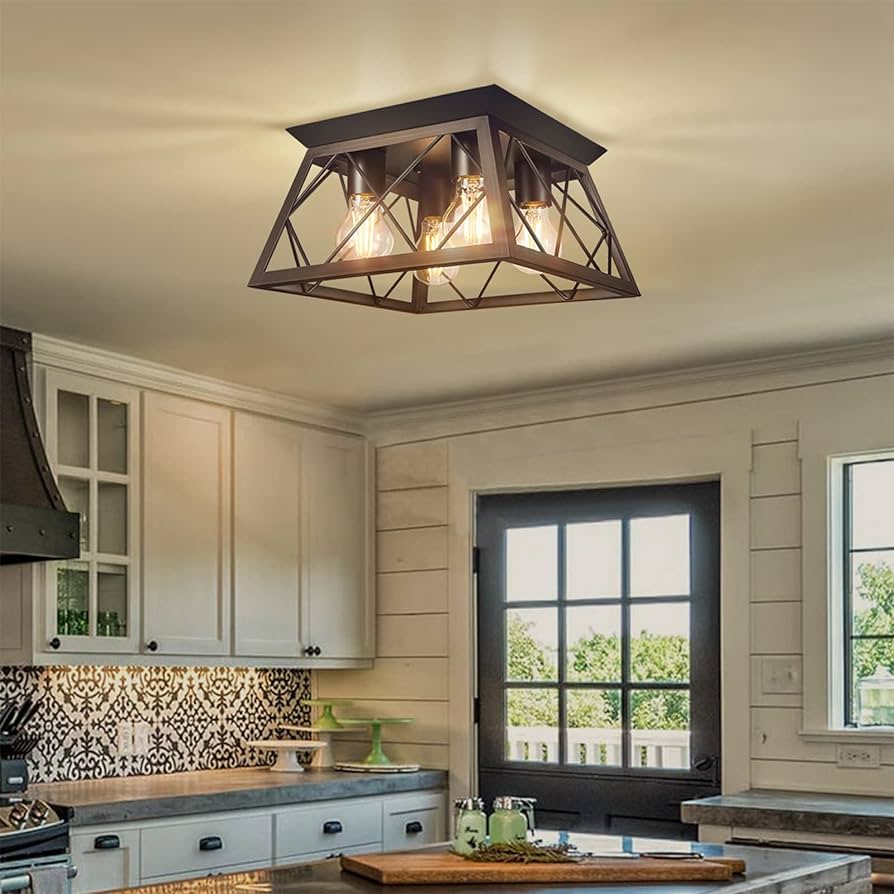
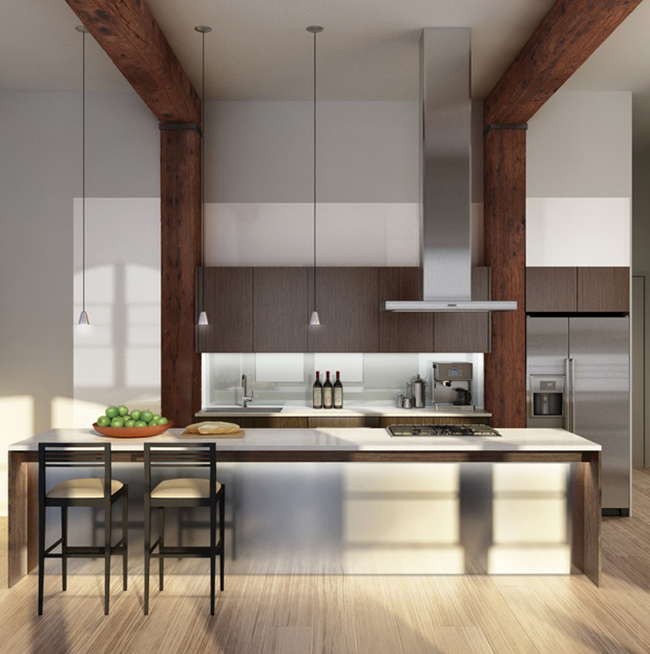
- Versatile Applications: From living rooms and bedrooms to home offices and kitchens, Swing Arm Ceiling Lights can be used in a variety of settings and applications. They are equally well-suited for providing ambient lighting in large spaces and task lighting in smaller, more focused areas.
- Stylish Design Options: Swing Arm Ceiling Lights are available in a wide range of styles, finishes, and designs to complement any décor scheme. Whether you prefer a sleek and modern aesthetic or a more traditional and ornate look, there’s a Swing Arm Ceiling Light to suit your taste and preferences.
Choosing the Right Swing Arm Ceiling Light
When selecting a Swing Arm Ceiling Light for your space, there are several factors to consider to ensure optimal performance and aesthetics:
- Size and Scale: Choose a fixture size and scale that is proportional to the room and ceiling height. Oversized fixtures can overwhelm a space, while undersized fixtures may not provide sufficient illumination.
- Finish and Style: Select a finish and style that complements the existing décor of the room. Popular finishes include brushed nickel, bronze, chrome, and matte black, while styles range from sleek and minimalist to ornate and decorative.
- Adjustability: Look for fixtures with a wide range of motion and adjustability to accommodate different lighting needs and preferences. Swivel, pivot, and extendable arms provide maximum flexibility in directing light where it’s needed most.
- Lighting Technology: Consider the type of lighting technology used in the fixture, such as LED, incandescent, or fluorescent. LED lights are energy-efficient and long-lasting, making them a popular choice for Swing Arm Ceiling Lights.
Installation and Maintenance Tips
Installing and maintaining a Swing Arm Ceiling Light is relatively straightforward, but there are a few tips to keep in mind to ensure a successful and trouble-free experience:
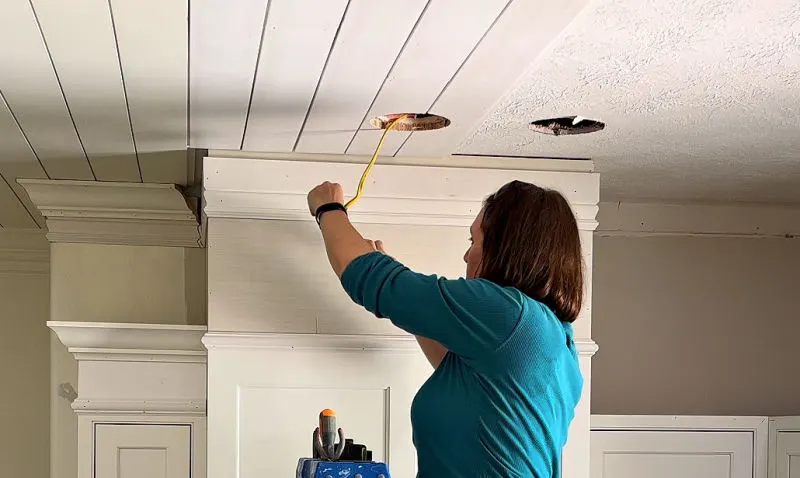
- Secure Mounting: Ensure that the ceiling mount is securely anchored to the ceiling joists or a support bracket to prevent the fixture from sagging or coming loose over time.
- Proper Wiring: Follow the manufacturer’s instructions carefully when wiring the fixture to ensure safe and reliable operation. If you’re not comfortable with electrical work, hire a qualified electrician to install the fixture for you.
- Regular Cleaning: Keep the fixture clean and free of dust and debris to maintain optimal performance and appearance. Use a soft, dry cloth to wipe down the fixture periodically, and avoid using harsh chemicals or abrasive cleaners that could damage the finish.
Conclusion
In conclusion, Swing Arm Ceiling Lights are versatile and practical lighting fixtures that offer adjustable illumination and space-saving design. Whether used for ambient lighting, task lighting, or accent lighting, these fixtures provide flexibility and functionality that traditional ceiling lights cannot match. With a wide range of styles, finishes, and designs to choose from, there’s a Swing Arm Ceiling Light to suit any décor scheme and lighting need.