Floor-to-Ceiling Windows Apartments in Chicago. Chicago is a city of dreams, a place where anything is possible. And if you’re looking to live the high life, there’s no better way to do it than in an apartment with floor-to-ceiling windows.

What are Floor-to-Ceiling Windows Apartments?
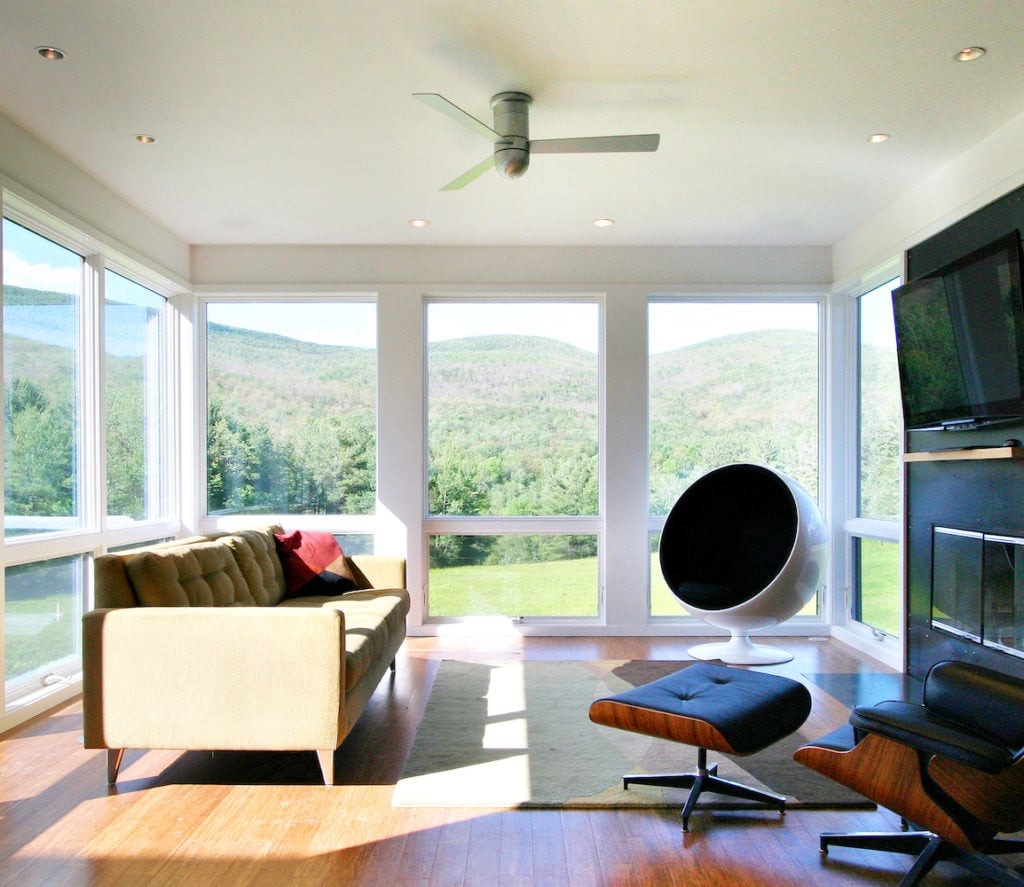
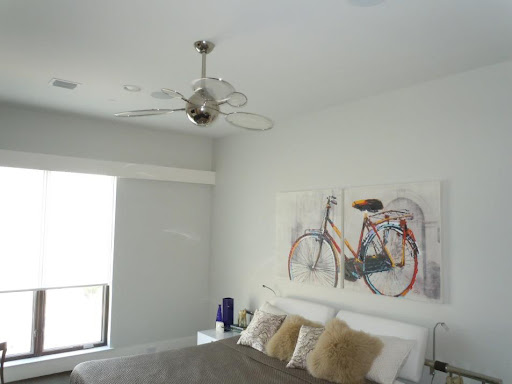
Floor-to-ceiling windows apartments are exactly what they sound like: apartments with windows that extend from the floor to the ceiling. These windows offer stunning views of the city, and they can make even the smallest apartment feel spacious and luxurious.
Benefits
There are many benefits to choosing an apartment with floor-to-ceiling windows. Some of the most notable benefits include:
- Stunning views: Floor-to-ceiling windows offer stunning views of the city. Whether you’re looking out at the skyline or the lake, you’ll be able to enjoy the beauty of Chicago from the comfort of your own home.
- More natural light: Floor-to-ceiling windows let in more natural light, which can make your apartment feel brighter and more cheerful. Natural light has also been shown to improve mood and productivity.
- A more spacious feel: Floor-to-ceiling windows can make even the smallest apartment feel spacious and luxurious. The windows create the illusion of more space, and they can make your apartment feel more open and airy.
- Increased property value: Apartments with floor-to-ceiling windows are in high demand, and they can command a higher rent or sale price. If you’re looking to invest in real estate, an apartment with floor-to-ceiling windows is a great option.
Where to Find Floor-to-Ceiling Windows Apartments in Chicago
There are many great places to find floor-to-ceiling windows apartments in Chicago. Some of the most popular neighborhoods include:
- The Loop: The Loop is the heart of downtown Chicago, and it’s home to many high-rise buildings with floor-to-ceiling windows.
- River North: River North is a trendy neighborhood with a mix of residential and commercial buildings. It’s home to many luxury apartments with floor-to-ceiling windows.
- Gold Coast: The Gold Coast is a historic neighborhood with some of the most beautiful architecture in Chicago. It’s home to many luxury apartments with floor-to-ceiling windows.
- Lincoln Park: Lincoln Park is a family-friendly neighborhood with a mix of residential and commercial buildings. It’s home to many apartments with floor-to-ceiling windows.
How to Choose the Right Floor-to-Ceiling Windows Apartment
When choosing an apartment with floor-to-ceiling windows, there are a few factors to consider. Some of the most important factors include:
- The view: Consider the view that you want from your apartment. Do you want to look out at the skyline, the lake, or a park?
- The size of the apartment: Floor-to-ceiling windows can make a small apartment feel larger. However, if you have a lot of furniture, you may want to choose a larger apartment.
- The location: Consider the location of the apartment. Do you want to live in the heart of downtown or in a more relaxed neighborhood?
- The price: Floor-to-ceiling windows apartments can be more expensive than apartments with traditional windows. However, the benefits of floor-to-ceiling windows may be worth the extra cost.
Conclusion
Floor-to-ceiling windows apartments offer stunning views, more natural light, and a more spacious feel. If you’re looking to live the high life in Chicago, an apartment with floor-to-ceiling windows is a great option.