Lighting plays a crucial role in shaping the ambiance and functionality of a space. Among the many lighting options available today, LED suspended ceiling lights stand out due to their modern aesthetics, energy efficiency, and versatility. Whether you’re designing a contemporary office, upgrading your home, or renovating a retail space, suspended ceiling lights can dramatically transform the atmosphere while providing the illumination needed for various tasks. In this comprehensive guide, we will delve into what LED suspended ceiling lights are, their benefits, design options, installation methods, and maintenance tips.
What Are LED Suspended Ceiling Lights?
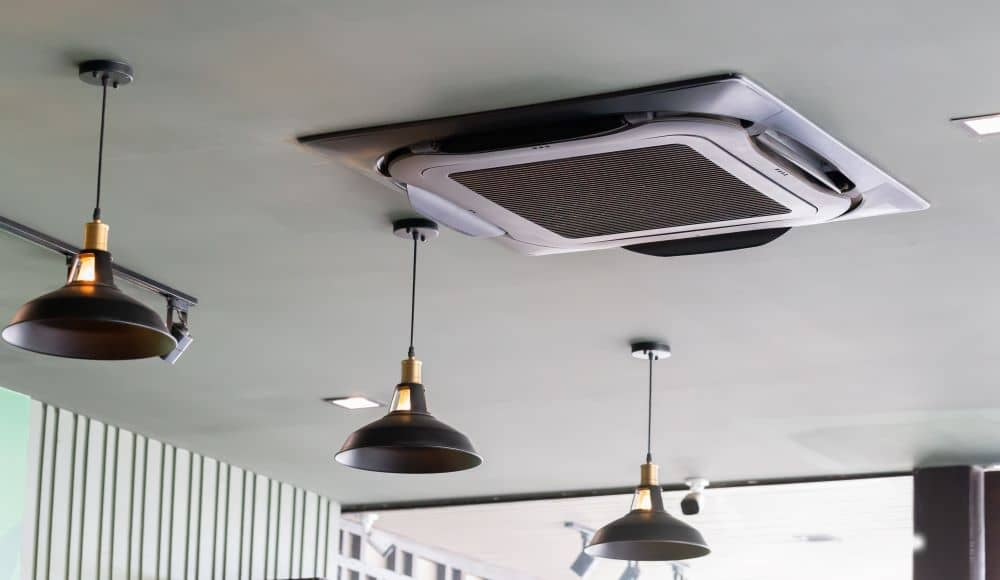
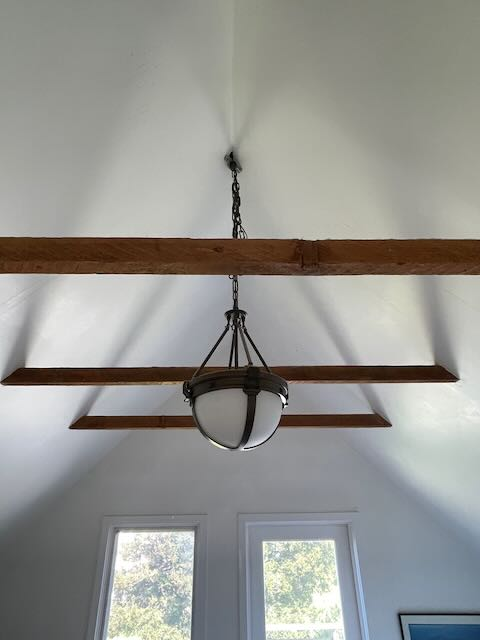
LED suspended ceiling lights are lighting fixtures that hang from the ceiling, often using cables or rods. Unlike traditional ceiling-mounted fixtures, these lights create a stylish look that can enhance any interior design theme. They can be used for general lighting, accent lighting, or task lighting, making them a versatile choice for both residential and commercial spaces.
Key Characteristics of LED Suspended Ceiling Lights
- Energy Efficiency: LED technology consumes significantly less energy than traditional incandescent or fluorescent lights, making it an eco-friendly choice.
- Longevity: LEDs have a much longer lifespan, typically lasting 25,000 to 50,000 hours compared to the 1,000 hours of incandescent bulbs.
- Low Heat Emission: LED lights emit very little heat, reducing the cooling costs associated with traditional lighting.
- Variety of Designs: From sleek linear fixtures to modern geometric shapes, LED suspended ceiling lights come in a multitude of designs to suit any decor.
- Adjustable Height: Many suspended lights offer adjustable height options, allowing for customization based on the needs of the space.
Read too: Kitchen Lighting For A Vaulted Ceiling: Illuminating Your Space with Style and Functionality
Benefits of Using LED Suspended Ceiling Lights
1. Aesthetic Appeal
One of the primary benefits of LED suspended ceiling lights is their visual impact. They can serve as a statement piece in any room, drawing attention to architectural features or creating focal points in an otherwise bland space. Available in various designs, finishes, and colors, these lights can complement your decor style, whether it’s minimalist, industrial, or traditional.
2. Enhanced Lighting Quality
LED suspended ceiling lights provide high-quality, bright illumination that can be directed where it is needed most. This makes them perfect for areas that require focused lighting, such as kitchens, workspaces, and reading nooks. Furthermore, many LED lights offer adjustable color temperatures, allowing users to choose between warm and cool tones to suit different moods and activities.
3. Energy Savings
Switching to LED suspended ceiling lights can significantly reduce energy consumption. According to the U.S. Department of Energy, LED lighting uses at least 75% less energy than traditional incandescent lighting. This not only lowers electricity bills but also contributes to a reduction in carbon footprint, making LED lights a sustainable choice for environmentally conscious consumers.
4. Versatility in Application
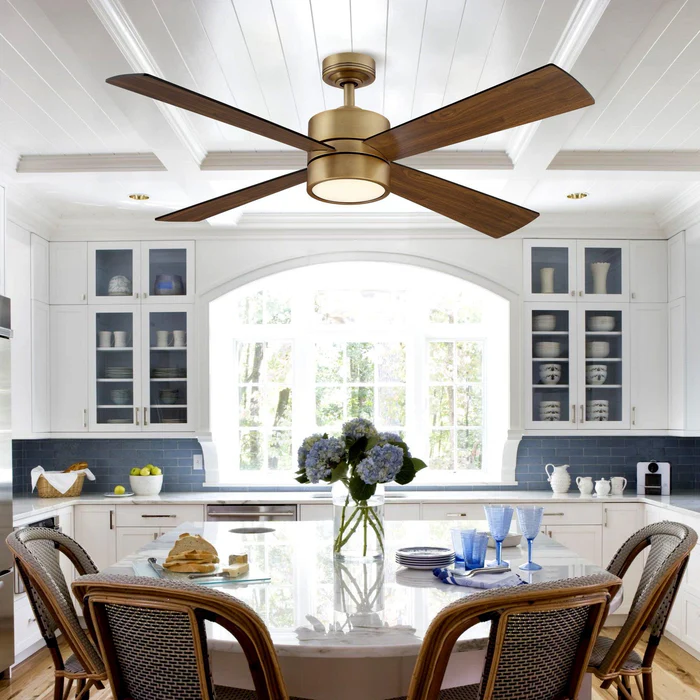
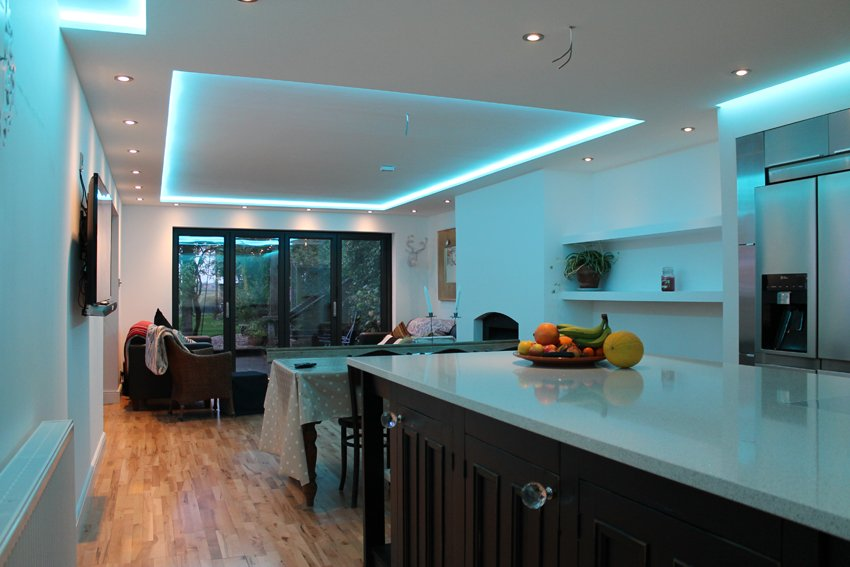
These lights are incredibly versatile and can be used in a variety of settings. In residential homes, they are perfect for dining rooms, living areas, and hallways. In commercial spaces, such as offices, retail stores, and galleries, suspended ceiling lights can enhance the overall ambiance while providing effective task lighting.
5. Easy Maintenance
LED suspended ceiling lights require minimal maintenance compared to traditional lighting options. With their long lifespan and durability, users can enjoy years of service without the frequent need for bulb replacements. Additionally, many LED fixtures come with dust and moisture-resistant features, making them easier to clean and maintain.
Types of LED Suspended Ceiling Lights
When selecting LED suspended ceiling lights, you’ll find a wide variety of styles and types to choose from. Here are some popular options:
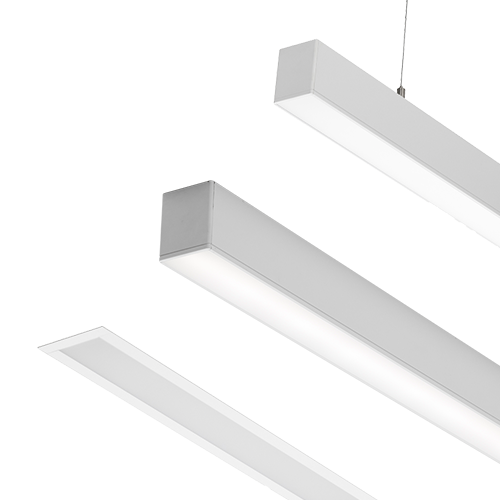
1. Linear LED Suspended Lights
Linear fixtures are long, slim lights that can be hung individually or in a series. They are perfect for illuminating long spaces, such as corridors or kitchen islands, providing even light distribution without shadows.
2. Pendant Lights
Pendant lights are a classic choice for suspended lighting. They come in various shapes and sizes, from simple globes to intricate designs. Pendants can be used to create a focal point in a room or grouped together for a dramatic effect over dining tables or kitchen islands.
3. Adjustable Rod Lights
These fixtures allow for height adjustments, making them suitable for spaces with varying ceiling heights. Users can customize the lighting to suit their needs, whether for task lighting or ambient illumination.
4. Decorative LED Fixtures
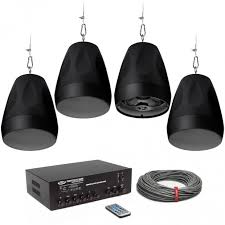
These lights are designed with aesthetics in mind. They may feature artistic designs or unique materials, such as glass or metal, to add a stylish touch to any room. Decorative LED suspended lights can serve as statement pieces in a home or commercial setting.
5. Recessed and Surface-Mounted Options
While technically not suspended, recessed lighting can be combined with suspended fixtures for layered lighting effects. Surface-mounted LED fixtures can also be integrated into ceiling designs for a clean and modern look.
Installation of LED Suspended Ceiling Lights
Installing LED suspended ceiling lights can be a straightforward process, but it’s essential to follow the correct steps to ensure safety and functionality. Here’s a general guide to the installation process:
1. Gather Materials and Tools
Before starting the installation, ensure you have all necessary materials, including the LED light fixture, mounting hardware, electrical wires, and a power drill. Tools you might need include a screwdriver, measuring tape, and a level.
2. Turn Off Power
Safety is paramount when working with electrical fixtures. Before beginning the installation, turn off the power to the circuit where the light will be installed at the main electrical panel.
3. Determine Placement
Decide where you want to install the suspended light. Measure and mark the ceiling to ensure that the fixture will be centered and at the desired height.
4. Install the Mounting Bracket
Most LED suspended ceiling lights come with a mounting bracket that must be securely attached to the ceiling. Use a drill to attach the bracket to the ceiling, ensuring it is level.
5. Connect the Wiring
Carefully connect the fixture’s electrical wires to the corresponding wires in the ceiling. Typically, this involves connecting the black (live) wire to the black wire, the white (neutral) wire to the white wire, and grounding the green or bare wire.
6. Attach the Fixture
Once the wiring is securely connected, attach the LED fixture to the mounting bracket according to the manufacturer’s instructions. Ensure all screws and fasteners are tightened properly.
7. Adjust Height and Position
If your fixture is adjustable, set it to the desired height and angle. Use a level to ensure the fixture is perfectly straight.
8. Restore Power and Test
After everything is installed, turn the power back on at the electrical panel and test the light to ensure it works correctly. If it doesn’t light up, double-check the wiring connections.
Maintenance Tips for LED Suspended Ceiling Lights
Maintaining your LED suspended ceiling lights is essential to ensure their longevity and performance. Here are some practical maintenance tips:
1. Regular Cleaning
Dust and debris can accumulate on light fixtures, reducing their brightness and efficiency. Regularly wipe down the fixtures with a soft, damp cloth to keep them clean. Avoid using harsh chemicals that could damage the finish.
2. Check Connections
Periodically inspect the electrical connections to ensure they remain secure. Loose wires can lead to flickering lights or complete failure of the fixture.
3. Replace Components as Needed
While LEDs have a long lifespan, they may still need occasional component replacements, such as drivers or transformers. Consult the manufacturer’s guidelines for replacement schedules.
4. Monitor for Flickering
If you notice flickering lights, it may indicate a problem with the fixture, the wiring, or the power source. Investigate the issue promptly to prevent further damage or safety hazards.
Conclusion
LED suspended ceiling lights are a fantastic lighting solution for both residential and commercial spaces. Their combination of energy efficiency, aesthetic appeal, and versatility makes them a top choice for anyone looking to enhance their interior design. By understanding the various types of fixtures available, their benefits, and the installation and maintenance processes, you can make informed decisions that will improve the functionality and ambiance of your space.
Investing in LED suspended ceiling lights not only upgrades your lighting but also contributes to a more sustainable future, making them an excellent addition to any modern home or business.