Armstrong Sahara ceiling tile offers a stylish and practical solution for enhancing the look and feel of any interior space. Whether you’re renovating a commercial office, a retail store, or a residential home, Armstrong Sahara ceiling tile can elevate your décor with its timeless design and superior performance. In this comprehensive guide, we’ll explore the features, benefits, and installation considerations of Armstrong Sahara ceiling tile, empowering you to transform your space with confidence and ease.
Understanding Armstrong Sahara Ceiling Tile
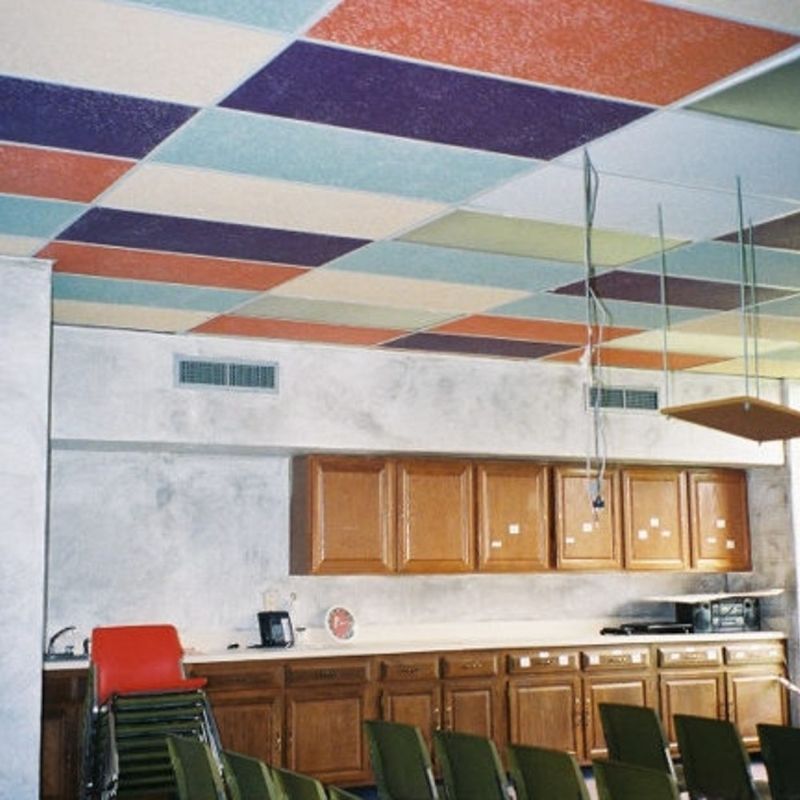
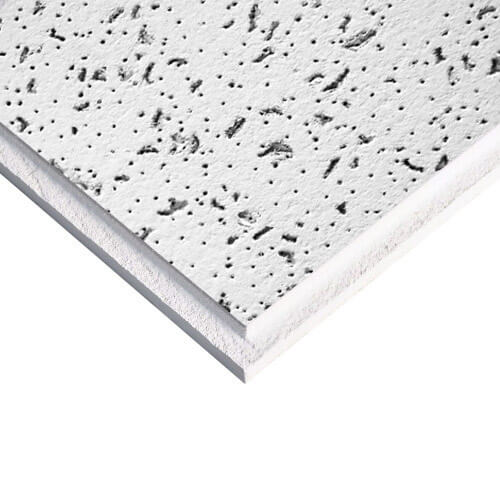
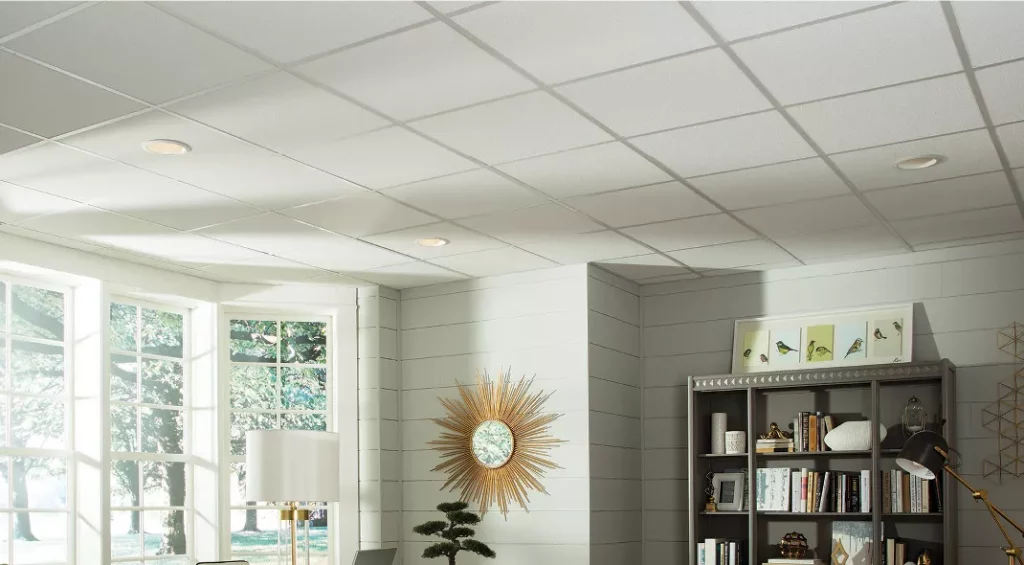
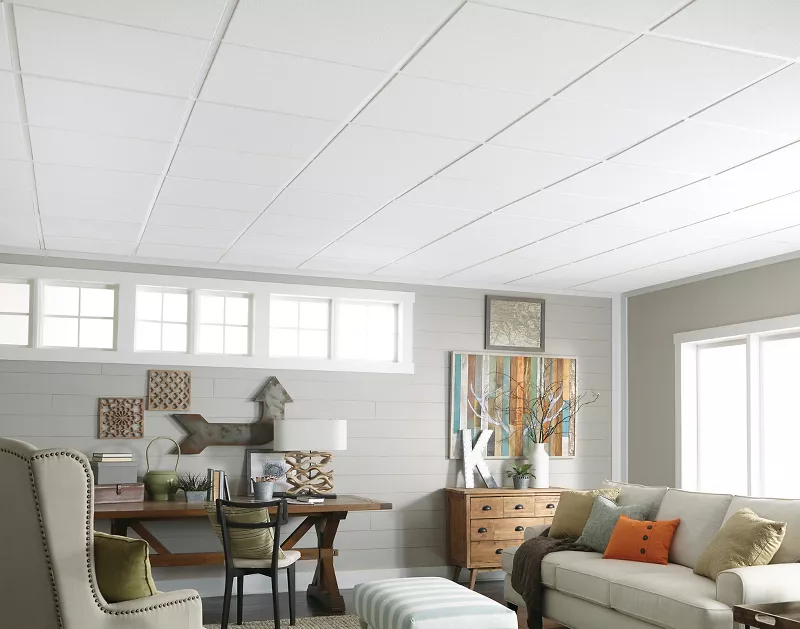
Armstrong Sahara ceiling tile is a premium ceiling product known for its high-quality construction, durability, and aesthetic appeal. Featuring a smooth, finely textured surface and a classic square edge design, Sahara ceiling tile adds a touch of sophistication to any room. Available in a variety of sizes, colors, and finishes, Sahara ceiling tile offers versatility and flexibility to suit a wide range of design preferences and project requirements.
Read too: How To Extend Kitchen Cabinets To The Ceiling: A Complete Guide for Maximizing Space and Style
Benefits of Armstrong Sahara Ceiling Tile
- Timeless Design: Sahara ceiling tile’s classic square edge design and smooth surface create a timeless look that complements any interior décor style, from traditional to contemporary.
- Durability: Constructed from durable materials, Sahara ceiling tile is built to withstand the rigors of daily use, making it ideal for high-traffic areas such as offices, retail spaces, and healthcare facilities.
- Acoustic Performance: Sahara ceiling tile is engineered to provide excellent sound absorption, helping to improve acoustics and reduce noise levels in interior spaces for enhanced comfort and productivity.
- Easy Installation: With its lightweight construction and compatibility with standard grid systems, Sahara ceiling tile is easy to install, saving time and labor costs during the renovation process.
Design Options
Armstrong Sahara ceiling tile offers a variety of design options to suit your project needs:
- Size: Choose from standard sizes such as 2’x2′ or 2’x4′ to fit your ceiling grid system and room dimensions.
- Color: Select from a range of colors, including classic white and various shades of gray, beige, and taupe, to complement your design scheme.
- Finish: Opt for a smooth or textured finish, depending on your preference for a sleek or more tactile surface.
Installation Considerations
When installing Armstrong Sahara ceiling tile, consider the following factors:
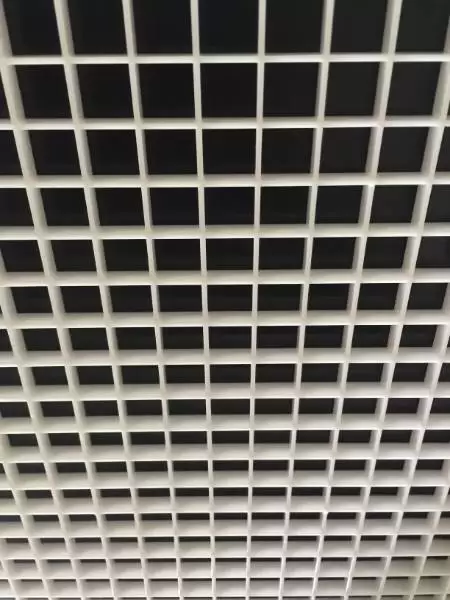
- Ceiling Grid Compatibility: Ensure that Sahara ceiling tile is compatible with your existing ceiling grid system or select a grid system that is compatible with Sahara tile.
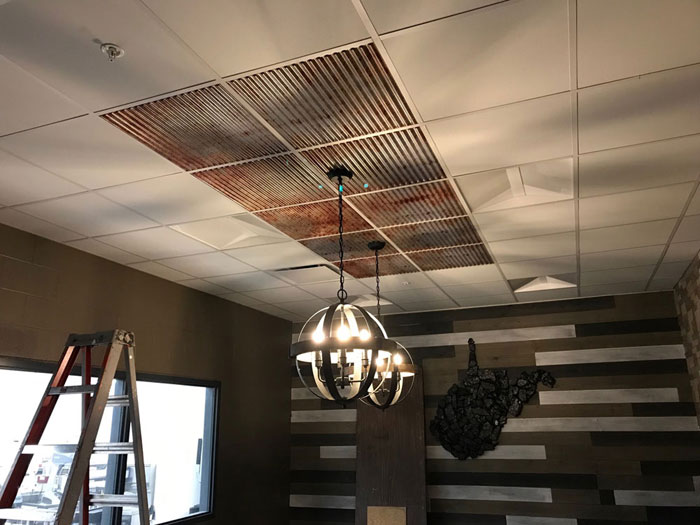
- Room Layout: Plan the layout of the ceiling tiles to ensure a balanced and visually appealing installation, taking into account lighting fixtures, air vents, and other ceiling elements.
- Professional Installation: For optimal results, consider hiring a professional contractor with experience installing ceiling tile to ensure proper alignment, spacing, and installation techniques.
Maintenance and Care
To maintain the beauty and performance of Armstrong Sahara ceiling tiles, follow these maintenance tips:
- Regular Cleaning: Clean the ceiling tiles periodically with a soft brush or vacuum attachment to remove dust and debris.
- Avoid Harsh Chemicals: Use mild cleaning solutions and avoid abrasive or acidic cleaners that may damage the surface of the tiles.
- Inspect for Damage: Periodically inspect the ceiling tiles for signs of damage, such as cracks, stains, or water damage, and address any issues promptly to prevent further damage.
Conclusion
Armstrong Sahara ceiling tiles offers a versatile and elegant solution for enhancing the look and feel of any interior space. With its timeless design, durability, and superior performance, Sahara ceiling tile is the perfect choice for commercial and residential projects alike. By understanding the features, benefits, and installation considerations of Armstrong Sahara ceiling tiles, you can transform your space with confidence and create a stylish and functional environment that stands the test of time.