Adding shiplap to vaulted ceilings brings a rustic and inviting aesthetic to any space. In this comprehensive guide, we’ll explore the process of installing shiplap on vaulted ceiling, along with design tips and the advantages of incorporating this classic material into your home decor.
Embracing Rustic Charm: Shiplap On Vaulted Ceilings
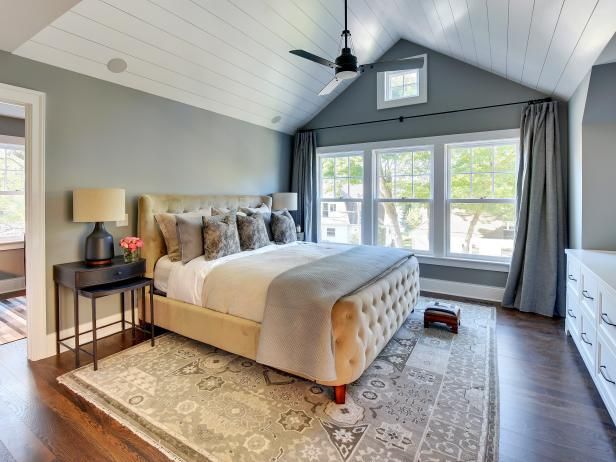
Shiplap is a type of wooden board commonly used in interior design to create a rustic, farmhouse-inspired look. When installed on vaulted ceilings, shiplap adds warmth and character to the space, enhancing its architectural features and creating a cozy atmosphere.
Installation Guide
Follow these steps to install shiplap on a vaulted ceiling:
1. Measure and Prepare the Ceiling
- Measure the dimensions of the vaulted ceiling to determine the amount of shiplap needed.
- Prepare the ceiling surface by removing any existing finishes or debris and ensuring it is clean and dry.
2. Choose the Right Materials
- Select high-quality shiplap boards in your desired wood species and finish.
- Consider factors such as board width, thickness, and tongue-and-groove design for seamless installation.
Read too: Discovering the Charm of Nautical Outdoor Ceiling Fans for Your Coastal Retreat: Sail into Style
3. Install Furring Strips
- Attach furring strips perpendicular to the ceiling joists using screws or nails, spaced according to the width of the shiplap boards.
- Ensure that the furring strips are level and securely fastened to provide a stable base for the shiplap installation.
4. Install Shiplap Boards
- Begin installing shiplap boards at one end of the ceiling, starting from the bottom and working your way up.
- Secure each board to the furring strips using nails or screws driven through the tongue at an angle.
- Leave a small gap between each board to accommodate expansion and contraction.
5. Finish and Seal
- Once all the shiplap boards are installed, fill any nail holes or gaps with wood filler and sand the surface smooth.
- Apply a coat of wood stain or paint to enhance the natural beauty of the shiplap and protect it from moisture and wear.
Design Considerations for Shiplap On Vaulted Ceilings
When incorporating shiplap into your vaulted ceiling design, consider the following factors:
- Color and Finish: Choose a stain or paint color that complements your existing decor and enhances the rustic charm of the shiplap.
- Orientation: Decide whether to install the shiplap boards horizontally, vertically, or diagonally for different visual effects.
- Accent Lighting: Explore options for incorporating recessed lighting or pendant fixtures into the shiplap ceiling to highlight its texture and create ambiance.
Benefits of Shiplap On Vaulted Ceilings
Adding shiplap to your vaulted ceilings offers several advantages, including:
- Enhanced Aesthetic: Shiplap adds texture and visual interest to vaulted ceilings, creating a cozy and inviting atmosphere.
- Increased Insulation: The added layer of wood provides additional insulation, helping to regulate indoor temperatures and improve energy efficiency.
- Versatile Design: Shiplap is a versatile material that can be painted, stained, or left unfinished to suit a variety of design styles and preferences.
Conclusion
Installing shiplap on vaulted ceilings is a surefire way to infuse rustic charm and timeless elegance into your home decor. With its straightforward installation process, versatile design options, and numerous benefits, shiplap offers a simple yet impactful way to transform any space into a cozy retreat.