Lighting plays a crucial role in interior design, and Mid Century Modern ceiling fixtures offer the perfect blend of functionality and aesthetics. With their sleek lines, geometric shapes, and warm illumination, these fixtures can instantly transform any room into a sophisticated space.
If you’re looking to incorporate Mid Century Modern ceiling fixtures into your home, this guide will provide insights into their history, key design features, types, and tips for choosing the right one.
The History of Mid Century Modern Ceiling Fixtures
The Mid Century Modern (MCM) design movement emerged between the 1940s and 1970s, heavily influenced by the Bauhaus movement and Scandinavian design principles. It emphasized clean lines, minimalism, and organic forms while integrating new materials and industrial advancements.
Ceiling fixtures from this era reflect these ideals, combining functionality with artistic expression. The introduction of atomic-inspired designs, brass finishes, and bold geometric structures created lighting fixtures that were both practical and decorative.
Read too: Bathroom Flooded Through the Ceiling: A Comprehensive Guide
Today, Mid Century Modern ceiling fixtures remain a staple in contemporary interior design, providing vintage charm with a modern touch.
Key Features of Mid Century Modern Ceiling Fixtures
When selecting Mid Century Modern ceiling fixtures, look for these defining characteristics:
1. Geometric Shapes
- Many fixtures feature clean lines, starbursts, and sputnik designs.
- Round, dome-shaped, and linear fixtures are common.
2. Sleek and Minimalist Design
- These fixtures avoid excessive ornamentation, focusing on simplicity and balance.
- Materials like metal, glass, and wood create a refined aesthetic.
3. Warm and Ambient Lighting
- Mid Century Modern lighting often uses warm-toned bulbs to create a cozy atmosphere.
- Frosted or opal glass diffusers help soften the light.
4. Brass, Gold, and Matte Black Finishes
- Polished brass and gold accents are signature elements.
- Matte black fixtures provide a bold contrast.
5. Functional and Versatile
- Many designs are adjustable, allowing homeowners to direct light where needed.
- Some fixtures integrate multiple bulbs for a layered lighting effect.
These features make Mid Century Modern ceiling fixtures an excellent choice for anyone wanting a timeless yet contemporary look.
Types of Mid Century Modern Ceiling Fixtures
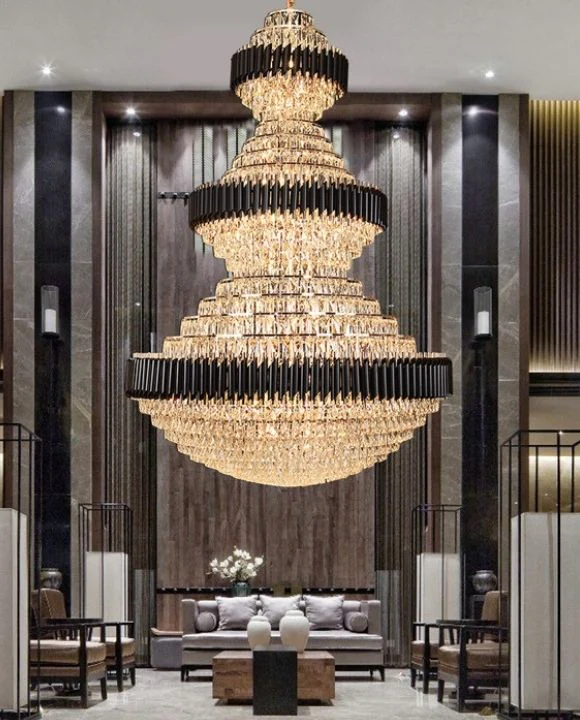
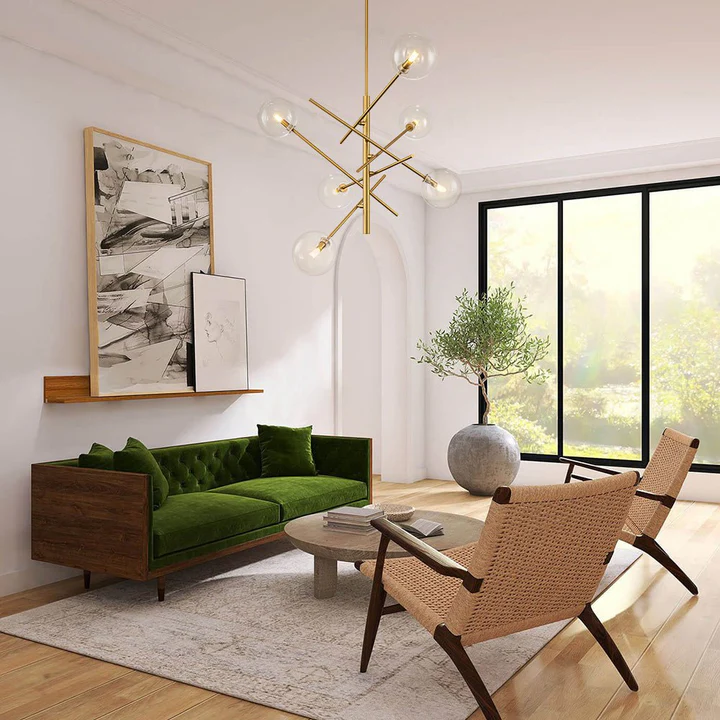
1. Sputnik Chandeliers
One of the most iconic designs of the Mid Century Modern era, the Sputnik chandelier is inspired by the 1957 Soviet satellite.
✅ Features:
- Multiple arms extending from a central sphere.
- Exposed bulbs for a radiant glow.
- Available in brass, chrome, or matte black finishes.
✅ Best for:
- Living rooms, dining areas, and entryways.
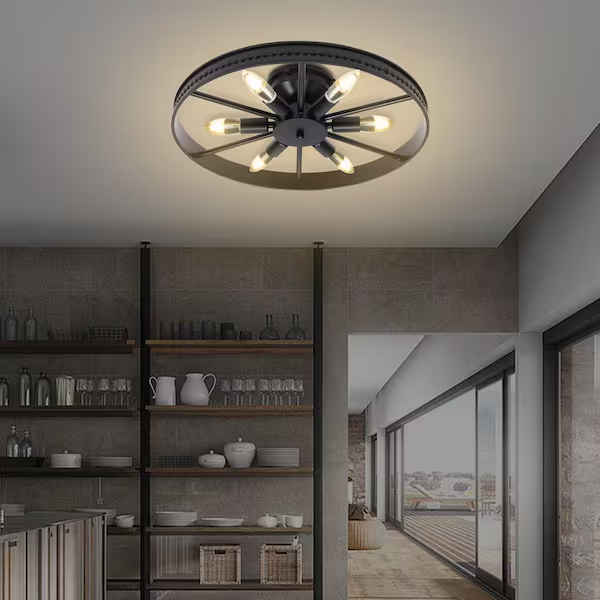
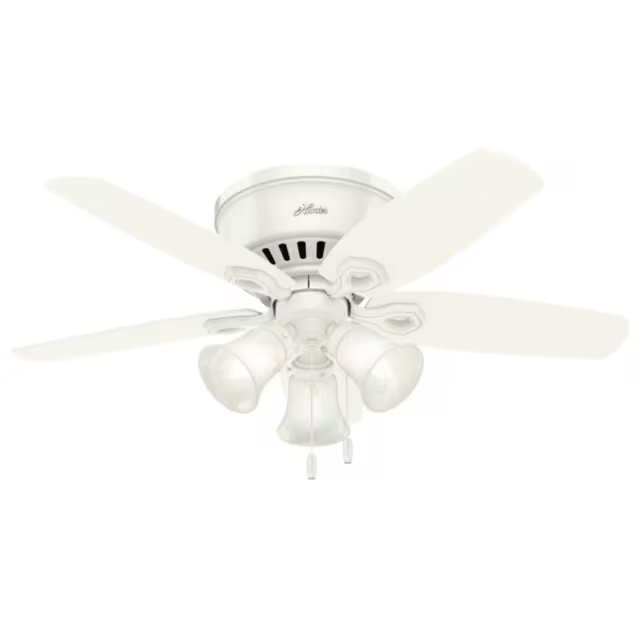
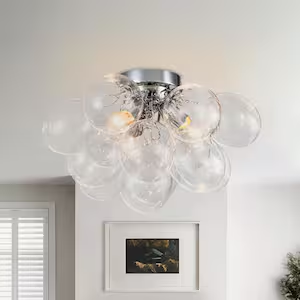
2. Flush Mount Ceiling Lights
For a more subtle yet stylish approach, flush mount ceiling lights provide sleek illumination without overpowering a space.
✅ Features:
- Compact design, ideal for low ceilings.
- Frosted or clear glass covers for diffused lighting.
- Often crafted with brass, wood, or metal accents.
✅ Best for:
- Hallways, bedrooms, and small spaces.
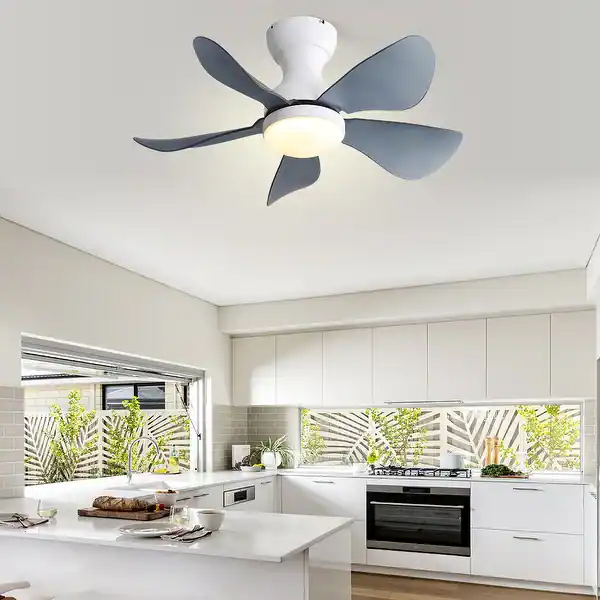
3. Semi-Flush Mount Lights
A combination of flush mount and pendant lighting, semi-flush mount fixtures extend slightly from the ceiling, creating a visually appealing effect.
✅ Features:
- Works well with mid-height ceilings.
- Offers a statement look without overwhelming a room.
- Various styles, from globe-shaped to geometric designs.
✅ Best for:
- Kitchens, home offices, and foyers.
4. Globe Pendant Lights
A hallmark of Mid Century Modern design, globe pendant lights feature a rounded glass shade, often suspended by a sleek rod or cord.
✅ Features:
- Available in single or multiple-globe configurations.
- Can be hung at varying heights for a dynamic look.
- Typically found in frosted, clear, or smoked glass options.
✅ Best for:
- Dining tables, kitchen islands, and bedrooms.
5. Starburst or Atomic-Inspired Fixtures
These eye-catching fixtures feature radiating arms and unique bulb placements, embodying the futuristic appeal of the Mid Century era.
✅ Features:
- Asymmetrical or symmetrical designs.
- Retro yet modern aesthetic.
- Great as a statement piece.
✅ Best for:
- Living rooms, entertainment areas, and dining rooms.
How to Choose the Right Mid Century Modern Ceiling Fixture
1. Consider Your Space and Ceiling Height
- For high ceilings, opt for chandeliers or pendant lights to add depth and drama.
- For low ceilings, choose flush mount or semi-flush mount fixtures to avoid overpowering the space.
2. Match the Fixture to Your Interior Style
- If your home features wood tones and warm colors, go for brass or gold-finished fixtures.
- If your space is minimalist and monochromatic, a matte black or chrome fixture might be ideal.
3. Choose the Right Light Bulbs
- Edison bulbs enhance the vintage appeal.
- Warm LED bulbs provide energy efficiency while maintaining an MCM aesthetic.
4. Use Fixtures as a Statement Piece
Mid Century Modern ceiling fixtures are not just for lighting—they also serve as decor elements. A bold chandelier or pendant light can transform a simple space into a stylish one.
5. Balance the Lighting with Other Fixtures
- Layer your lighting with floor lamps, wall sconces, and table lamps to create a cohesive look.
- Avoid too many competing designs—stick to one or two key fixtures as focal points.
Where to Buy Mid Century Modern Ceiling Fixtures
If you’re looking for authentic or reproduction Mid Century Modern ceiling fixtures, consider these sources:
- West Elm – Offers a range of modern and vintage-inspired fixtures.
- CB2 – Great for sleek, minimalist designs.
- Rejuvenation – Specializes in high-quality, retro-style lighting.
- Etsy – A good place for handmade and custom fixtures.
- Local Vintage Stores – You might find original Mid Century Modern fixtures with a unique history.
Conclusion
Mid Century Modern ceiling fixtures bring a perfect blend of elegance, simplicity, and functionality to any space. Whether you choose a Sputnik chandelier, globe pendant, or flush mount light, these fixtures add timeless charm to your home.
By considering design elements, ceiling height, and complementary decor, you can find the perfect lighting solution that enhances your living space.
Investing in Mid Century Modern ceiling fixtures is not just about illumination—it’s about creating a stylish and inviting atmosphere that lasts for years to come.
Ready to upgrade your lighting? Start exploring Mid Century Modern ceiling fixtures today and transform your space with vintage-inspired elegance!