When it comes to improving the comfort of your home, one area that often goes overlooked is the basement ceiling. Many homeowners experience unwanted noise seeping through from the floor above or from the outside, and a great way to combat this is by using insulation for soundproofing basement ceiling. This type of insulation can significantly reduce sound transmission, helping to create a peaceful, quieter living environment. Whether you’re setting up a home theater, creating a home office, or simply looking to enhance the overall comfort of your basement, soundproofing the ceiling is an excellent choice.
In this comprehensive guide, we will walk you through everything you need to know about insulation for soundproofing basement ceiling, from the benefits to the materials you should use and the installation process. By the end, you’ll be ready to transform your basement into a more peaceful, noise-free space.
Why Consider Soundproofing Your Basement Ceiling?
Before diving into the specific techniques and materials for soundproofing, it’s important to understand why soundproofing a basement ceiling is a worthwhile investment. Here are several key reasons why you might want to consider insulation for soundproofing your basement ceiling:
1. Noise Reduction from the Floor Above
If your basement is under a living space or frequently used area, you’ll likely experience sounds from walking, furniture movement, and everyday activities on the floor above. Soundproofing the basement ceiling can reduce these disturbances, creating a more peaceful environment below.
2. Improved Home Comfort
By reducing noise, you’re also improving the overall comfort of your basement. Whether it’s the sounds of footsteps, televisions, or conversations from the floors above, soundproofing can block out these distractions, allowing for a quieter, more relaxing atmosphere.
Read too: Kitchen Lighting For A Vaulted Ceiling: Illuminating Your Space with Style and Functionality
3. Increased Privacy
Soundproofing your basement ceiling not only helps reduce external noise but also increases privacy. If you use the basement as a home office or entertainment space, you’ll appreciate the added confidentiality, ensuring that sounds don’t travel up to the rooms above.
4. Enhanced Home Value
Investing in soundproofing your basement can also increase your home’s value. Soundproofed rooms are a desirable feature for many potential buyers who prioritize peace and quiet in their homes, especially if they plan to use the basement as a living or recreational space.
What Are the Best Insulation Materials for Soundproofing Basement Ceilings?
When it comes to selecting the right insulation for soundproofing your basement ceiling, there are several effective materials available. The key to good soundproofing is using materials that reduce sound transmission while also providing thermal insulation. Let’s take a look at some of the best options:
1. Fiberglass Insulation
Fiberglass is one of the most commonly used insulation materials. It’s affordable, easy to install, and has excellent sound-dampening properties. Fiberglass batt insulation is often used for soundproofing because it absorbs sound waves and helps reduce the amount of noise passing through the ceiling.
Pros of Fiberglass Insulation:
- Effective at blocking sound transmission
- Relatively easy to install
- Available in different thicknesses and R-values for various insulation needs
Cons of Fiberglass Insulation:
- Can irritate the skin and lungs if not handled properly
- Must be installed carefully to avoid gaps that could reduce its effectiveness
2. Mineral Wool (Rockwool) Insulation
Mineral wool is another great option for soundproofing. It’s made from natural rock or slag and has excellent sound-absorbing qualities. Mineral wool is denser and heavier than fiberglass, which makes it even more effective at blocking sound.
Pros of Mineral Wool Insulation:
- Superior soundproofing performance
- Fire-resistant and non-combustible
- Moisture-resistant and mold-resistant
Cons of Mineral Wool Insulation:
- More expensive than fiberglass insulation
- Heavier and may require more effort to install
3. Cellulose Insulation
Cellulose insulation is made from recycled paper products and is treated with fire-retardant chemicals. It’s an eco-friendly option that provides both thermal and soundproofing benefits. It’s especially effective in reducing airborne sound.
Pros of Cellulose Insulation:
- Made from recycled materials, eco-friendly
- Good soundproofing qualities
- Fire-resistant
Cons of Cellulose Insulation:
- Can settle over time, reducing its effectiveness
- Installation can be more complex and require professional help
4. Spray Foam Insulation
Spray foam insulation is a highly effective soundproofing material. It expands upon application and creates an airtight seal that prevents sound from traveling through gaps and cracks. It also offers excellent thermal insulation.
Pros of Spray Foam Insulation:
- Excellent at filling gaps and cracks, creating an airtight seal
- Highly effective in reducing both airborne and impact noise
- Provides high R-value for insulation
Cons of Spray Foam Insulation:
- Expensive compared to other insulation materials
- Requires professional installation due to its complexity
5. Mass Loaded Vinyl (MLV)
Mass-loaded vinyl is a dense, flexible material that can be applied to the basement ceiling to block sound. It’s often used in conjunction with other insulation materials to further improve soundproofing.
Pros of Mass Loaded Vinyl:
- Highly effective at blocking sound transmission
- Thin and flexible, making it easy to install over other materials
- Works well in combination with other insulation materials
Cons of Mass Loaded Vinyl:
- Can be more expensive than traditional insulation
- Requires precise installation to ensure maximum soundproofing
How to Install Insulation for Soundproofing Basement Ceiling
Now that you understand the best insulation materials for soundproofing your basement ceiling, let’s walk through the installation process. While some insulation methods may require professional help, others can be done as a DIY project with the right tools and preparation.
Step 1: Prepare the Ceiling
Before you begin installing the insulation, ensure the ceiling is clean and free of debris. If there are any cracks or holes in the ceiling, repair them before proceeding. You may also want to remove any old insulation that’s no longer effective.
Step 2: Install the First Layer of Insulation
If you’re using fiberglass, mineral wool, or cellulose insulation, start by cutting the insulation to fit between the ceiling joists. For batt insulation, carefully press the material into the joists, ensuring there are no gaps. If you’re using spray foam, apply it to the ceiling to fill all gaps and cracks.
Step 3: Add Mass Loaded Vinyl (If Applicable)
If you’ve chosen to use mass-loaded vinyl (MLV), lay it over the first layer of insulation, making sure it covers the entire ceiling. Nail or staple the MLV into place, ensuring there are no gaps between the material and the ceiling.
Step 4: Install a Ceiling Barrier (Optional)
For additional soundproofing, you can install a soundproofing barrier or sound-damping board over the insulation. This step is particularly helpful in reducing impact noise, such as footsteps or furniture movement.
Step 5: Seal Gaps and Edges
Once the insulation and any additional barriers are in place, it’s important to seal any gaps along the edges of the ceiling. Use acoustic caulk or sealant to close any openings, ensuring a tight seal that prevents sound from leaking through.
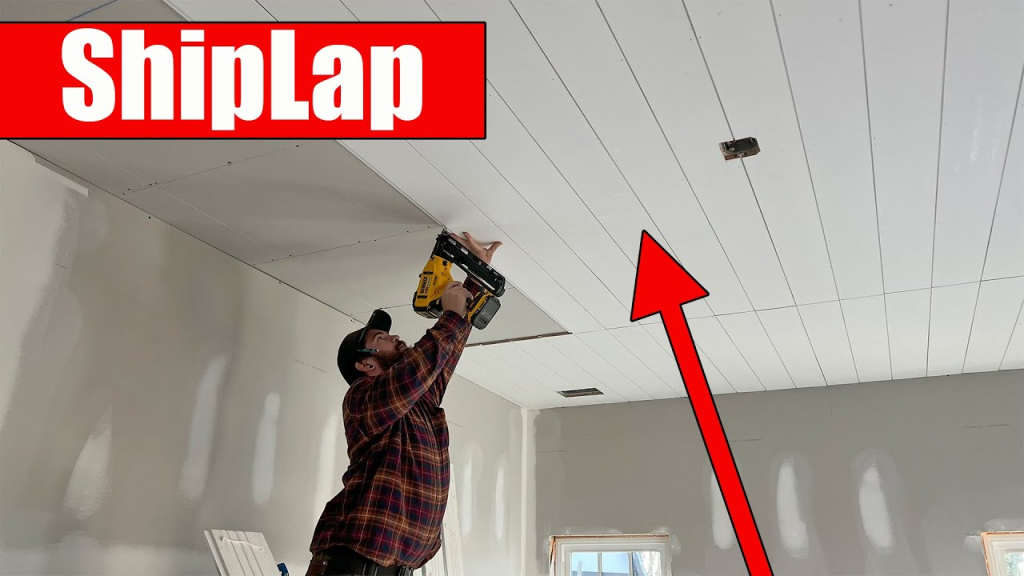
Step 6: Install the Ceiling Finish
Finally, cover the insulation with a ceiling material of your choice. Drywall is commonly used, but if you prefer, you can install acoustic tiles, wood paneling, or other finishes. Just make sure the finish is securely attached to the ceiling and doesn’t disrupt the insulation.
Conclusion: Enjoy a Quieter Basement with Effective Soundproofing
Insulation for soundproofing basement ceiling is an excellent investment for anyone looking to reduce noise and enhance comfort in their home. By choosing the right materials and following the installation steps outlined above, you can create a peaceful, quiet space where you can relax or work without being disturbed by sounds from the floors above or external noise. Whether you’re using the basement as a home theater, an office, or a recreational area, soundproofing will help ensure the space remains serene and enjoyable for years to come.