Discovering cracks in your ceiling can be unnerving, signaling potential structural issues. In this comprehensive guide, we’ll delve into the causes behind “Ceiling Cracking in House” scenarios and provide practical insights on identifying, addressing, and preventing such concerns. Gain a deeper understanding of the complexities surrounding ceiling cracking and learn how to safeguard your home from potential damages.
Unveiling the Challenge: Ceiling Cracking in House Structures
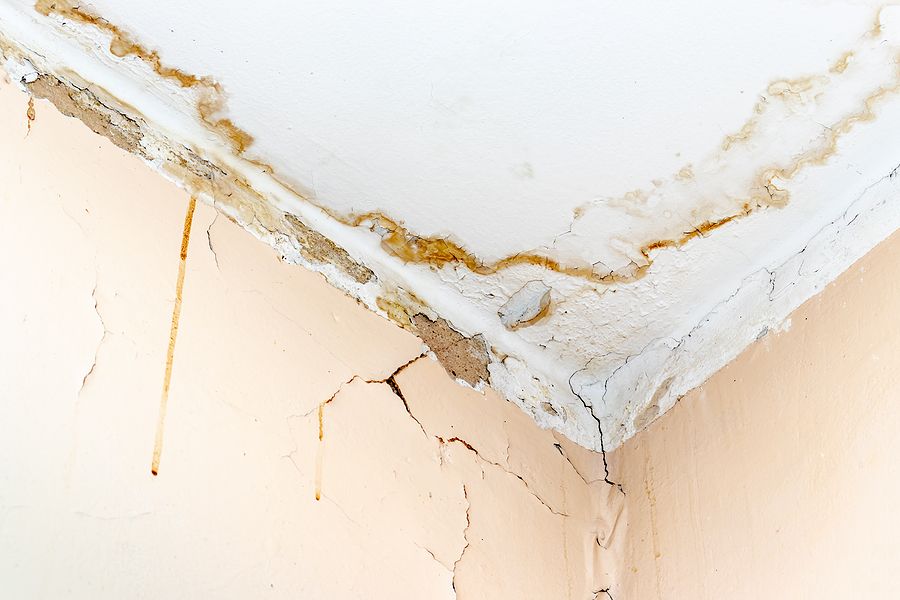
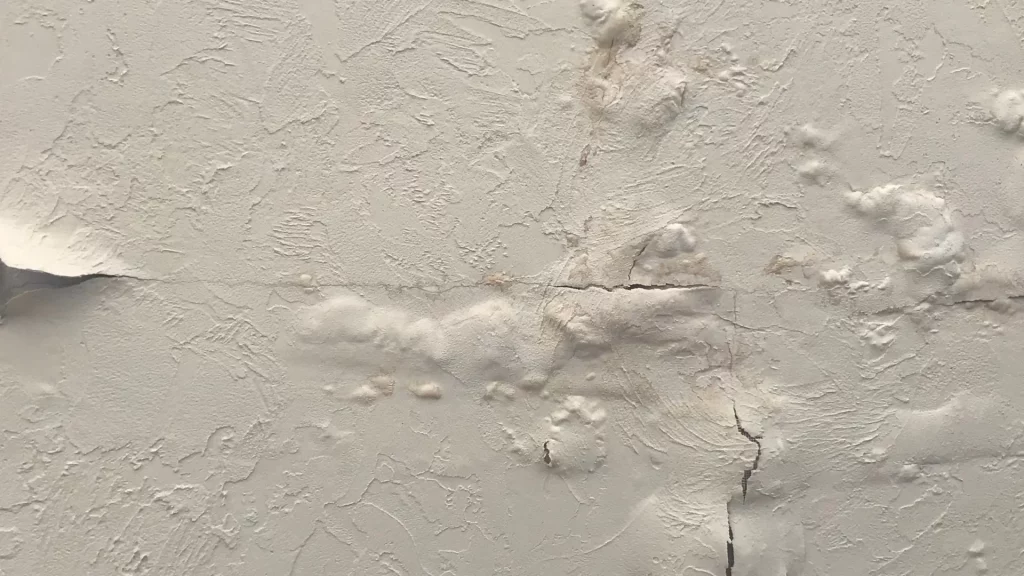
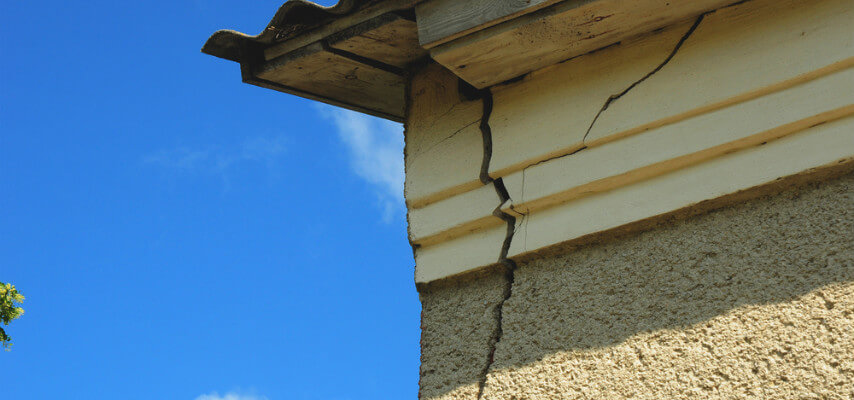
Before exploring solutions, let’s decode the issue of ceiling cracking in house structures. These cracks can manifest in various forms, from fine lines to more severe rifts, indicating underlying problems that need attention.
Common Causes of Ceiling Cracking in House Structures
- Settling Foundations: Uneven settling of the foundation can lead to stress on the house structure, resulting in ceiling cracks. Identify foundation issues through professional inspections.
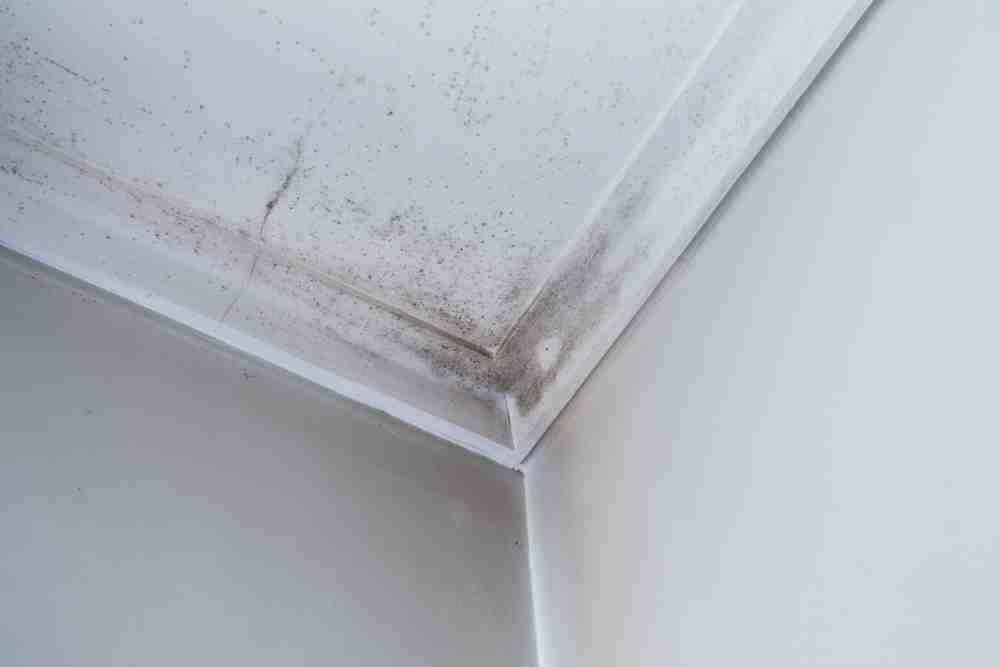
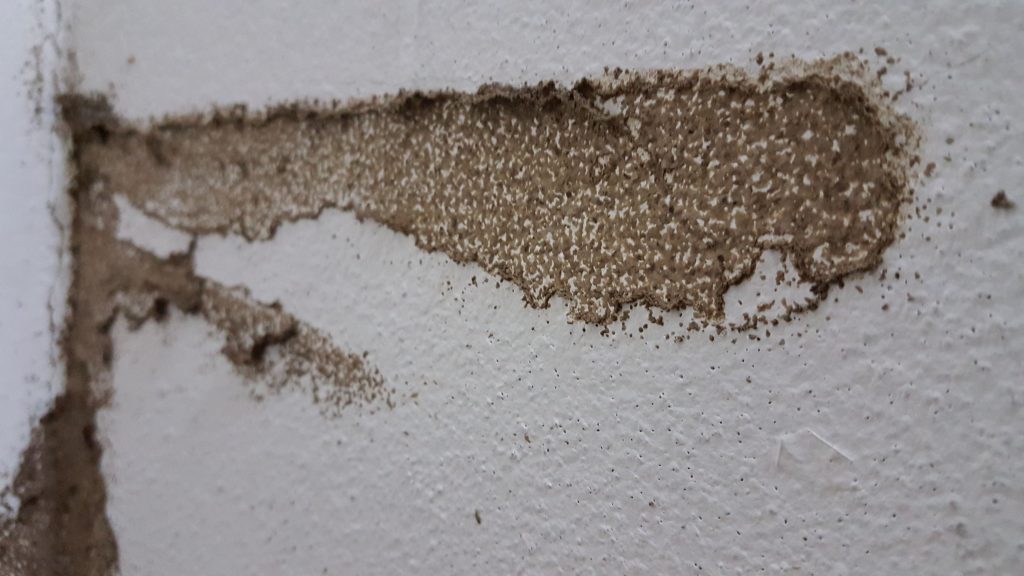
- Temperature and Humidity Fluctuations: Drastic changes in temperature and humidity levels can cause materials in the house to expand and contract, leading to cracks in the ceiling.
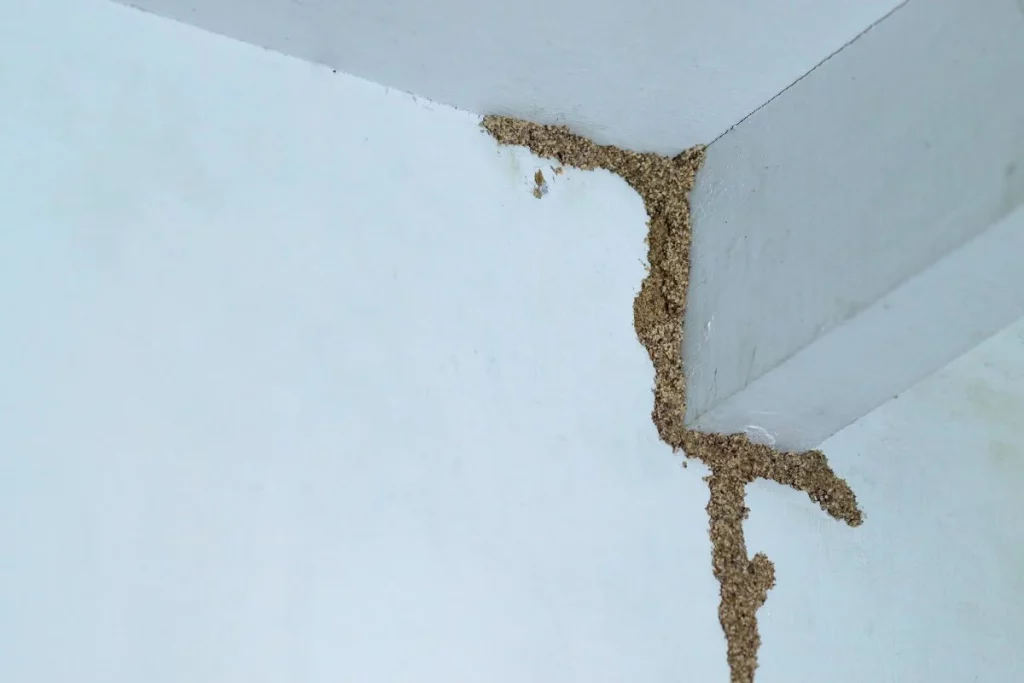
- Structural Movements: House structures naturally experience movements over time. Excessive movements, however, can contribute to ceiling cracking. Professional assessment is vital.
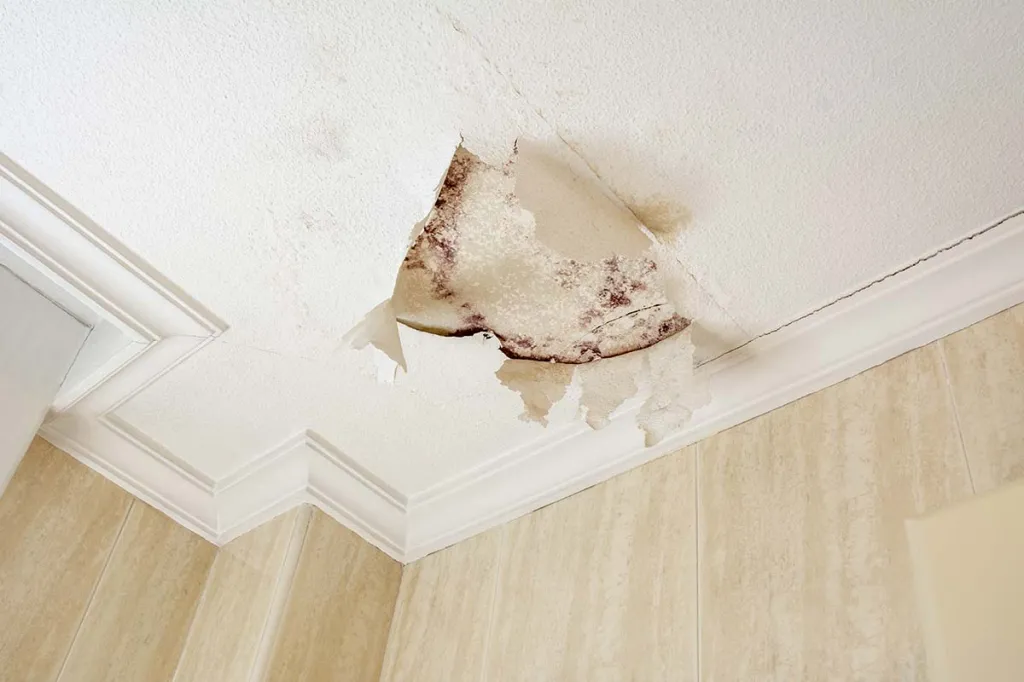
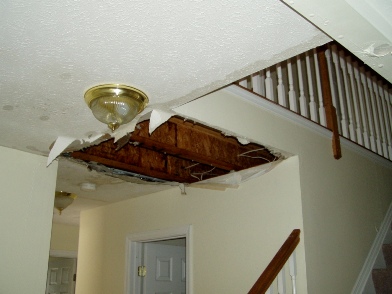
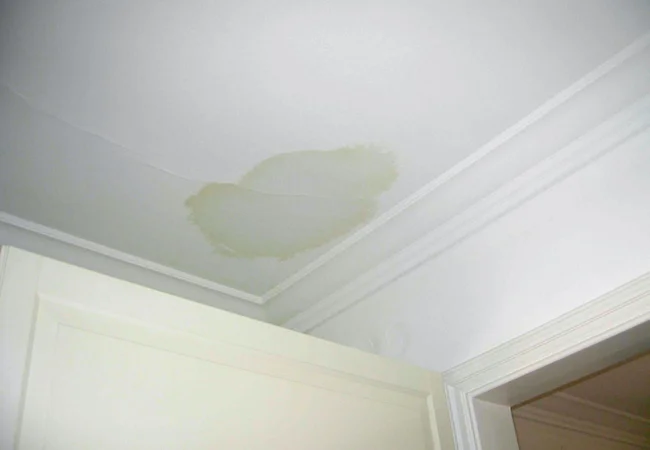
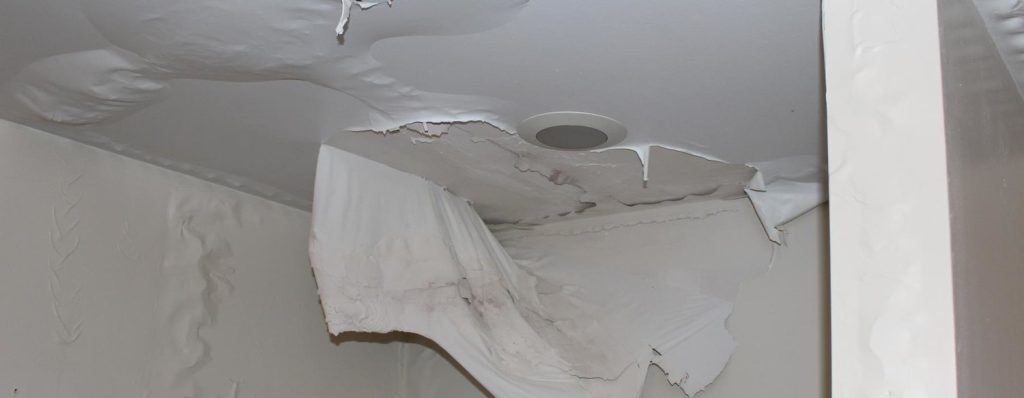
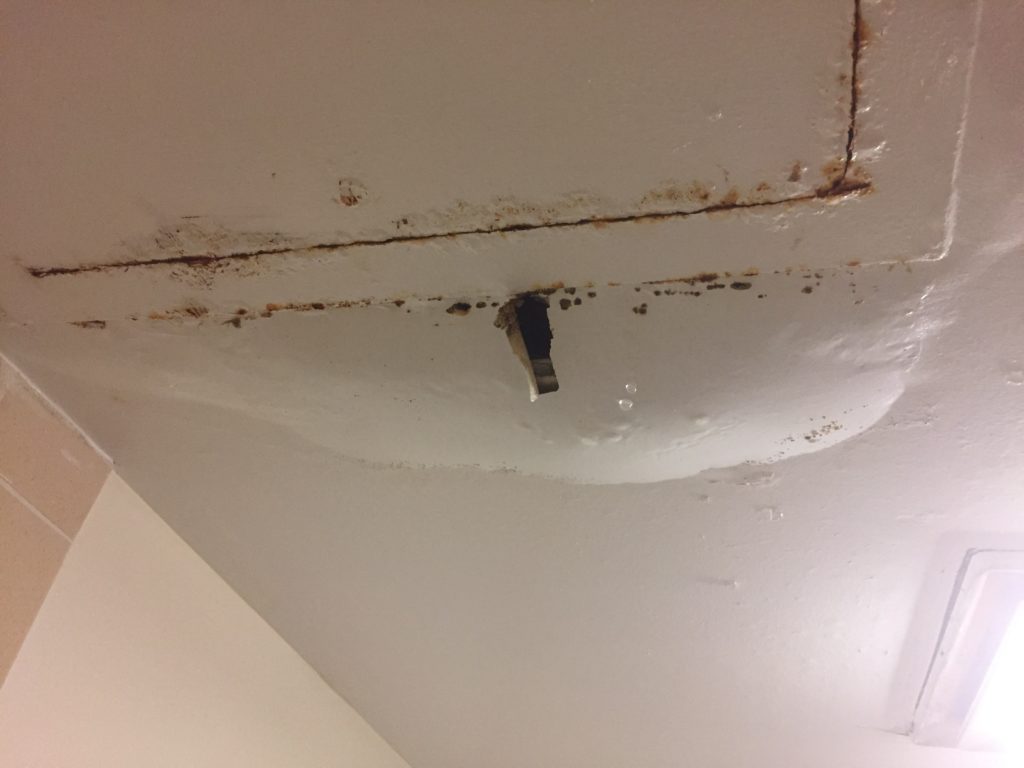
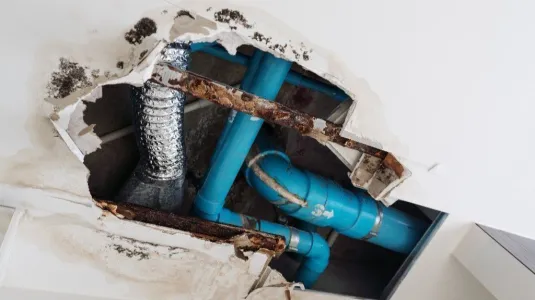
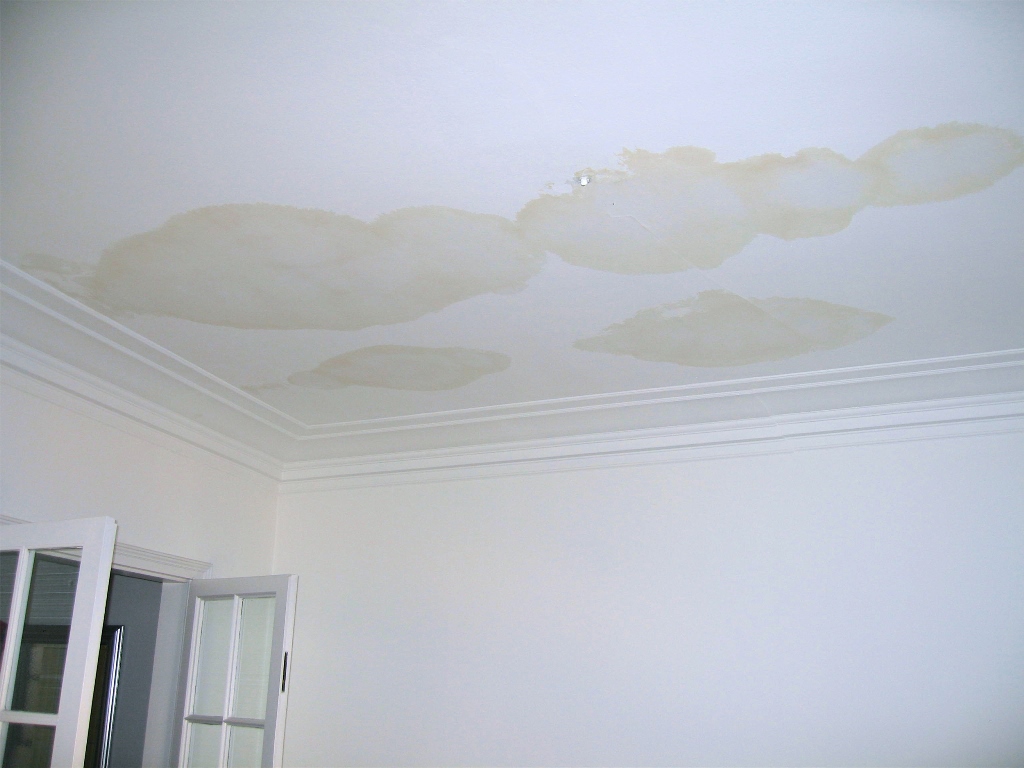
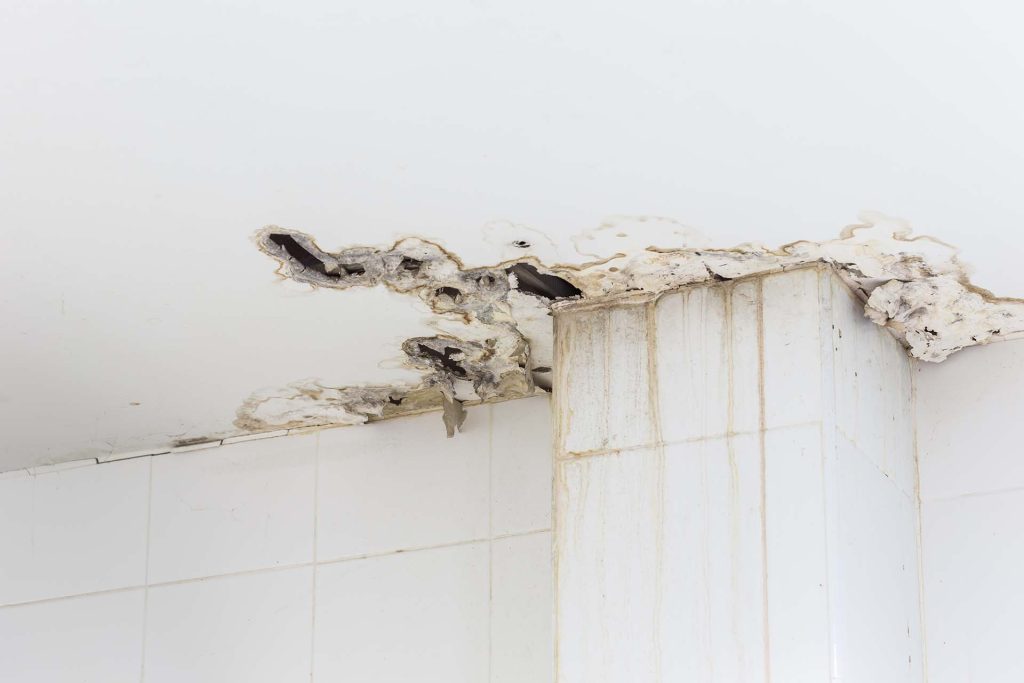
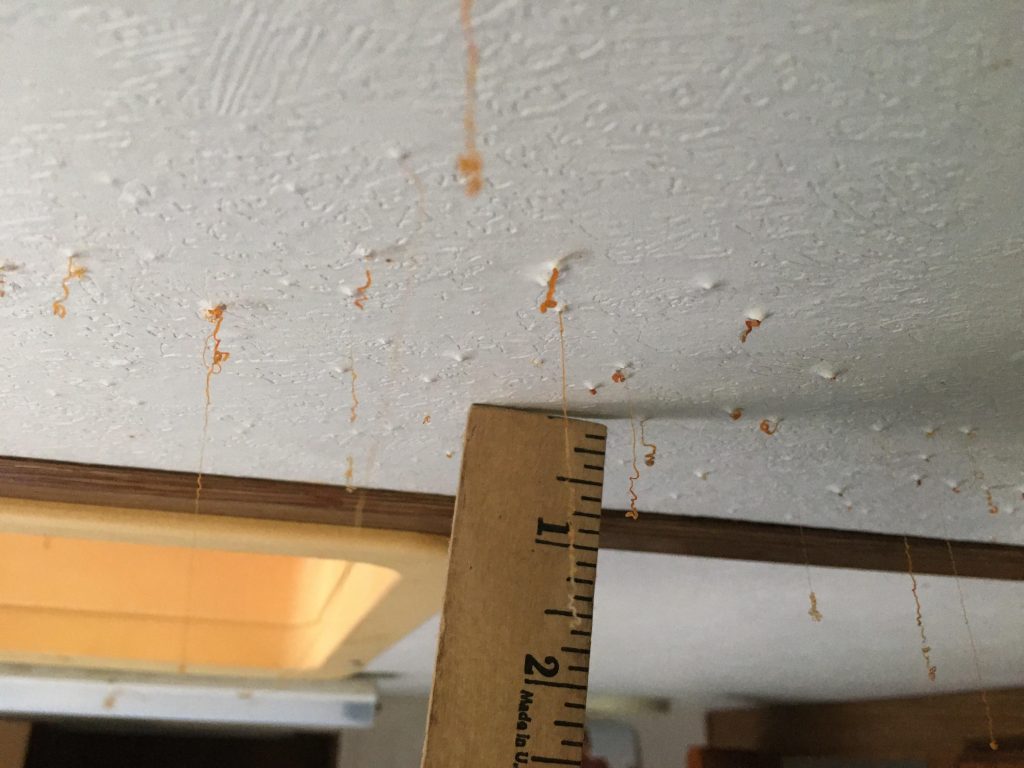
- Roof Leaks: Water damage from roof leaks can weaken the ceiling structure, leading to cracks. Regularly inspect and repair any roof issues promptly.
- Poor Construction Practices: Inadequate construction practices, such as insufficient support or the use of subpar materials, can contribute to ceiling cracking. Professional evaluations can identify these issues.
Addressing the Issue:
- Foundation Repairs: If settling foundations are identified, seek professional foundation repairs to stabilize and level the structure, reducing stress on the ceiling.
- Temperature and Humidity Control: Implement measures to control indoor temperature and humidity levels. Use HVAC systems, dehumidifiers, and proper insulation to minimize material expansion and contraction.
- Structural Reinforcements: Professional structural reinforcements can be implemented to enhance the stability of the house. Consult with experts to determine the appropriate solutions.
- Prompt Roof Repairs: Address any roof leaks promptly. Regular roof inspections and repairs will prevent water damage and subsequent ceiling cracking.
- Quality Construction Practices: During renovations or constructions, prioritize quality materials and practices. Professional builders can ensure proper support and construction techniques.
Read too: Dealing with Water Damage on Your Popcorn Ceiling: Unveiling the Consequences
Preventive Measures: Safeguarding Against Ceiling Cracking in House Structures
- Regular Structural Inspections: Conduct regular inspections of your house structure. Early identification of issues can prevent severe damage and potential ceiling cracking.
- Timely Repairs: Address any visible damage or wear promptly. Timely repairs can prevent minor issues from escalating into major problems, avoiding ceiling cracking.
- Professional Guidance: Consult with structural engineers or architects for professional guidance on maintaining the integrity of your house structure.
Conclusion
In conclusion, addressing “Ceiling Cracking in House” scenarios requires a strategic and comprehensive approach to identify and resolve root causes. Regular maintenance, prompt repairs, and proactive measures are crucial in preventing and mitigating this issue. By understanding common culprits and implementing the suggested solutions, homeowners can maintain a structurally sound and aesthetically pleasing home.