When it comes to designing an efficient and comfortable office environment, lighting plays a crucial role. Among the various lighting options available, LED ceiling office lights have emerged as a top choice for modern workspaces. Not only do they provide superior illumination, but they also offer energy efficiency and aesthetic appeal. In this article, we’ll explore the numerous advantages of LED ceiling lights, tips for choosing the right fixtures, and how to create a well-lit office space that enhances productivity.

Understanding LED Ceiling Office Lights
What Are LED Ceiling Office Lights?
LED ceiling office lights are lighting fixtures that are mounted on the ceiling and utilize light-emitting diodes (LEDs) as their light source. Unlike traditional incandescent or fluorescent lights, LEDs produce light through electroluminescence, which involves the movement of electrons in a semiconductor material. This technology results in several advantages, making LED lights increasingly popular in office settings.
Read too: Bathroom Flooded Through the Ceiling: A Comprehensive Guide
Benefits of Using LED Ceiling Office Lights
- Energy Efficiency: One of the most significant advantages of LED ceiling office lights is their energy efficiency. LEDs consume up to 80% less energy than traditional incandescent bulbs. This not only helps reduce electricity bills but also contributes to lower carbon emissions, making them a more sustainable choice for offices.
- Long Lifespan: LED lights have an impressive lifespan, often lasting 25,000 to 50,000 hours or more. This longevity means fewer replacements and less waste, making them a cost-effective choice for businesses looking to minimize maintenance costs.
- Improved Brightness and Quality of Light: LED lights provide bright, high-quality illumination that enhances visibility and reduces eye strain. They offer a range of color temperatures, from warm to cool white, allowing you to choose the right ambiance for your office environment.
- Instant On: Unlike fluorescent lights, which can take time to warm up, LED lights turn on instantly at full brightness. This feature is particularly beneficial in an office setting, where employees may need immediate lighting when entering a room.
- Design Versatility: LED ceiling office lights come in a variety of styles and designs, from sleek and modern to more traditional looks. This versatility allows businesses to choose fixtures that complement their office decor while also meeting functional lighting needs.
- Reduced Heat Emission: LEDs emit very little heat compared to traditional lighting options. This can help maintain a comfortable temperature in the office, reducing the need for air conditioning during hot months.
Types of LED Ceiling Office Lights
When considering LED ceiling office lights, there are several types to choose from. Each type offers different features and benefits, so it’s important to select the right one for your office space.
1. LED Panel Lights
LED panel lights are flat, rectangular fixtures that can be installed in suspended ceilings or mounted directly onto surfaces. They provide even illumination and are ideal for large areas such as conference rooms and open-plan offices. Panel lights can also be dimmed to create the desired atmosphere.
2. LED Troffer Lights
Troffer lights are designed to fit into modular ceilings and are commonly used in commercial spaces. They offer high efficiency and even light distribution, making them suitable for both general and task lighting in offices.
3. LED Flush Mount Lights
Flush mount lights are mounted directly to the ceiling and sit close to the surface. They are a great option for spaces with low ceilings and provide ample illumination without taking up much space. They come in various designs, making them suitable for different office styles.
4. LED Recessed Lights
Recessed lights are installed into the ceiling, creating a sleek and modern look. They provide focused lighting and can be used to highlight specific areas or tasks within the office. Recessed lighting can be an excellent choice for creating a more inviting and aesthetically pleasing workspace.
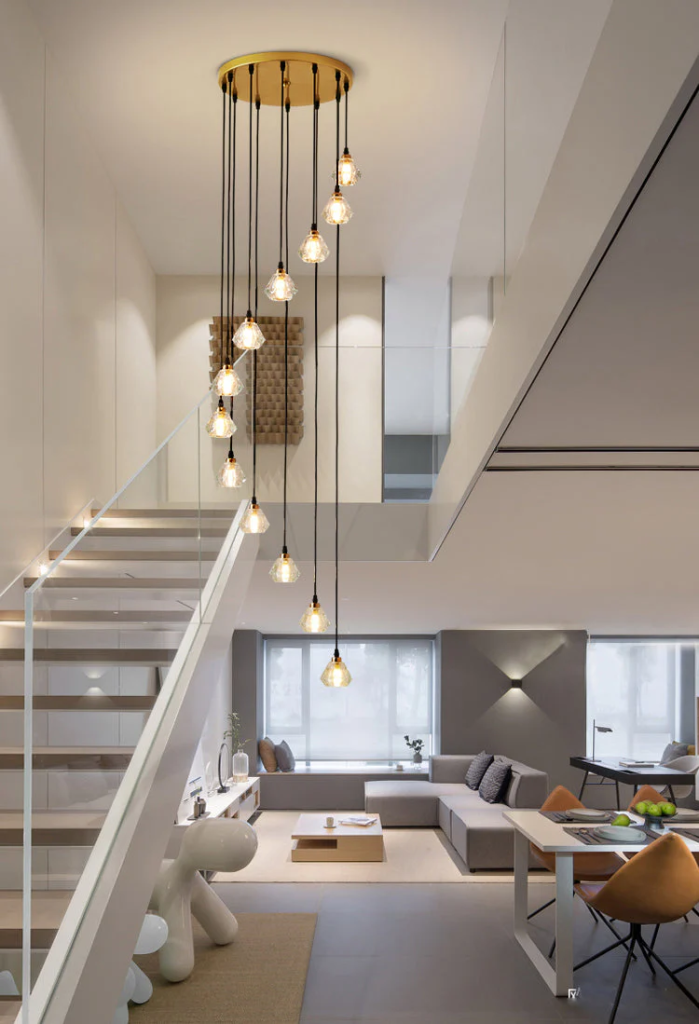
5. LED Pendant Lights
For offices with higher ceilings, LED pendant lights can add a stylish touch while providing functional lighting. They hang from the ceiling and can be used to illuminate workstations, conference tables, or break areas.
Choosing the Right LED Ceiling Office Lights
When selecting LED ceiling office lights for your workspace, consider the following factors to ensure you make the best choice:
1. Lighting Needs
Assess the specific lighting requirements of your office. Different areas may need varying levels of brightness. For instance, workstations might require more focused lighting, while common areas may benefit from softer, ambient lighting.
2. Color Temperature
The color temperature of LED lights is measured in Kelvin (K). Warmer tones (2700K-3000K) create a cozy atmosphere, while cooler tones (4000K-5000K) are more suitable for task-oriented spaces as they enhance concentration and alertness. Consider the overall mood you want to create when choosing color temperature.
3. Energy Efficiency Ratings
Look for LED lights with high energy efficiency ratings, such as those certified by ENERGY STAR. These ratings indicate that the product meets strict efficiency guidelines and can help you save on energy costs.
4. Installation Method
Consider how you plan to install the lights. Some fixtures may require professional installation, while others can be easily mounted by yourself. Make sure to choose a method that fits your skills and budget.
5. Design and Aesthetics
The design of the fixtures should complement your office decor. Whether you prefer modern, minimalist designs or something more traditional, there are LED lights available in various styles to suit your taste.
Installing LED Ceiling Office Lights
1. Preparation
Before installing LED ceiling office lights, gather all necessary tools and materials. This may include screwdrivers, mounting brackets, wire connectors, and safety goggles. Make sure to turn off the power to the existing lighting to avoid any electrical hazards.
2. Remove Old Fixtures
If you are replacing existing lights, carefully remove the old fixtures. Make sure to disconnect the wiring and remove any mounting hardware.
3. Install New Fixtures
Follow the manufacturer’s instructions for installing the new LED ceiling office lights. This may involve attaching mounting brackets, connecting wires, and securing the fixture to the ceiling. If you are unsure about electrical work, consider hiring a professional electrician.
4. Test the Lights
Once the installation is complete, turn the power back on and test the lights to ensure they are working correctly. Check for any flickering or dimness, which may indicate a wiring issue or faulty fixture.
Maintaining Your LED Ceiling Office Lights
Proper maintenance can help extend the lifespan of your LED ceiling office lights and ensure they continue to provide optimal illumination. Here are some maintenance tips:
- Regular Cleaning: Dust and debris can accumulate on light fixtures, reducing their brightness. Regularly clean the surfaces with a soft cloth to maintain their appearance and functionality.
- Check for Loose Connections: Periodically inspect the wiring and connections to ensure they are secure. Loose connections can lead to flickering lights or even electrical hazards.
- Replace Damaged Fixtures: If you notice any signs of damage or wear, such as cracks in the fixture or dimming lights, replace the fixtures promptly to maintain safety and efficiency.
The Impact of Good Lighting on Office Productivity
Research has shown that proper lighting in the workplace can significantly impact productivity, employee well-being, and overall job satisfaction. Here are some ways in which LED ceiling office lights can contribute to a better working environment:
- Reduced Eye Strain: High-quality LED lighting can reduce eye strain and discomfort, allowing employees to work more comfortably for longer periods. This is especially important in offices where employees spend hours staring at computer screens.
- Enhanced Focus: Properly lit workspaces can help improve concentration and focus. The right combination of task lighting and ambient lighting can create a balanced environment that supports various tasks.
- Increased Motivation: A well-lit office can foster a positive atmosphere that boosts employee morale and motivation. Natural light, in particular, has been shown to enhance mood and productivity.
- Better Collaboration: Effective lighting in common areas can promote collaboration and teamwork among employees. A well-lit meeting space encourages open communication and engagement during discussions.
Conclusion
LED ceiling office lights are an essential component of a well-designed office space. With their numerous benefits, including energy efficiency, long lifespan, and improved quality of light, these fixtures can create a more productive and enjoyable work environment. By choosing the right type of LED lights, considering design elements, and ensuring proper installation, you can illuminate your workspace in a way that enhances both functionality and aesthetics.
Investing in quality lighting is not just about brightness; it’s about creating a comfortable and inspiring space that allows your team to thrive.