The ceiling height in a basement plays a crucial role in determining the overall ambiance of the space. If you’re yearning for a more open and airy basement, exploring ways to “Increase Basement Ceiling Height” can be a game-changer. In this comprehensive guide, we’ll uncover practical solutions and expert insights to help you elevate your basement living experience.
Increase Basement Ceiling Height: A Strategic Approach
Understanding the Impact of Ceiling Height
Before delving into strategies for increasing basement ceiling height, let’s explore why it matters. This section highlights the impact of ceiling height on aesthetics, functionality, and the overall perception of space.
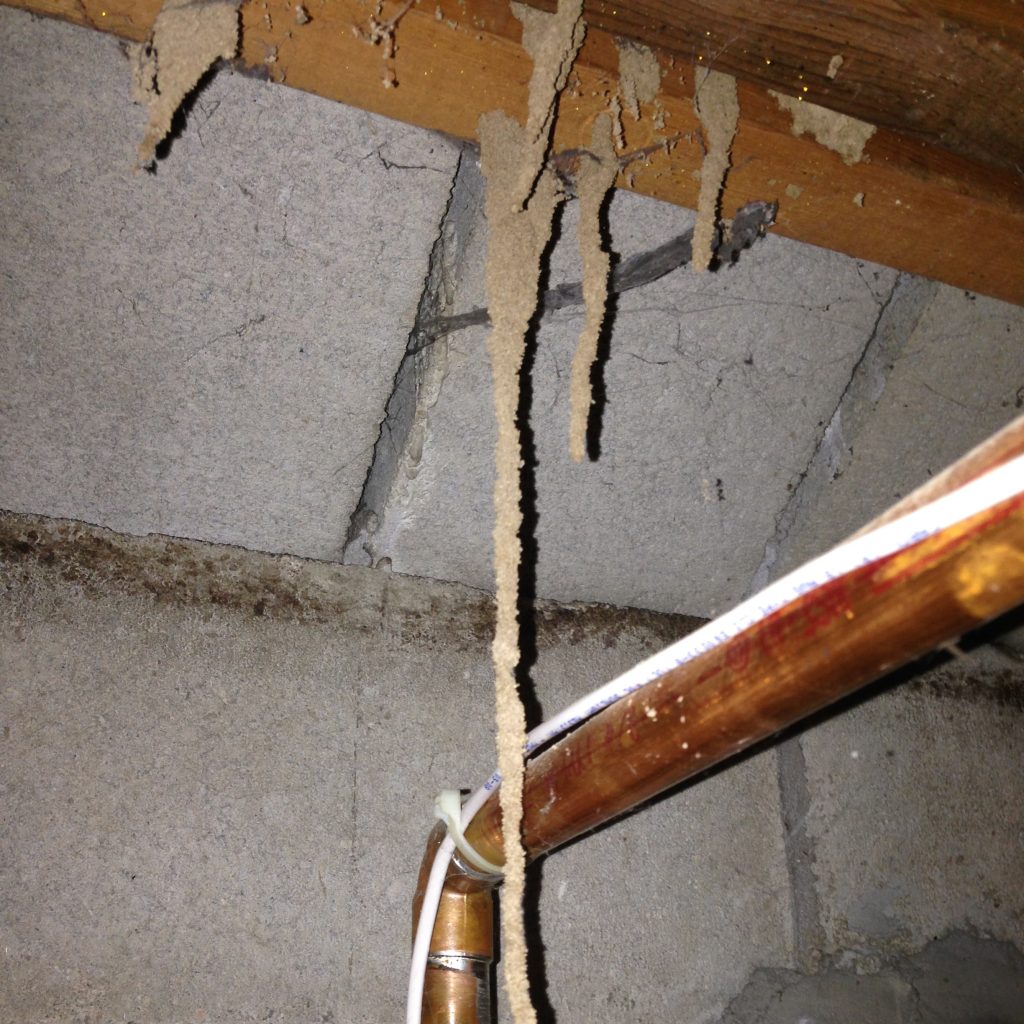
Read too: How Gutters Causing Ceiling Leak Can Wreak Havoc in Your Home? Unveiling the Hidden Dangers
Assessing Your Basement’s Current Ceiling Height
This H2 heading emphasizes the importance of assessing your basement’s existing ceiling height. From measuring techniques to understanding the standard heights, we’ll guide you through the initial steps of evaluating your space.
Measuring Techniques:
Learn how to accurately measure your basement’s ceiling height, considering variations across different areas. This section provides tips for precise measurements, ensuring a solid foundation for your height-increasing endeavors.
Understanding Standard Heights:
Familiarize yourself with standard basement ceiling heights and how your space compares. This knowledge will aid in setting realistic expectations and determining the feasibility of height enhancement projects.
Strategic Design and Layout Adjustments: Increase Basement Ceiling Height
This heading explores design and layout adjustments to create the illusion of increased ceiling height. From color choices to furniture arrangements, discover practical strategies for optimizing the visual perception of space.
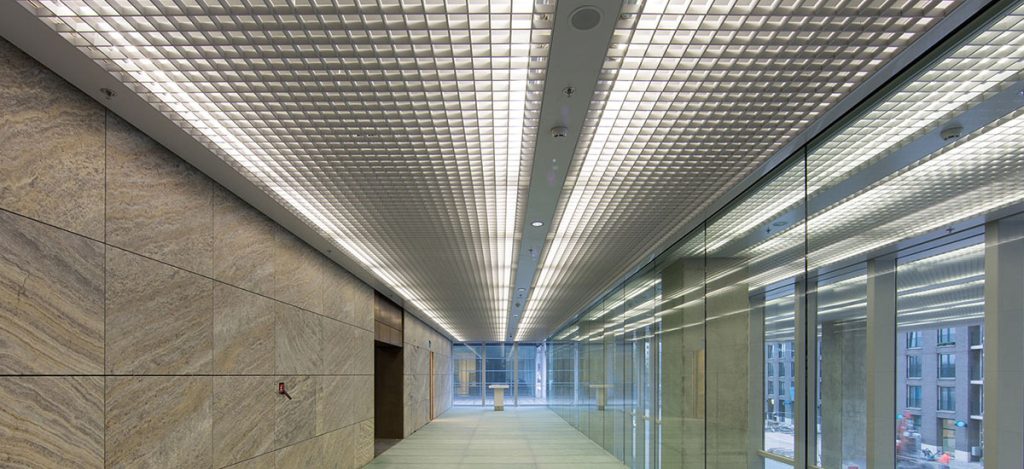
Lighting and Color Selection:
Explore the transformative effects of strategic lighting and color choices on the perceived height of your basement ceiling. This section provides insights into creating a well-lit and visually expansive environment.
Vertical Lines and Optical Illusions:
Utilize vertical lines and optical illusions to draw the eye upward, giving the impression of increased ceiling height. Learn how to incorporate design elements that contribute to the visual expansion of your basement space.
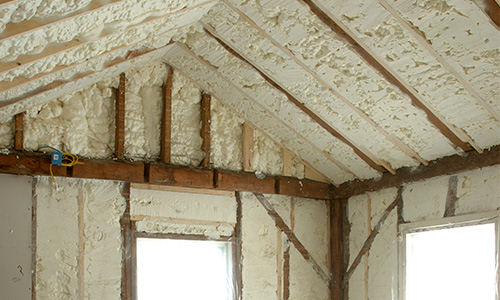
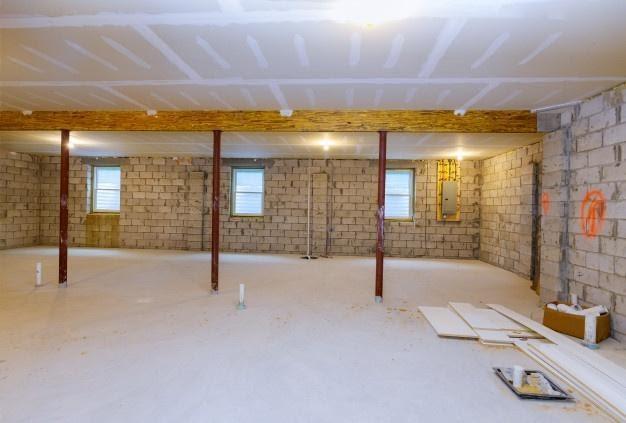
Structural Modifications for Ceiling Height Enhancement
This heading delves into more significant structural modifications for those seeking tangible increases in basement ceiling height. From lowering the floor to raising the ceiling, we’ll explore options that require careful planning and execution.
Raising the Ceiling:
Discover the feasibility of physically raising the basement ceiling and the potential challenges associated with this ambitious project. This section provides a realistic assessment for homeowners considering structural modifications.
Lowering the Floor:
Explore the option of lowering the basement floor to create additional headroom. This strategy involves excavation and careful consideration of factors like plumbing and foundation, and we’ll guide you through the decision-making process.
Conclusion:
In conclusion, increasing basement ceiling height is a multifaceted endeavor that can be achieved through a combination of design, layout adjustments, and, in some cases, structural modifications. By understanding the impact of ceiling height, assessing your space, and implementing strategic changes, you can transform your basement into a more inviting and spacious area.