The charm of popcorn ceilings is undeniable, adding a touch of nostalgia to many homes. However, lurking behind the textured allure might be an unseen threat – “Mold in Popcorn Ceiling.” In this informative guide, we delve into the nuances of mold growth in popcorn ceilings, exploring its causes, signs, and effective remediation methods. Stay informed to protect your home and loved ones from this stealthy invader.
Introduction: The Hidden Dangers of Mold in Popcorn Ceiling
Popcorn ceilings, once a popular design choice, are now raising concerns due to the potential presence of mold. “Mold in Ceiling” is not just an aesthetic issue; it poses health risks and can compromise the structural integrity of your home. Let’s uncover the mysteries surrounding this silent menace and empower homeowners with knowledge to address the issue head-on.
Understanding Mold Growth in Popcorn Ceilings
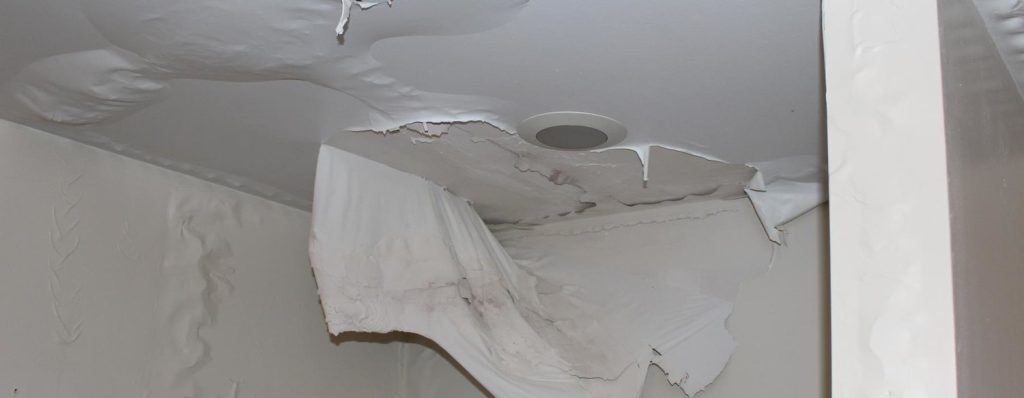
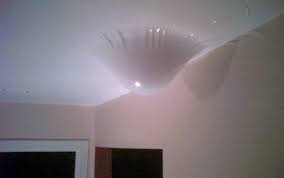
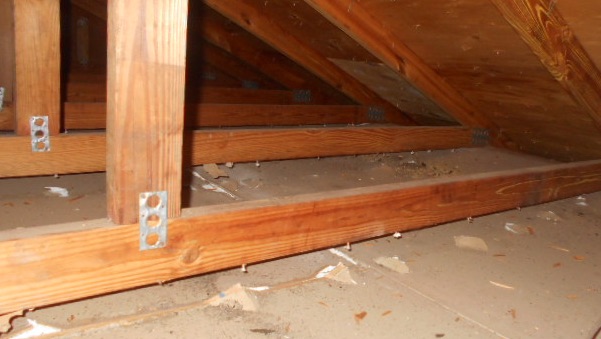
“Mold in Popcorn Ceiling” is a result of moisture infiltration, creating a breeding ground for mold spores. Popcorn ceilings, with their irregular texture, can trap moisture more easily than smooth surfaces, leading to the ideal conditions for mold to thrive. Understanding the factors contributing to mold growth is the first step in effective prevention and remediation.
Causes of Mold in Popcorn Ceiling
Several factors contribute to the development of mold in popcorn ceilings. Leaky roofs, plumbing issues, high humidity levels, or inadequate ventilation can create an environment where mold spores find a welcoming home. Identifying and addressing these root causes are crucial in preventing mold growth in the first place.
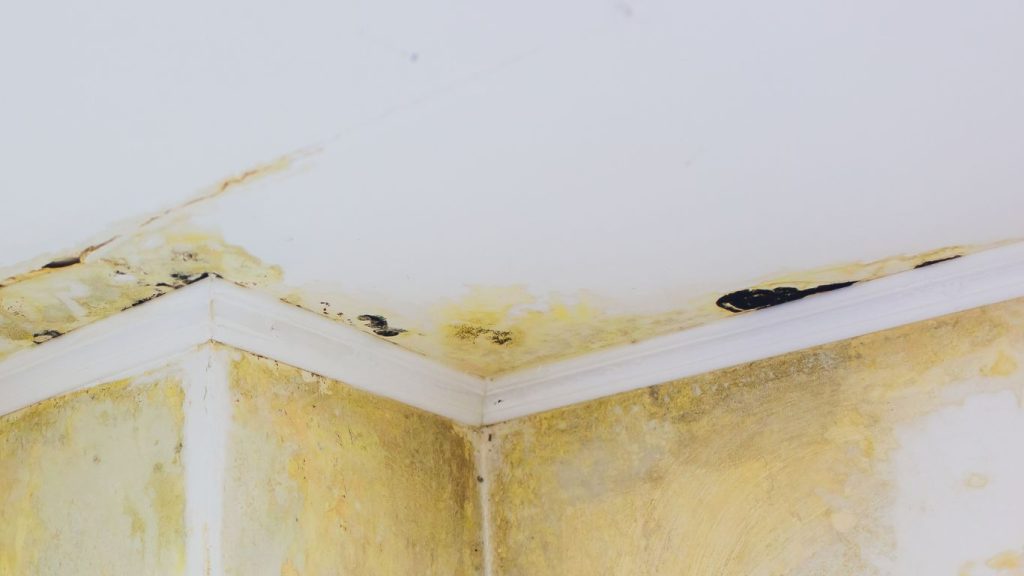
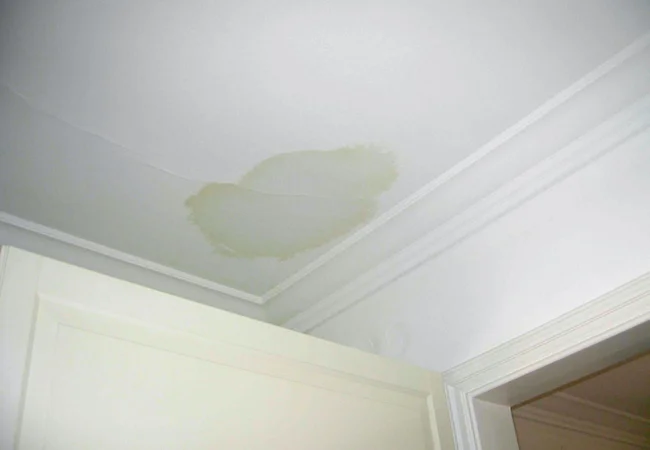
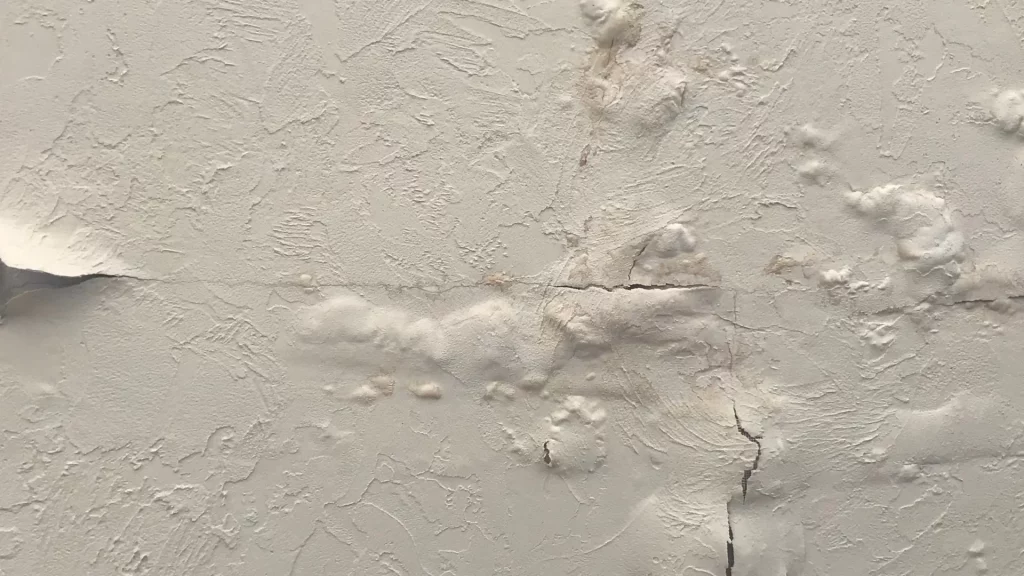
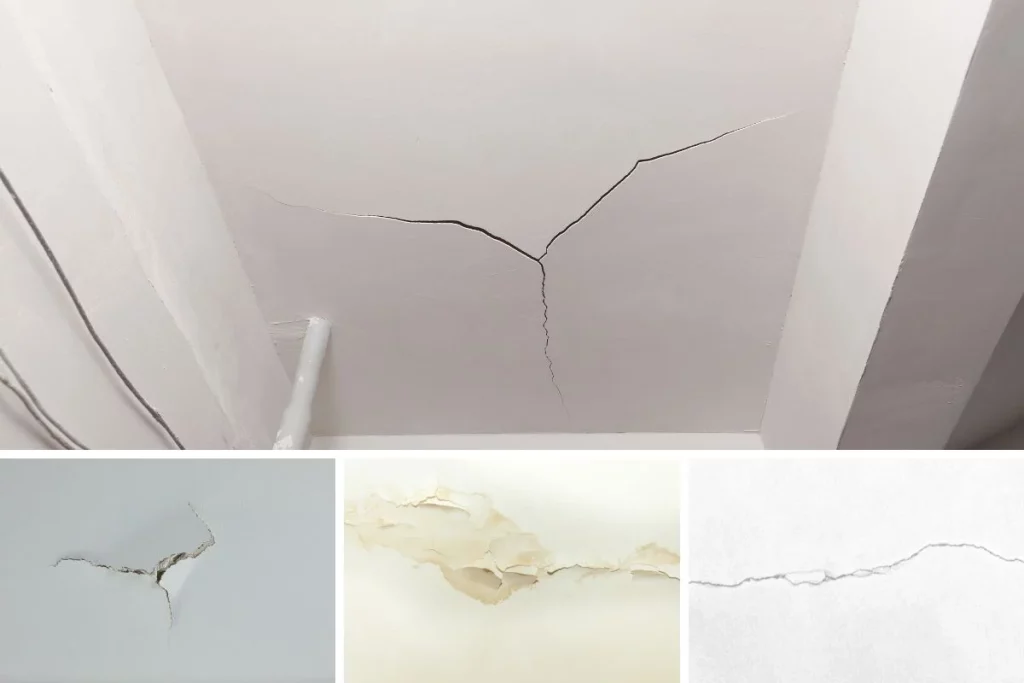
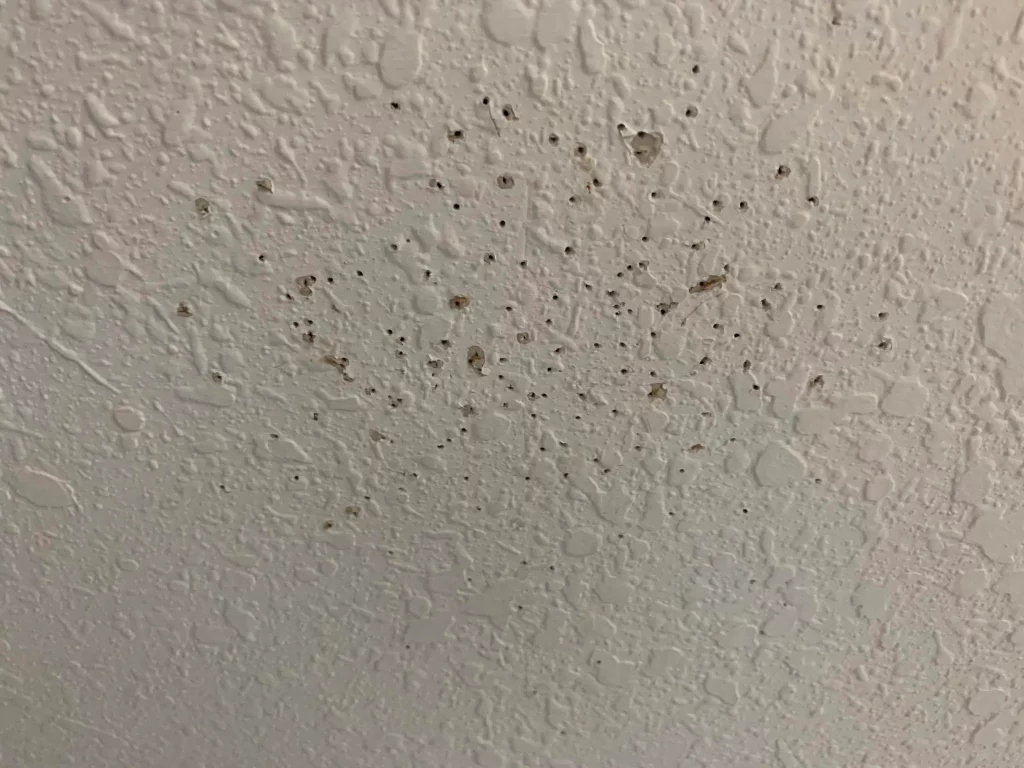
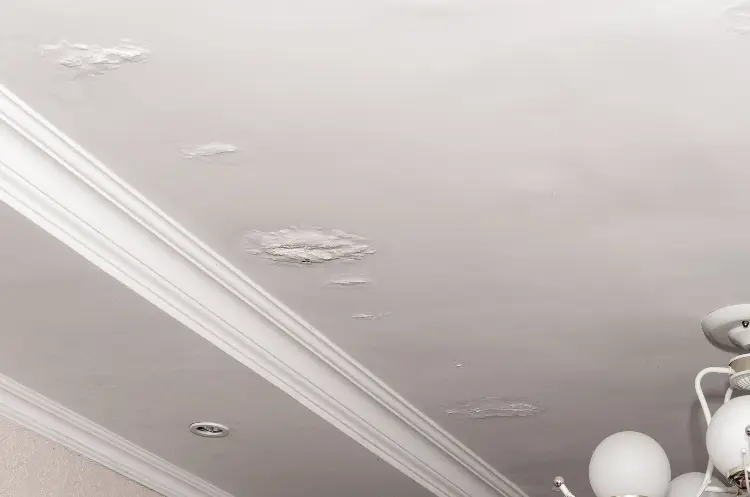
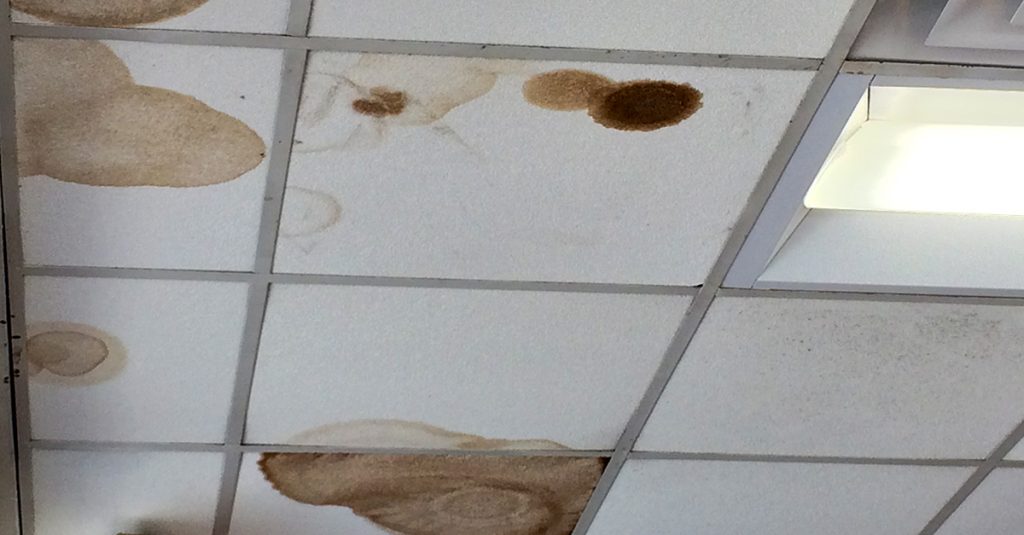
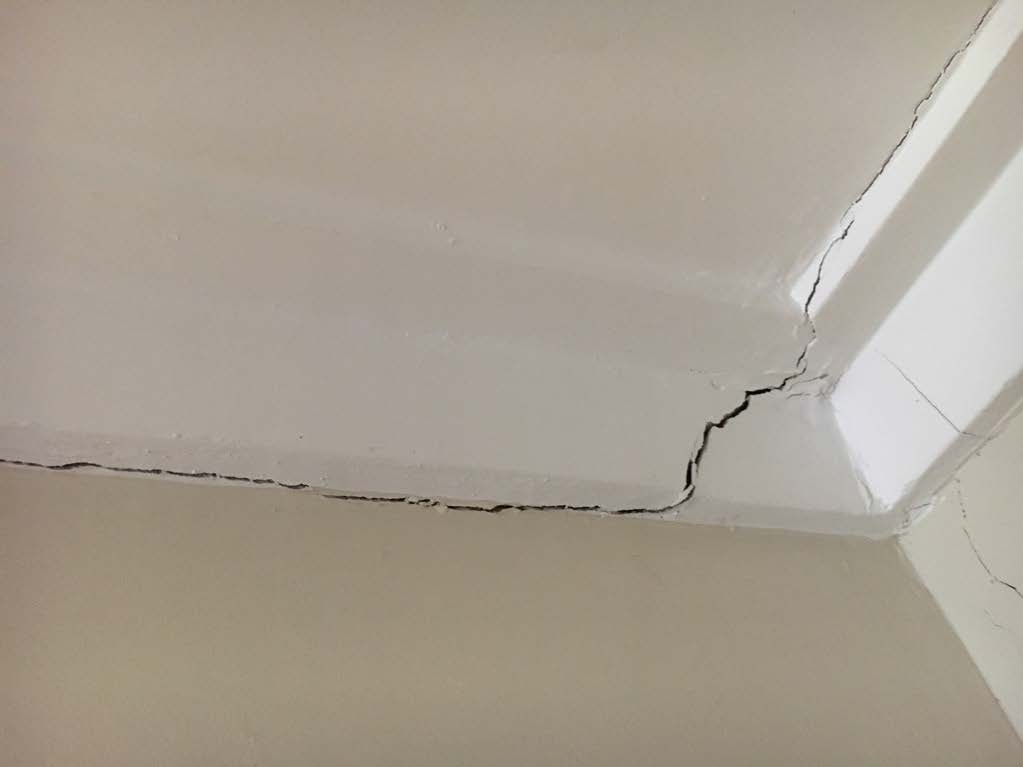
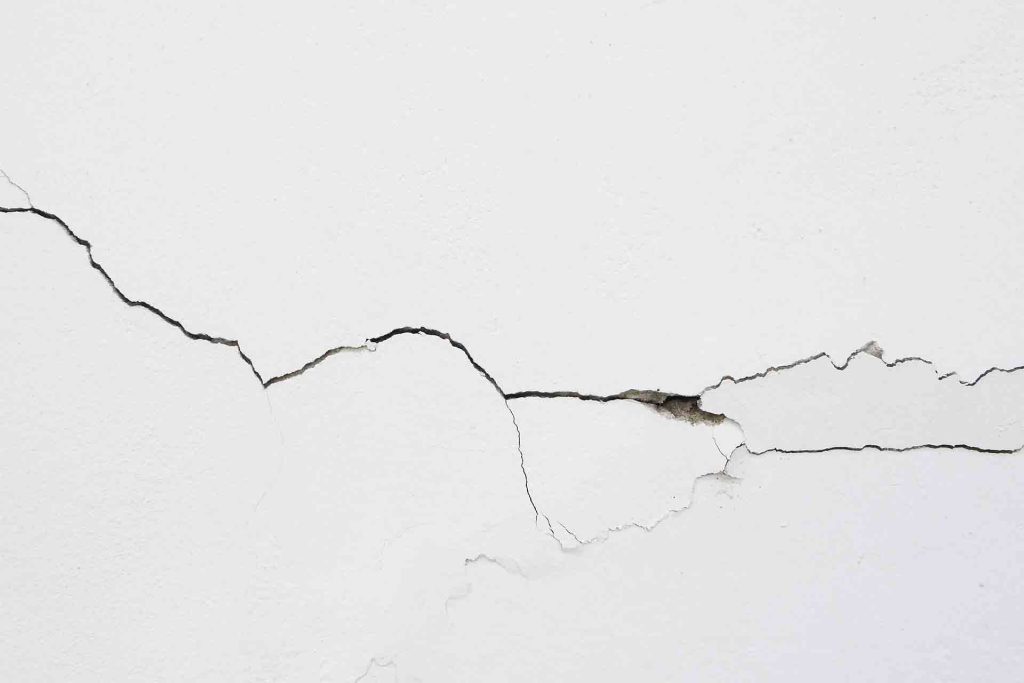
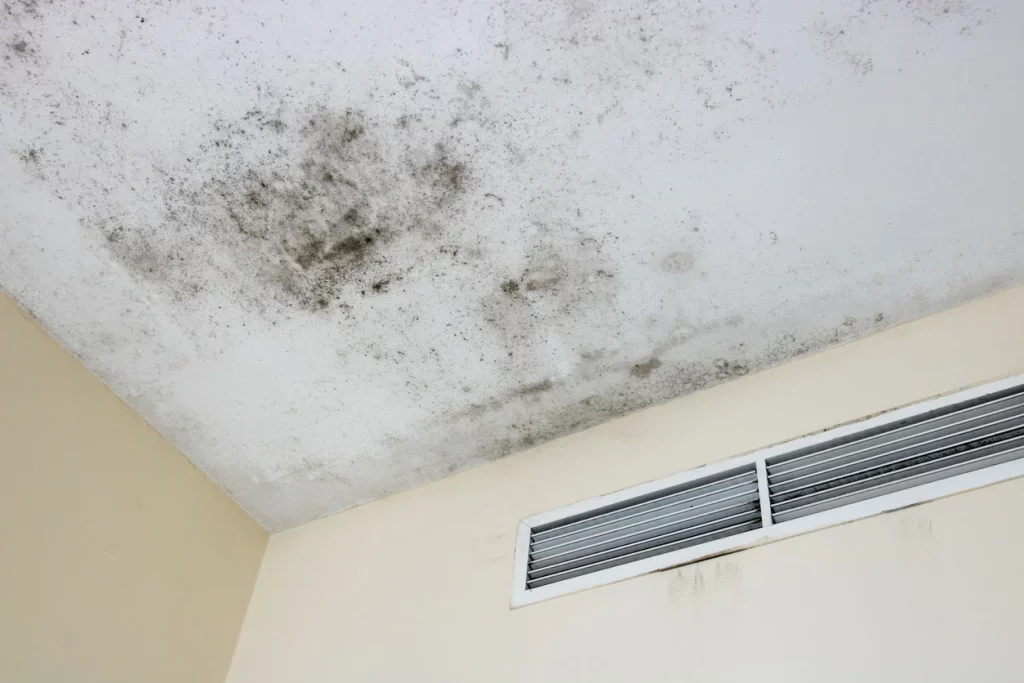
Signs of Mold in Popcorn Ceiling
Recognizing the signs of mold in popcorn ceilings is vital for early intervention. Discoloration, a musty odor, or visible spots on the ceiling are common indicators. Homeowners should regularly inspect their popcorn ceilings, especially in areas prone to moisture, to catch mold growth in its early stages.
Health Implications of Mold Exposure
“Mold in Popcorn Ceiling” doesn’t just affect the aesthetics of your home; it can also impact your health. Mold spores can trigger respiratory issues, allergies, and other health problems, especially in individuals with compromised immune systems. Prompt action is necessary to mitigate health risks associated with mold exposure.
Remediation Strategies for Mold in Popcorn Ceiling
Effectively dealing with mold in popcorn ceilings requires a systematic approach. From identifying and fixing the source of moisture to removing and replacing affected materials, homeowners can take several steps to remediate mold growth. Professional assistance may be necessary for extensive or severe cases of mold infestation.
Preventive Measures and Maintenance Tips
Prevention is key when it comes to “Mold in Popcorn Ceiling.” Regular maintenance, prompt repairs of leaks, and ensuring proper ventilation can significantly reduce the risk of mold growth. Homeowners should also consider alternatives to popcorn ceilings that are less prone to trapping moisture.
Read too: Understanding and Addressing a Leaky Ceiling in Your Apartment: Navigating the Drips
DIY vs. Professional Remediation: Making Informed Choices
While some cases of mold in popcorn ceilings may be manageable through do-it-yourself methods, others require professional intervention. Knowing the extent of the infestation and understanding the limitations of DIY approaches are essential for making informed decisions in dealing with “Mold in Popcorn Ceiling.”
Conclusion: Safeguarding Your Home from Mold in Popcorn Ceiling
In conclusion, the presence of mold in popcorn ceilings is a serious concern that demands attention. By arming yourself with knowledge about the causes, signs, and remediation strategies, you can take proactive steps to protect your home and loved ones. Regular inspections and maintenance are key in ensuring a healthy living environment and preserving the integrity of your home.