Discover the sophistication and practicality of Tegular Edge Ceiling Tile as we delve into the myriad design options, installation insights, and the transformative impact these tiles can have on your living or working space.

Introduction
Step into the world of refined aesthetics with Tegular Edge Ceiling Tiles. This comprehensive guide unveils the versatility and allure of these tiles, exploring design inspirations, installation intricacies, and the seamless integration of functionality and style.
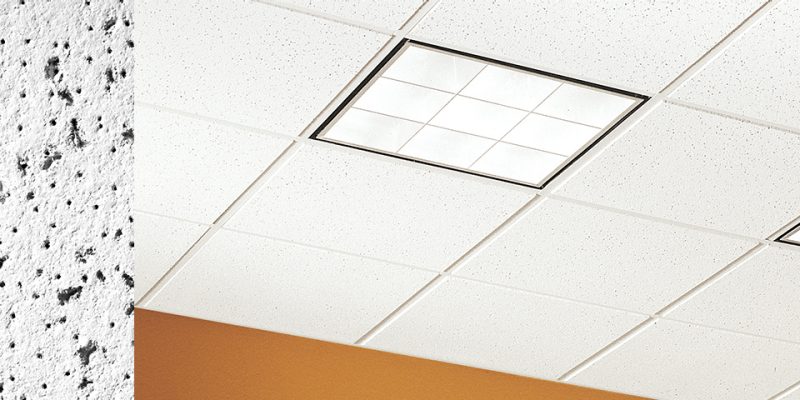
Tegular Edge Ceiling Tiles: An Architectural Marvel
Explore the meticulous craftsmanship behind Tegular Edge Ceiling Tiles, where form meets function to create a harmonious blend of visual appeal and practicality.
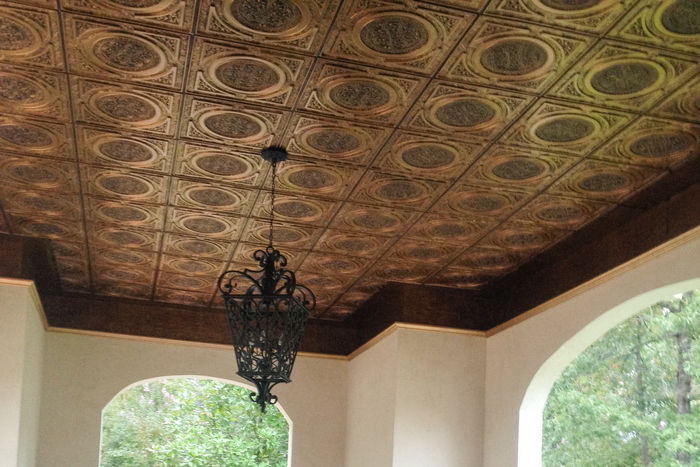
Design Inspirations: Crafting a Visual Symphony
Delve into the diverse design options available, from classic to contemporary, enabling you to tailor your ceiling to match your unique taste and style.
Choosing the Ideal Tegular Edge Ceiling Tiles
Navigate the decision-making process with confidence, considering factors such as material, color, and size to ensure the perfect fit for your residential or commercial setting.
Factors Influencing the Choice of Tegular Edge Ceiling Tiles
- Room Functionality: Understand how the purpose of the room influences the choice of Tegular Edge Ceiling Tiles, ensuring a seamless integration of form and function.
- Color Palette Harmony: Explore the impact of color coordination on the overall aesthetic, creating a cohesive and visually pleasing environment.
- Maintenance Considerations: Delve into the ease of maintenance, helping you choose tiles that align with your lifestyle and maintenance preferences.
Installation Insights: Crafting Perfection
Navigate the installation process effortlessly with step-by-step insights, ensuring a flawless execution that brings your design vision to life.
Enhancing Your Space with Tegular Edge Ceiling Tiles
Discover how Tegular Edge Ceiling Tiles offer more than just visual appeal, contributing to acoustics, insulation, and overall comfort in your living or working space.
Read too: Discovering the Charm of Nautical Outdoor Ceiling Fans for Your Coastal Retreat: Sail into Style
Conclusion: A Symphony of Elegance
In conclusion, Tegular Edge Ceiling Tile redefine the concept of ceilings, offering a harmonious blend of sophistication, functionality, and design flexibility.