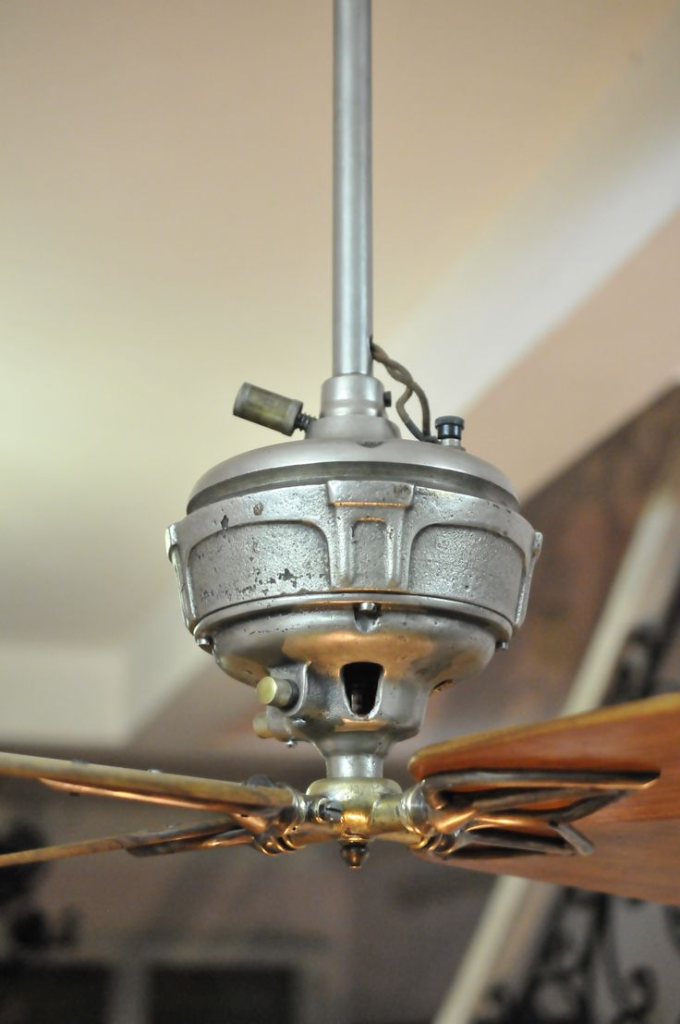
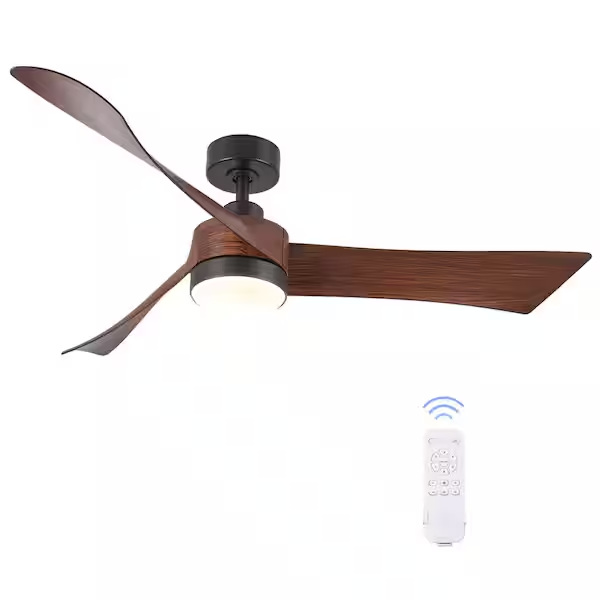
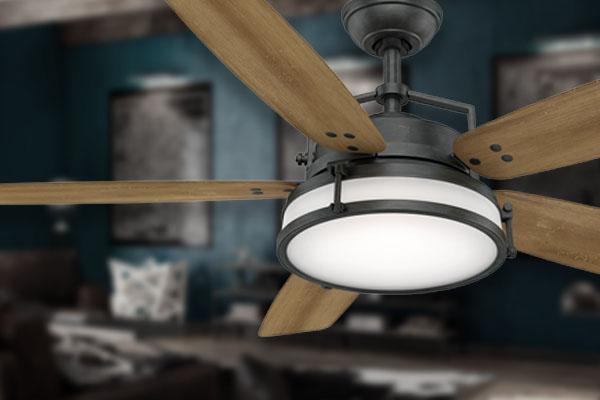
When it comes to creating a comfortable and stylish living space, few home appliances combine both form and function quite like the Hunter 60 Inch Ceiling Fan with Light and Remote. Whether you’re looking to enhance the airflow in your room or add a touch of modern elegance to your decor, this ceiling fan is the perfect addition to any home. In this article, we will explore the features, benefits, installation process, and maintenance tips for this incredible ceiling fan.
Why Choose the Hunter 60 Inch Ceiling Fan With Light And Remote?
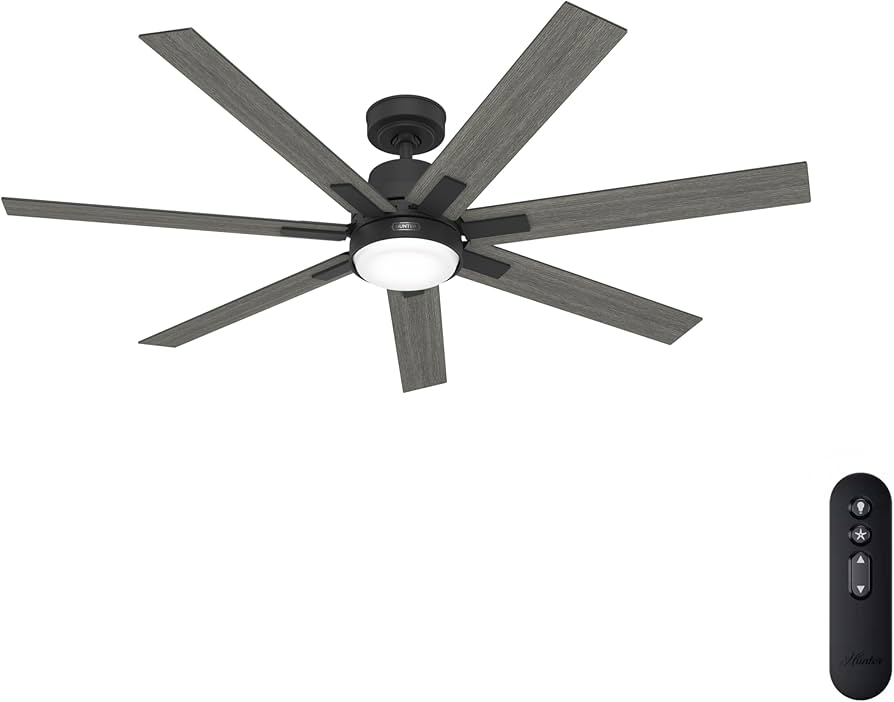
The Hunter 60 Inch Ceiling Fan with Light and Remote is a great choice for homeowners seeking to enhance both the aesthetics and functionality of their space. Here are some reasons why this ceiling fan stands out in the market:
- Elegant Design:
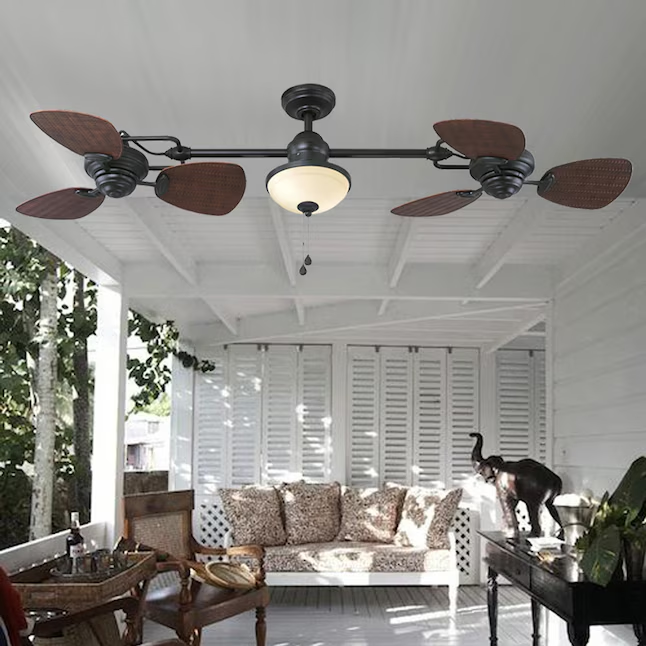
The sleek and modern design of the Hunter 60 Inch Ceiling Fan with Light makes it an ideal fit for a variety of home styles, from contemporary to traditional. The fan’s clean lines and neutral finishes like brushed nickel or matte black complement any room decor. - Efficient Air Circulation:
With its 60-inch blade span, this ceiling fan is perfect for medium to large-sized rooms. It provides optimal airflow, ensuring that your space stays cool during the warmer months and well-ventilated during the cooler months. - Integrated Lighting:
The built-in light fixture adds both functionality and beauty to the fan. With energy-efficient LED lighting, you can light up your room without sacrificing style or energy consumption. - Remote Control Convenience:
One of the most notable features of the Hunter 60 Inch Ceiling Fan with Light and Remote is the inclusion of a remote control. This allows you to adjust the fan’s speed and lighting with ease from anywhere in the room. - Energy Efficiency:
With the increasing demand for energy-efficient appliances, this ceiling fan with LED lighting helps you save on electricity bills. The fan uses less power compared to traditional fans, making it an eco-friendly choice for your home.
Key Features of the Hunter 60 Inch Ceiling Fan With Light And Remote
Before we dive deeper into its benefits and installation tips, let’s take a closer look at the key features that make the Hunter 60 Inch Ceiling Fan with Light and Remote a standout choice:
- Size and Blade Design
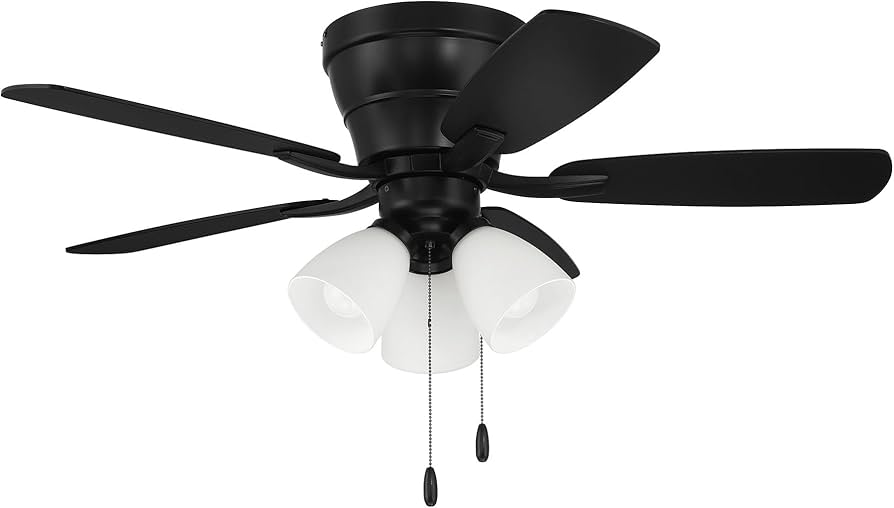
The 60-inch blade span is ideal for medium and large rooms, ensuring that it provides ample airflow for comfort. The blades are aerodynamically designed to move air more efficiently, giving you better cooling and circulation. - LED Light Kit
The fan comes with a built-in LED light kit that provides bright and energy-efficient lighting. The integrated light fixture eliminates the need for separate lighting installation and ensures that the fan and light operate seamlessly together. - Remote Control
The remote control allows you to operate the fan from a distance, adjusting the speed, light intensity, and even turning the fan on and off with the push of a button. This is particularly useful for high ceilings or hard-to-reach fans. - Quiet Operation
Hunter fans are known for their quiet performance. The Hunter 60 Inch Ceiling Fan with Light and Remote operates with minimal noise, creating a peaceful and relaxing environment in your home. - Reversible Motor
The reversible motor allows you to switch the direction of the fan blades. During the summer, the fan can rotate counterclockwise to cool the room, while in the winter, it can rotate clockwise to circulate warm air and improve heating efficiency. - Durable Construction
The Hunter fan is built with high-quality materials designed to withstand the test of time. The motor is engineered for long-lasting performance, and the blades are durable and designed to resist warping or bending.
Read too: Shiplap Ceiling in Kitchen: A Timeless Trend for a Stylish and Cozy Space
How To Install the Hunter 60 Inch Ceiling Fan With Light And Remote
Installing the Hunter 60 Inch Ceiling Fan with Light and Remote can be a straightforward DIY project for those comfortable with basic electrical work. However, if you’re not familiar with electrical installations, it’s always a good idea to hire a professional. Here’s a general overview of the installation process:
- Turn Off Power:
Before starting, ensure that the power is turned off at the circuit breaker to avoid any accidents or electrical shocks. - Assemble the Fan:
Unbox the fan and assemble the parts according to the instructions provided in the manual. Typically, this will involve attaching the fan blades to the motor and securing the light kit. - Install the Mounting Bracket:
The mounting bracket is essential for supporting the fan’s weight. Attach it to the ceiling with screws, making sure it’s secure. The bracket is designed to hold the fan in place while you complete the installation. - Wiring the Fan:
Connect the fan’s wires to the ceiling wiring. Usually, you will connect the black wire from the fan to the black wire in the ceiling, the white wire to the white ceiling wire, and the green or bare copper wire to the ground wire. - Mount the Fan:
Once the wiring is complete, carefully lift the fan motor and mount it onto the bracket. Secure it tightly to ensure it is stable. - Install the Remote Receiver:
The remote receiver typically needs to be connected to the wiring before mounting the fan. Follow the manufacturer’s instructions on how to properly connect the receiver. - Attach the Light Kit:
After securing the fan, install the light kit by following the instructions. Make sure the connections are secure and the light is properly aligned. - Test the Fan and Light:
Once the installation is complete, turn the power back on at the circuit breaker. Test the fan by using the remote control to adjust the fan speed and light settings.
Maintenance Tips
To ensure that your Hunter 60 Inch Ceiling Fan with Light and Remote lasts for many years, regular maintenance is key. Here are some helpful tips:
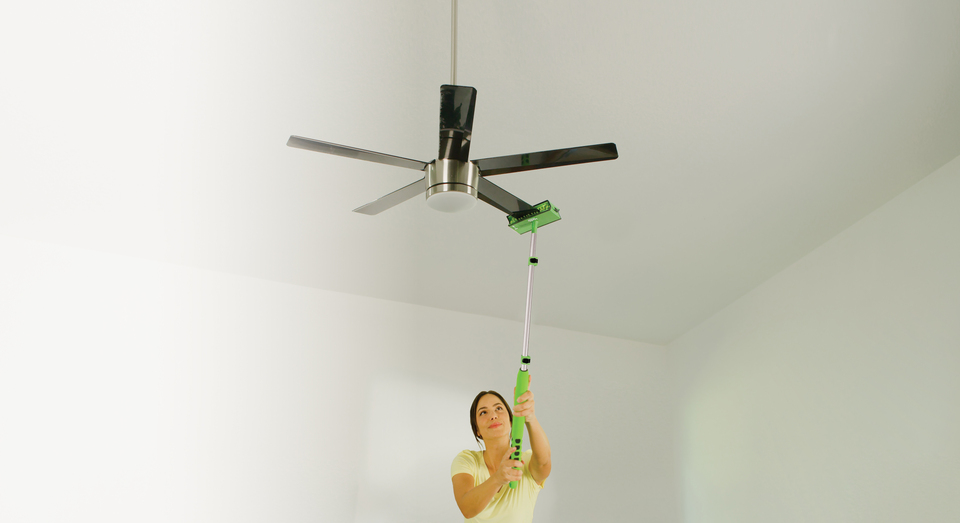
- Clean the Blades Regularly:
Dust and debris can accumulate on the fan blades, causing them to operate less efficiently. Use a soft cloth or a feather duster to clean the blades every few weeks. For a deeper clean, you can wipe them down with a damp cloth. - Check the Fan’s Balance:
Over time, fans can become unbalanced, leading to wobbling or noisy operation. If you notice any wobbling, check the blades to ensure they are properly aligned and evenly spaced. You can also use a blade balancing kit if necessary. - Lubricate the Motor:
While the Hunter 60 Inch Ceiling Fan with Light and Remote is designed for quiet operation, the motor may need occasional lubrication to keep it running smoothly. Follow the manufacturer’s recommendations for lubricating the motor to prevent wear and tear. - Replace the Remote Batteries:
The remote control for the fan requires batteries to operate. If the remote stops working or becomes unresponsive, replace the batteries with fresh ones to restore functionality. - Inspect Wiring Annually:
To ensure safety and optimal performance, it’s important to inspect the wiring connections once a year. Look for any signs of wear, loose connections, or fraying wires, and address any issues immediately.
Conclusion
The Hunter 60 Inch Ceiling Fan with Light and Remote is an excellent choice for anyone looking to enhance the comfort, efficiency, and style of their living space. With its elegant design, powerful airflow, and modern remote control features, this fan is a versatile and valuable addition to any room. Whether you are cooling off on a hot summer day or circulating warm air during winter, this ceiling fan will provide year-round comfort and style.