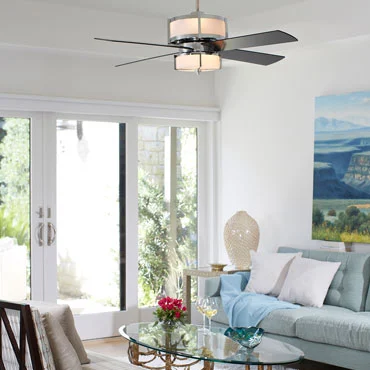
Ceiling Painted the Same Color as Walls. Are you considering painting your ceiling the same color as your walls but unsure if it’s the right choice for your space? In this guide, we’ll explore the pros and cons of this design approach, providing you with valuable insights to help you make an informed decision.
The Concept of Ceiling Painted Same Color As Walls
What Does It Mean?
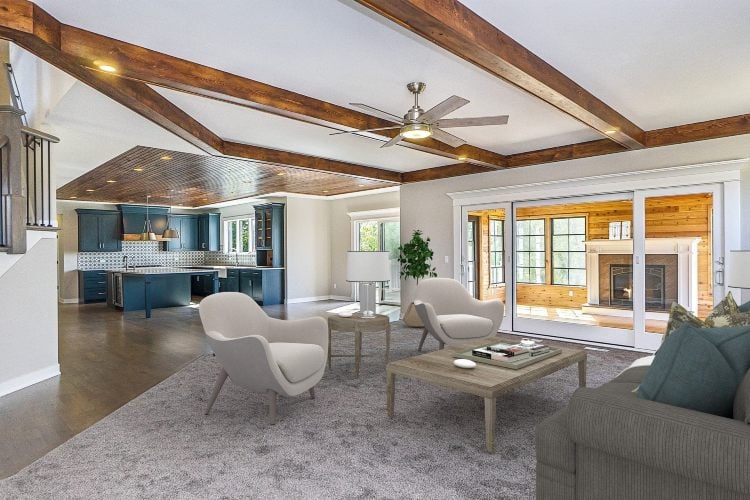
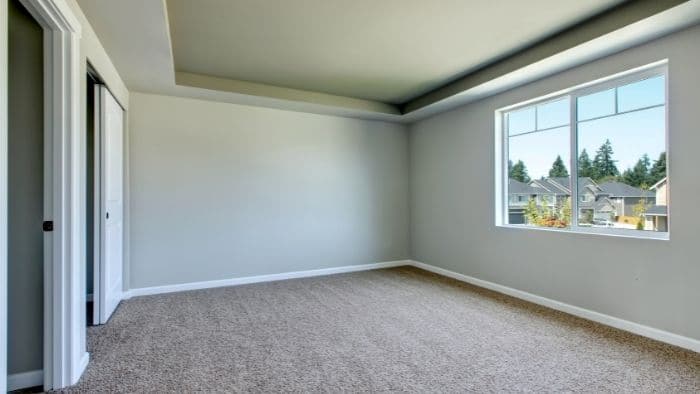
Painting the ceiling the same color as the walls involves using the identical paint color for both surfaces, creating a seamless transition between the two. This design technique is often used to visually expand the space and create a cohesive look in interior design.
Pros of Ceiling Painted Same Color As Walls
1. Enhanced Visual Flow
By eliminating the visual break between the walls and ceiling, painting them the same color can create a sense of continuity and flow in the room, making the space feel larger and more cohesive.
2. Height Perception
Painting the ceiling the same color as the walls can blur the lines between the two surfaces, giving the illusion of higher ceilings and adding a sense of airiness to the room.
3. Simplicity and Elegance
This design approach offers a clean and sophisticated aesthetic, particularly in rooms with simple architectural features or modern decor styles.
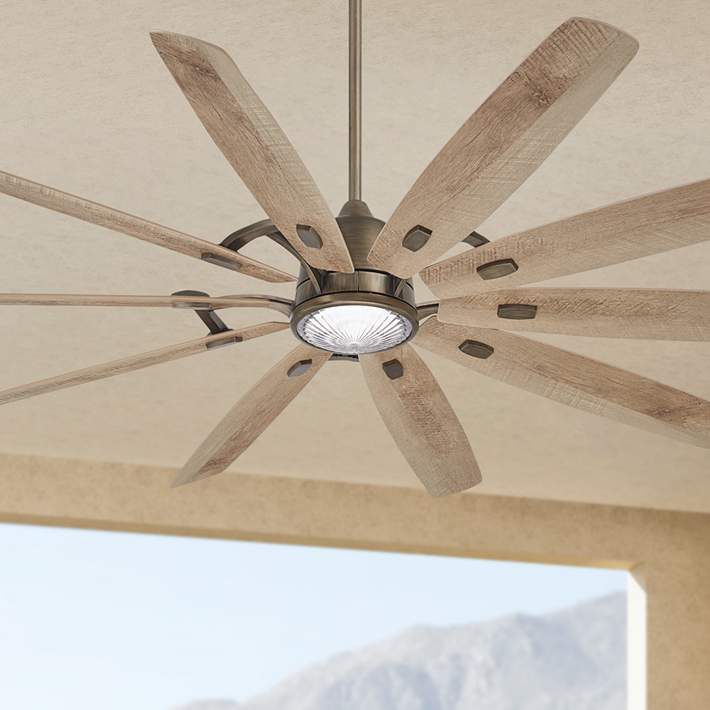
Read too: Discovering the Charm of Nautical Outdoor Ceiling Fans for Your Coastal Retreat: Sail into Style
Cons of Ceiling Painted Same Color As Walls
1. Lack of Dimension
While painting the ceiling the same color as the walls can create a unified look, it may also result in a lack of visual interest and dimension, particularly in rooms with intricate architectural details or high ceilings.
2. Potential for Discoloration
Ceilings are often exposed to more light and environmental factors than walls, which can lead to faster discoloration. Using the same paint color on both surfaces may highlight any imperfections or yellowing over time.
3. Difficulty in Defining Space
In larger rooms or open floor plans, painting the ceiling the same color as the walls may make it challenging to define distinct areas, potentially resulting in a monotonous or overwhelming look.
Tips for Achieving a Successful Look
1. Choose the Right Paint Finish
Opt for a paint finish that suits your space and desired aesthetic. Matte or eggshell finishes are popular choices for creating a subtle and sophisticated look, while satin or semi-gloss finishes can add a touch of elegance and reflectivity.
2. Consider Contrast
If you’re concerned about the lack of dimension, consider introducing subtle contrast by painting the ceiling a shade lighter or darker than the walls. This can help create depth and visual interest without sacrificing the cohesive look.
3. Test Before Committing
Before painting the entire room, test the chosen paint color on a small section of the ceiling and walls to ensure it complements the space and lighting conditions effectively.
Conclusion
Painting the ceiling the same color as the walls can be a bold design choice that enhances the overall look and feel of your space. By weighing the pros and cons and following these tips, you can achieve a cohesive and visually appealing interior design that reflects your personal style.