As outdoor living spaces become more integral to modern homes, the demand for innovative cooling solutions has grown. One such solution gaining popularity is the misting ceiling fan outdoor. In this comprehensive guide, we explore what a misting ceiling fan outdoor is, how it works, its benefits, installation tips, and why it’s a perfect addition to your patio, porch, or outdoor entertainment area.
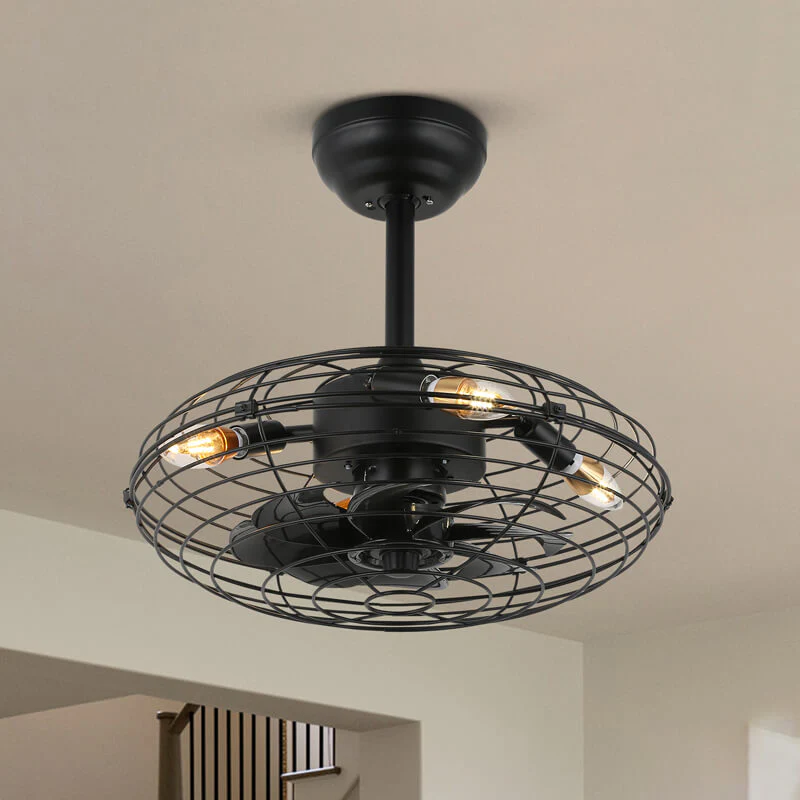
Misting Ceiling Fan Outdoor: What Is It?
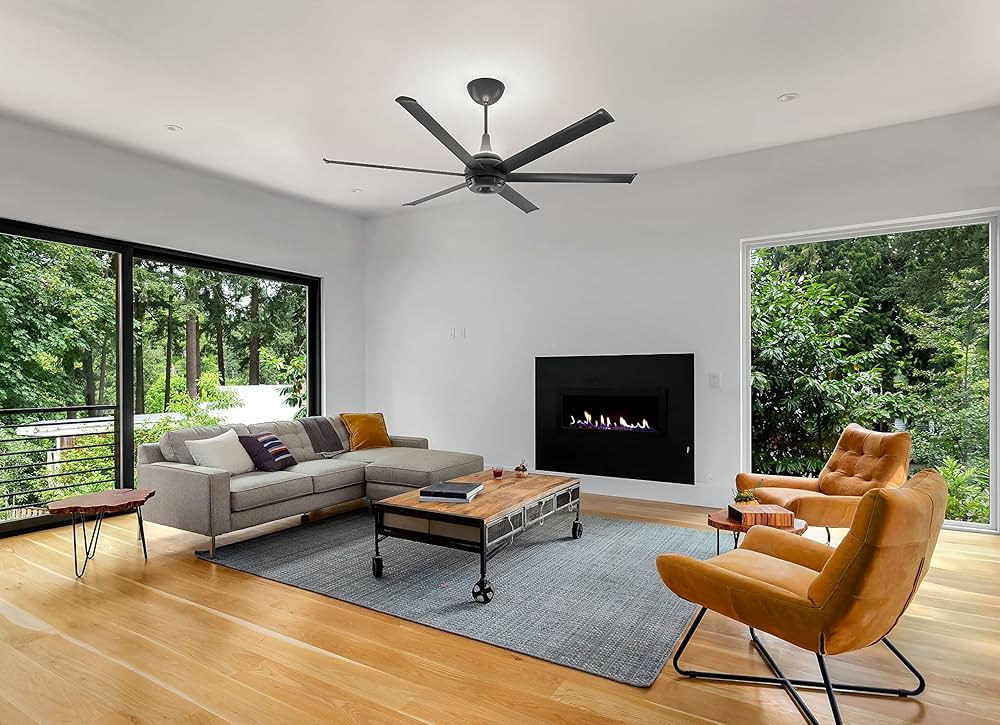
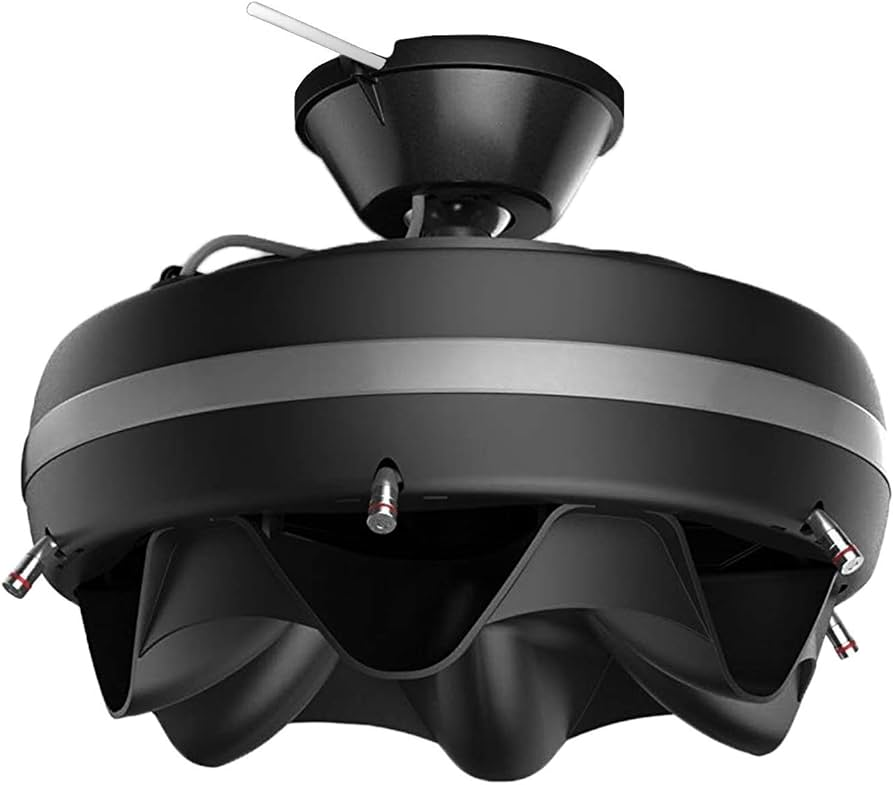
A misting ceiling fan outdoor combines the functionality of a traditional ceiling fan with the cooling effect of a misting system. These fans are equipped with built-in nozzles that spray a fine mist of water into the air, which evaporates quickly and lowers the ambient temperature in the vicinity.
How Does a Misting Ceiling Fan Outdoor Work?
The operation of a misting ceiling fan outdoor is straightforward yet effective:
- Misting Nozzles: Integrated into the fan blades or around the fan housing, these nozzles emit a fine mist of water when the fan is in operation.
- Evaporative Cooling: The mist cools the surrounding air through evaporation, reducing the temperature by several degrees.
- Fan Functionality: Simultaneously, the fan circulates the cooled air, creating a gentle breeze that enhances the cooling effect and provides comfort on hot days.
Read too: Understanding and Dealing with Ants in the Ceiling Spaces: Navigating the Intrusion
Benefits of Installing a Misting Ceiling Fan Outdoor
Investing in a misting ceiling fan outdoor offers a range of benefits for homeowners looking to maximize their outdoor comfort:
1. Temperature Reduction
The primary benefit of a misting ceiling fan outdoor is its ability to lower ambient temperatures significantly. Depending on humidity levels, these fans can reduce temperatures by up to 10-20 degrees Fahrenheit, making outdoor spaces more enjoyable during hot summer months.
2. Enhanced Comfort
By combining evaporative cooling with air circulation, misting ceiling fans create a refreshing environment that enhances comfort for you, your family, and guests. They help mitigate the discomfort of heat and humidity, allowing you to spend more time outdoors.
3. Mosquito and Insect Control
The fine mist produced by these fans helps deter mosquitoes and flying insects, creating a more pleasant outdoor experience without the need for chemical repellents.
4. Aesthetic Appeal
Misting ceiling fans are available in various designs and finishes to complement outdoor décor styles. They can serve as functional and decorative elements, adding value and visual appeal to your patio or porch.
5. Energy Efficiency
Compared to air conditioning units, misting ceiling fans consume significantly less energy. They operate on standard electrical outlets and use minimal water, making them a cost-effective cooling solution for outdoor areas.
Installation Tips
Installing a misting ceiling fans outdoor requires careful consideration and planning to ensure optimal performance:
1. Choose the Right Location
Select a central location on your patio or porch that allows the fan to provide maximum coverage. Consider factors such as prevailing winds, seating arrangements, and proximity to electrical outlets and water sources.
2. Height and Clearance
Install the fan at an appropriate height to maximize airflow and mist distribution. Ensure there is adequate clearance above and around the fan blades to prevent obstruction and ensure safe operation.
3. Water Supply
Connect the misting system to a reliable water source, such as a garden hose or dedicated water line. Use a filtration system if necessary to prevent nozzle clogging and ensure consistent misting performance.
4. Maintenance
Regularly clean and inspect the misting nozzles to remove mineral deposits or debris that can affect performance. Lubricate fan bearings and check electrical connections to maintain efficient operation over time.
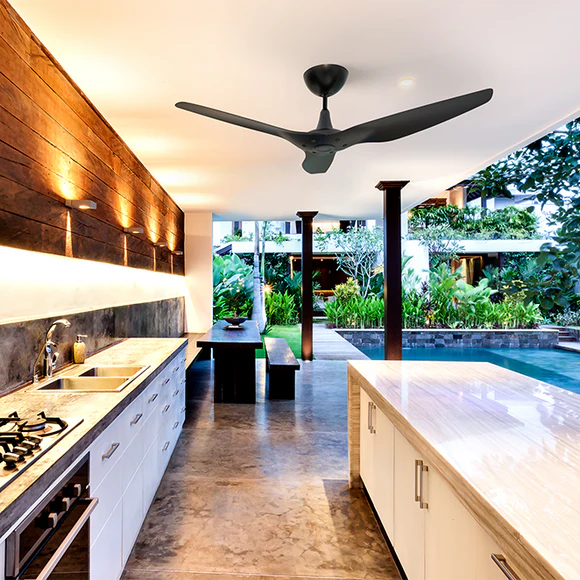
Applications of Misting Ceiling Fan Outdoor
Misting ceiling fans are suitable for various outdoor applications where cooling and comfort are priorities:
- Patios and Decks: Enhance outdoor dining and lounging areas with effective temperature control.
- Poolside: Provide relief from the heat for swimmers and sunbathers near the pool area.
- Gazebos and Pergolas: Create cool, shaded retreats for relaxation and social gatherings.
- Commercial Spaces: Restaurants, bars, and event venues utilize misting ceiling fans to improve customer comfort and extend outdoor seating seasons.
Conclusion
In conclusion, a misting ceiling fans outdoor is a versatile and effective solution for cooling outdoor spaces while enhancing comfort and enjoyment. Whether you’re hosting a backyard barbecue, relaxing on your patio, or entertaining guests outdoors, these fans provide an efficient way to beat the heat and create a more inviting environment. By understanding how misting ceiling fans work, their benefits, and installation considerations, you can make informed decisions to transform your outdoor living experience.