In the world of kitchen design, cathedral ceiling kitchen cabinets stand out for their ability to enhance both the functionality and aesthetic appeal of a space. Cathedral ceilings, known for their high, vaulted structure, offer a unique architectural element that can dramatically transform a kitchen. When paired with the right cabinetry, this design choice not only maximizes space but also elevates the overall look of your kitchen. This article will explore the benefits, design considerations, and practical tips for incorporating cathedral ceiling kitchen cabinets into your home.
What Are Cathedral Ceiling Kitchen Cabinets?
Cathedral ceiling kitchen cabinets are specifically designed to complement kitchens with vaulted or cathedral ceilings. These ceilings typically feature a high, sloped design that creates a spacious and airy feel. Cathedral ceiling cabinets are often taller than standard cabinets and are crafted to fit the unique angles and heights of a cathedral ceiling. This type of cabinetry can help you make the most of the vertical space in your kitchen, offering both aesthetic appeal and additional storage.
The Benefits of Cathedral Ceiling Kitchen Cabinets
Cathedral ceiling kitchen cabinets offer numerous benefits that make them a popular choice for homeowners with high ceilings. Here are some key advantages:
1. Maximizing Vertical Space
One of the most significant benefits of cathedral ceiling kitchen cabinets is their ability to maximize vertical space. In kitchens with high ceilings, standard cabinets often leave a large gap between the top of the cabinet and the ceiling, which can make the space feel unfinished. Cathedral ceiling cabinets, however, are designed to extend higher, filling this gap and providing additional storage space.
Read too: Bathroom Flooded Through the Ceiling: A Comprehensive Guide
2. Enhanced Aesthetic Appeal
Cathedral ceiling kitchen cabinets contribute to the grandeur and elegance of a kitchen. The tall, vertical lines of the cabinets draw the eye upward, emphasizing the height and openness of the space. This design choice can make your kitchen feel larger and more luxurious.
3. Increased Storage Capacity
By extending the height of the cabinets, cathedral ceiling kitchen cabinets offer increased storage capacity. This additional space is perfect for storing items that are not used daily, such as seasonal dishes, large cookware, or rarely-used appliances. The extra storage helps keep your kitchen organized and clutter-free.
4. Customizable Design
Cathedral ceiling kitchen cabinets can be customized to fit your specific needs and preferences. Whether you prefer a traditional look with intricate woodwork or a modern, minimalist design, these cabinets can be tailored to suit your style. You can also choose from a variety of finishes, hardware, and shelving options to create a look that is uniquely yours.
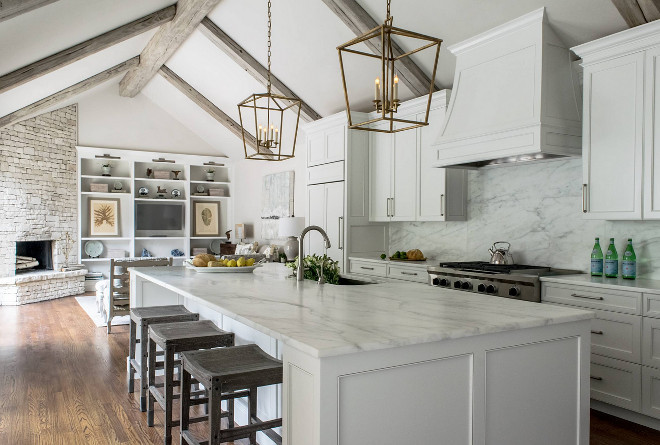
Design Considerations for Cathedral Ceiling Kitchen Cabinets
While cathedral ceiling kitchen cabinets offer numerous benefits, there are several design considerations to keep in mind to ensure that they work harmoniously with your space.
1. Proportions and Scale
When designing a kitchen with cathedral ceiling cabinets, it’s essential to consider the proportions and scale of the cabinetry in relation to the ceiling height. Cabinets that are too tall can overwhelm the space, while those that are too short may not take full advantage of the available height. Work with a designer to find the right balance that complements the overall design of your kitchen.
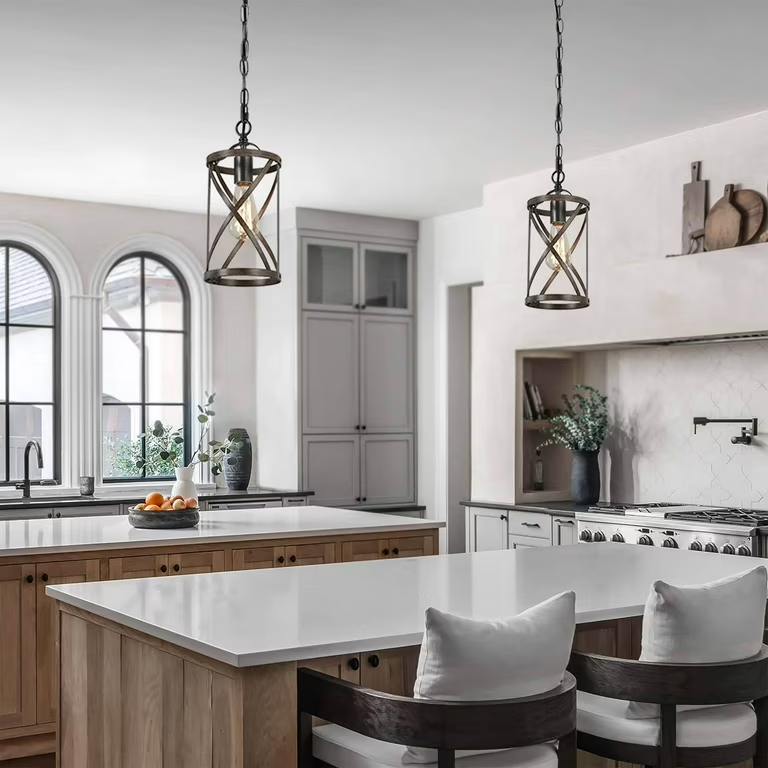
2. Lighting
Proper lighting is crucial in a kitchen with cathedral ceiling cabinets. The high ceilings and tall cabinets can create shadows, making it essential to incorporate adequate lighting. Consider installing under-cabinet lighting to illuminate countertops and work areas, as well as pendant lights or chandeliers that draw attention to the height of the space. Recessed lighting can also be used to ensure even illumination throughout the kitchen.
3. Access to Upper Cabinets
While the extra storage space provided by cathedral ceiling cabinets is a significant advantage, it’s important to consider how you will access items stored in the upper cabinets. If the cabinets are too high, it may be challenging to reach items without a step stool or ladder. To address this, you can incorporate features such as pull-down shelves or install a built-in ladder system for easier access.
4. Material and Finish
The material and finish of your cathedral ceiling kitchen cabinet play a crucial role in the overall aesthetic of your kitchen. Wood is a popular choice for its warmth and versatility, but you can also opt for painted cabinets for a more modern look. When selecting the finish, consider how it will complement other elements in the kitchen, such as the countertops, backsplash, and flooring. A cohesive color scheme and material palette will help create a harmonious and visually appealing space.
How to Incorporate Cathedral Ceiling Kitchen Cabinets into Different Kitchen Styles
Cathedral ceiling kitchen cabinet can be adapted to suit a variety of kitchen styles. Here’s how you can incorporate them into different design themes:
1. Traditional Kitchens
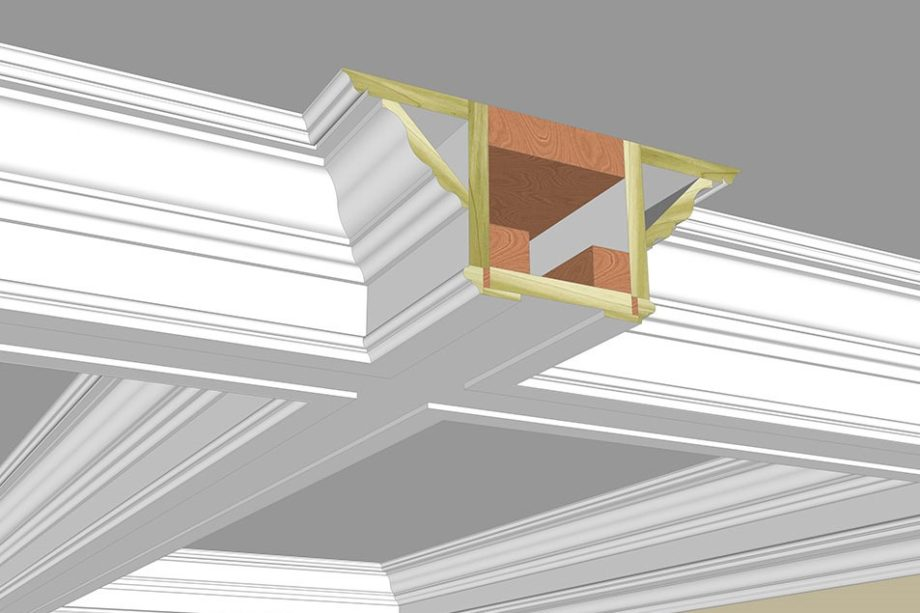
In traditional kitchens, cathedral ceiling cabinets can be designed with ornate details, such as raised panel doors, crown molding, and decorative hardware. Opt for rich wood tones like cherry or mahogany to enhance the classic feel of the space. Pair the cabinets with a stone or granite countertop and a tile backsplash to complete the traditional look.
2. Modern Kitchens
For a modern kitchen, cathedral ceiling cabinets can be streamlined and minimalist. Choose flat-panel doors with sleek hardware for a clean and contemporary look. White or gray cabinets with a glossy finish can create a sense of openness and lightness in the space. To add contrast, consider using a darker countertop material, such as black quartz or concrete.
3. Rustic or Farmhouse Kitchens
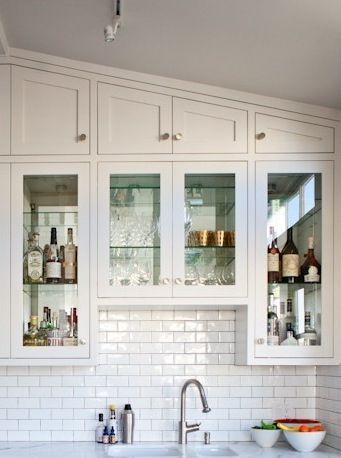
Cathedral ceiling cabinets are a natural fit for rustic or farmhouse-style kitchens. Consider using reclaimed wood or distressed finishes to create a warm, lived-in feel. Open shelving or glass-front cabinets can also add to the rustic charm. Pair the cabinets with a farmhouse sink, butcher block countertops, and vintage-inspired lighting to complete the look.
4. Transitional Kitchens
In transitional kitchens, which blend elements of traditional and contemporary design, cathedral ceiling cabinets can offer the best of both worlds. Choose cabinets with simple, clean lines, but incorporate traditional touches like crown molding or decorative glass inserts. Neutral tones like beige, taupe, or soft gray work well in transitional spaces, allowing you to mix and match styles seamlessly.
Practical Tips for Maintaining
Once you’ve installed your cathedral ceiling kitchen cabinet, proper maintenance is key to keeping them looking their best. Here are some tips to help you care for your cabinets:
1. Regular Cleaning
Dust and grease can accumulate on kitchen cabinets, especially those that are higher up. Regularly dust the cabinets with a microfiber cloth, and use a gentle cleaner to wipe down the surfaces. Avoid using harsh chemicals that can damage the finish.
2. Inspect for Damage
Periodically inspect your cabinets for signs of wear and tear, such as scratches, dents, or loose hardware. Address any issues promptly to prevent further damage. If you notice any loose hinges or handles, tighten them to ensure that the cabinets remain secure.
3. Protect the Finish
To protect the finish of your cathedral ceiling kitchen cabinet, avoid placing hot items directly on the cabinet surfaces, and use coasters or placemats to prevent scratches. If your cabinets are made of wood, consider applying a wood conditioner periodically to keep the wood looking vibrant and to prevent drying out or cracking.
Conclusion
Cathedral ceiling kitchen cabinets are a stylish and functional addition to any kitchen with high ceilings. They maximize vertical space, enhance the aesthetic appeal of the room, and offer increased storage capacity. By considering factors such as proportions, lighting, access, and material, you can create a kitchen that is both beautiful and practical. Whether your style is traditional, modern, rustic, or transitional, cathedral ceiling kitchen cabinets can be customized to suit your design preferences, making them a versatile choice for any home. With proper maintenance, these cabinets will remain a stunning feature in your kitchen for years to come.