When it comes to bathroom renovations, many people focus on the floor tiles, wall colors, and fixtures, but the ceiling often gets overlooked. However, incorporating ceiling molding into your bathroom can add a touch of elegance, depth, and personality to the space. In this article, we’ll explore several stunning Bathroom Ceiling Molding Ideas that can inspire you to elevate your bathroom’s design, making it a space that’s not only functional but also visually striking.
What is Ceiling Molding, and Why Is It Important?
Ceiling molding refers to decorative trim or paneling that’s placed along the joint where the ceiling meets the walls. It’s often used in living rooms and dining rooms, but extending this design element into your bathroom can create a refined, finished look. Whether you prefer a minimalist or ornate style, ceiling molding adds architectural interest and can set the tone for your bathroom’s overall aesthetic.
Why Consider Ceiling Molding in a Bathroom?
Bathrooms, particularly smaller ones, can benefit greatly from ceiling molding. It helps draw the eye upward, making the room feel larger and more sophisticated. Additionally, molding can help hide any imperfections in the ceiling and add a clean, defined finish to the room. Whether you have a modern, traditional, or rustic bathroom, there’s a ceiling molding style that can complement your decor.
Read too: Discovering the Charm of Nautical Outdoor Ceiling Fans for Your Coastal Retreat: Sail into Style
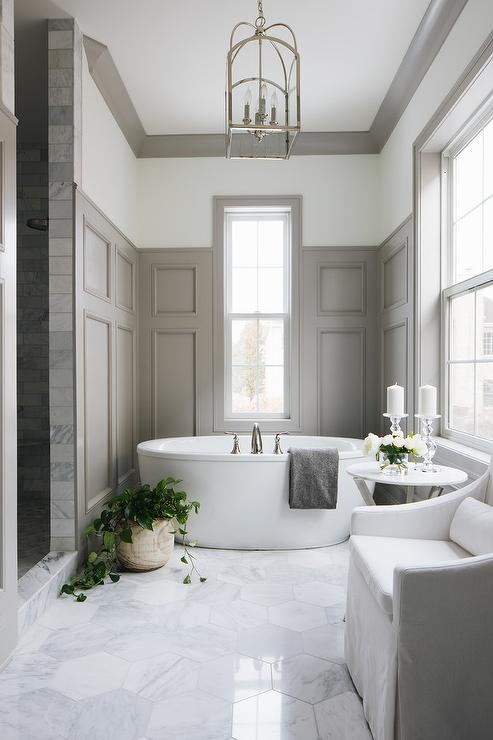
Bathroom Ceiling Molding Ideas for Every Style
Now, let’s dive into the various Bathroom Ceiling Molding Ideas that can help you achieve a refined and sophisticated bathroom design.
1. Crown Molding for a Classic Touch
Crown molding is perhaps the most traditional and widely recognized type of ceiling molding. It’s installed where the ceiling and walls meet and can vary in width and detail, from simple, clean lines to elaborate designs.
In bathrooms, crown molding works particularly well in creating a luxurious atmosphere, especially when paired with classic fixtures and traditional tiling. Opt for wider crown moldings if you have high ceilings to create a more dramatic effect. Alternatively, choose more subtle, narrower moldings for smaller bathrooms to maintain a clean, open feel.
2. Tray Ceiling Molding for Depth and Dimension
Tray ceilings feature a recessed central portion that adds depth to the ceiling. By incorporating molding around the edges of a tray ceiling, you can emphasize its unique shape and create a stunning focal point. This type of ceiling molding works beautifully in larger bathrooms with high ceilings, as it adds a sense of grandeur to the space.
To enhance this look, consider painting the recessed section a contrasting color or installing recessed lighting within the tray for added ambiance.
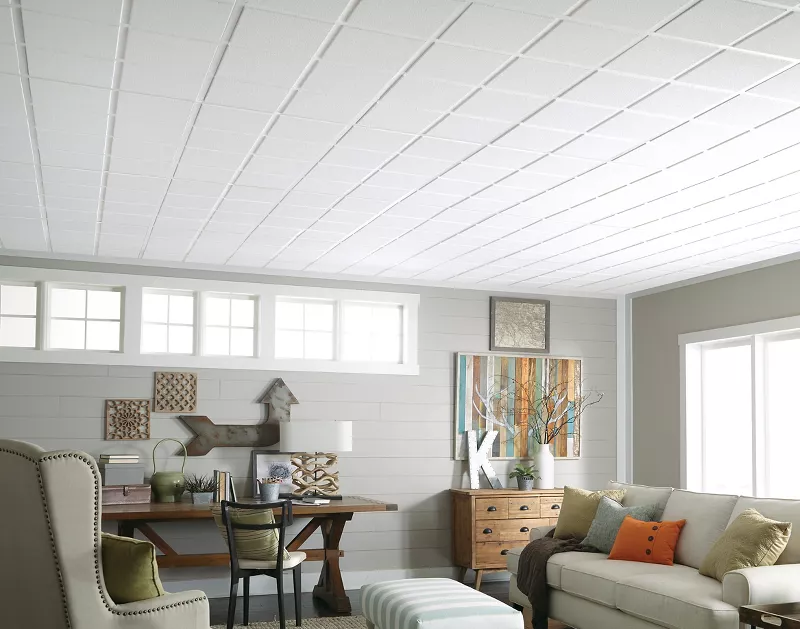
3. Shiplap Molding for a Coastal or Rustic Look
For those looking to introduce a coastal or rustic vibe to their bathroom, shiplap molding is a great option. Shiplap involves using horizontal wooden boards that overlap slightly, creating a clean yet textured look. Installing shiplap molding on your ceiling can evoke the feeling of a beachside cottage or a cozy farmhouse.
Pair your shiplap ceiling with light, airy colors such as whites, blues, and greys to enhance the coastal feel. Additionally, shiplap can be painted or left with a natural wood finish, depending on the aesthetic you want to achieve.
4. Coffered Ceiling Molding for Elegance and Sophistication
Coffered ceilings are made up of recessed square or rectangular panels that add texture and depth to the ceiling. By incorporating molding within each panel, you can create an elegant and highly detailed ceiling that becomes the centerpiece of your bathroom.
Coffered ceilings are ideal for larger bathrooms, as the intricacy of the design can be overwhelming in smaller spaces. For a modern twist, opt for a monochromatic coffered ceiling where both the ceiling and the molding are the same color, creating a sleek, unified look.
5. Beadboard Molding for Vintage Charm
If you want to give your bathroom a vintage, cottage-style feel, beadboard molding might be the right choice. Beadboard consists of narrow vertical planks with small ridges between them. Installing beadboard molding on the ceiling can add a layer of texture while still maintaining a light and airy atmosphere.
Beadboard works exceptionally well in bathrooms with a more traditional or shabby-chic design. Pair it with white or pastel colors to create a space that feels cozy, clean, and charming.
6. Modern Minimalist Molding
Not all ceiling molding ideas need to be elaborate or ornate. For a more modern, minimalist bathroom, consider using slim, subtle molding that adds just a hint of definition between the ceiling and the walls. This style works best in contemporary spaces with sleek, clean lines and minimal decor.
Opt for monochromatic colors or even a matte black molding to create a sharp, edgy contrast with a white ceiling. The simplicity of this approach makes the room feel sophisticated without overwhelming the space.
7. Curved Molding for a Unique Architectural Statement
Curved or arched molding can create a unique, architectural focal point in your bathroom. This style of molding works particularly well in bathrooms with rounded ceilings or archways. The smooth, flowing lines of the curved molding soften the edges of the room, making it feel more inviting and dynamic.
Pair curved molding with soft, neutral colors to highlight the architectural details without drawing too much attention away from other design elements.
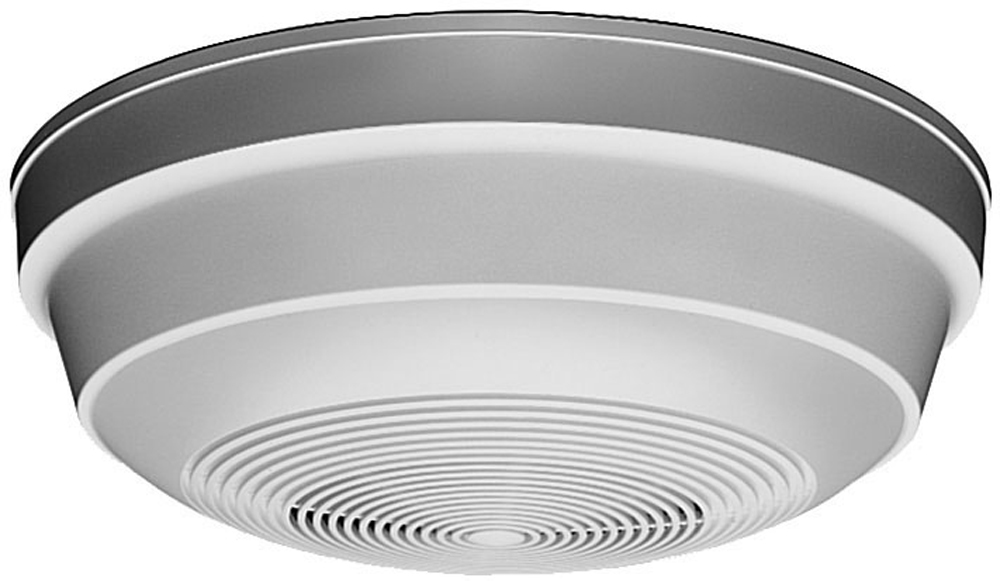
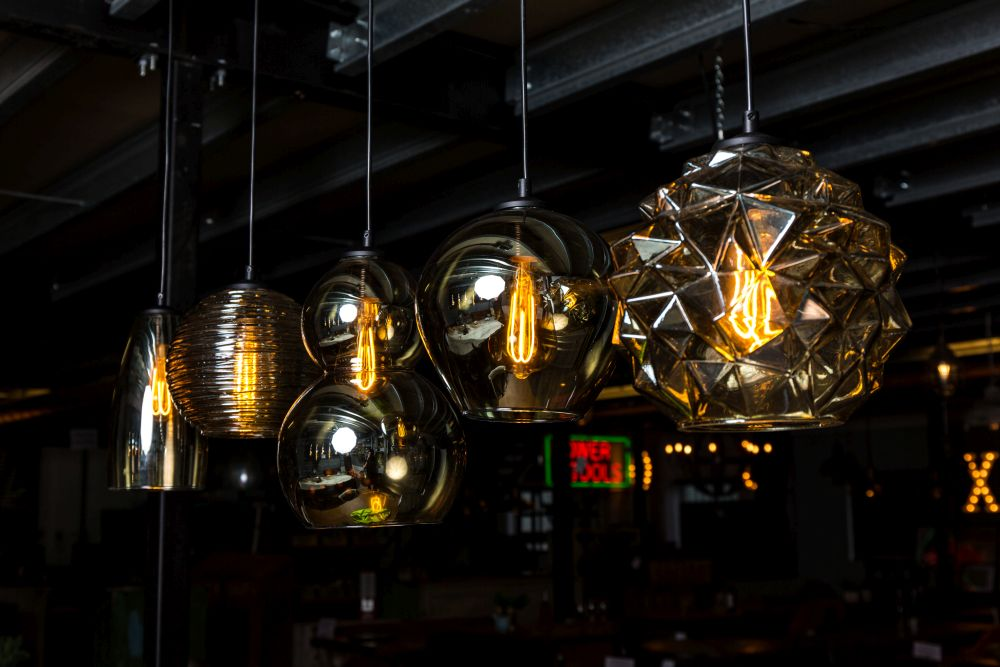
8. Recessed Molding with Lighting
For a contemporary and high-tech feel, consider incorporating recessed molding with hidden lighting. The molding creates a channel around the ceiling’s perimeter, where LED strip lights can be installed. This not only adds an ambient glow to your bathroom but also emphasizes the ceiling’s height and structure.
Recessed lighting works particularly well in modern, minimalist bathrooms where functionality and form go hand in hand. It’s a great option for those looking to add both style and practicality to their space.
9. Picture Frame Molding for Geometric Design
For a more intricate and geometric design, consider picture frame molding on your bathroom ceiling. Picture frame molding involves creating square or rectangular patterns across the ceiling, offering a sophisticated, structured look. This type of molding can be installed symmetrically or in an abstract pattern, depending on the style you want to achieve.
This type of molding pairs well with mid-century modern or art-deco-inspired bathrooms. Use metallic finishes or bold colors within the picture frames for an eye-catching design.
10. Multi-Layered Molding for Luxurious Detail
For those who want to go all-out with their bathroom design, multi-layered molding is a fantastic option. By layering different styles of molding—such as crown, baseboard, and chair rail—you can create a richly detailed, luxurious ceiling that stands out.
This option works best in larger bathrooms with high ceilings, where the intricate details can be fully appreciated. Pair with high-end fixtures and materials, like marble or brass, to complete the opulent look.
How to Choose the Right Bathroom Ceiling Molding
When selecting the perfect ceiling molding for your bathroom, consider the following factors:
- Ceiling Height: High ceilings can accommodate more elaborate molding designs, while smaller bathrooms may benefit from simpler molding.
- Bathroom Style: Match your molding to the overall aesthetic of your bathroom. Traditional bathrooms may suit crown molding, while modern bathrooms can benefit from minimalist or recessed molding.
- Lighting: Incorporating lighting with your molding can highlight its design and add a touch of elegance to your bathroom.
- Materials: Choose moisture-resistant materials, especially for bathrooms, as this will ensure the longevity of the molding despite exposure to humidity.
Conclusion
Ceiling molding is a simple yet highly effective way to add personality, elegance, and architectural interest to your bathroom. From traditional crown molding to modern recessed lighting designs, there’s a ceiling molding idea for every bathroom style. Whether you’re aiming for a luxurious, vintage, or minimalist look, these Bathroom Ceiling Molding Ideas can help transform your bathroom into a space that is both functional and beautiful.