Discovering a “Roof Leak Ceiling Stain” can be a homeowner’s nightmare, signifying potential water damage and structural issues. In this comprehensive guide, we’ll delve into the causes, consequences, and effective solutions to safeguard your home from the silent threat of ceiling stains caused by roof leaks.
Roof Leak Ceiling Stain: A Closer Look at the Problem
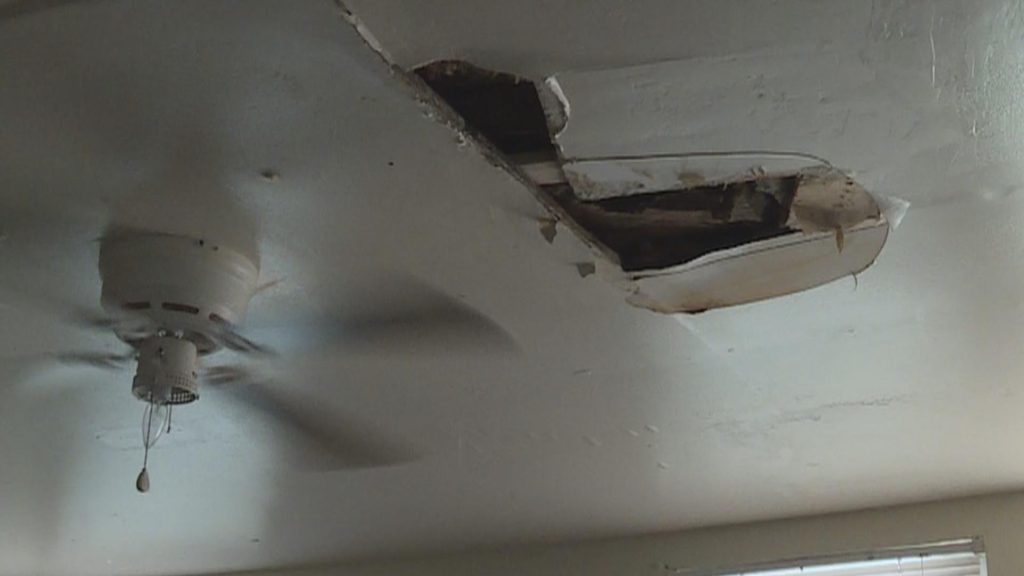
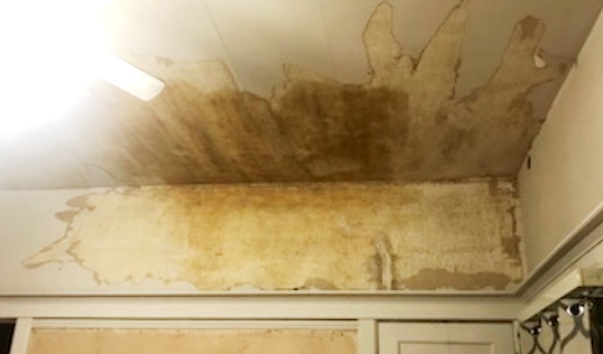
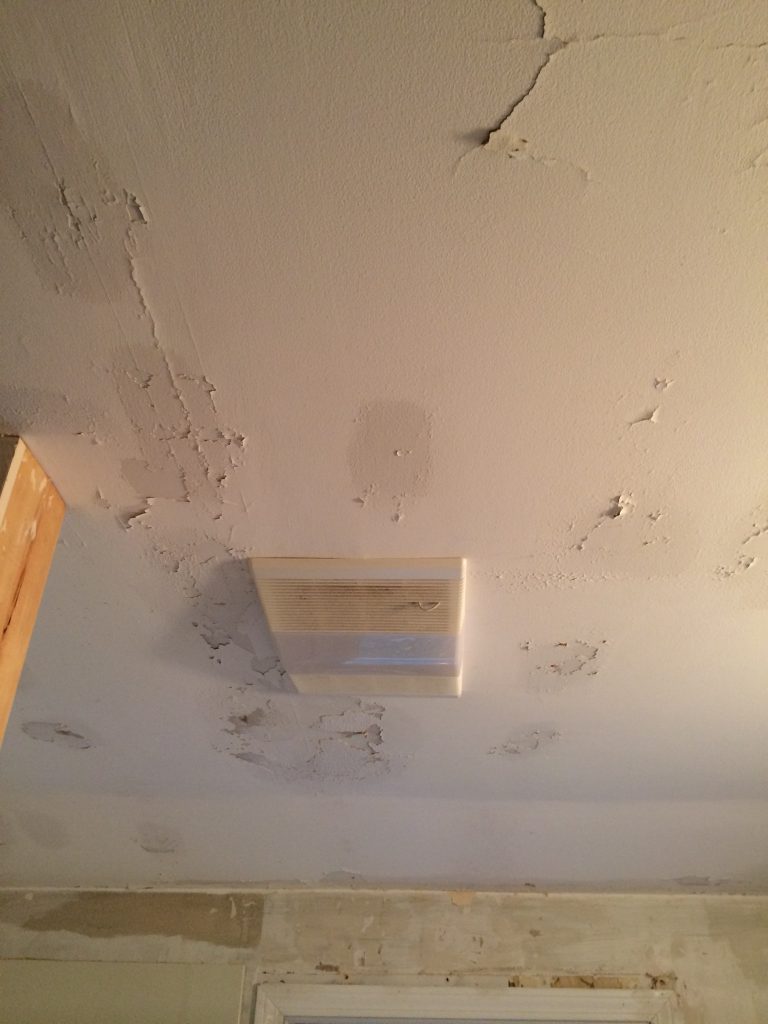
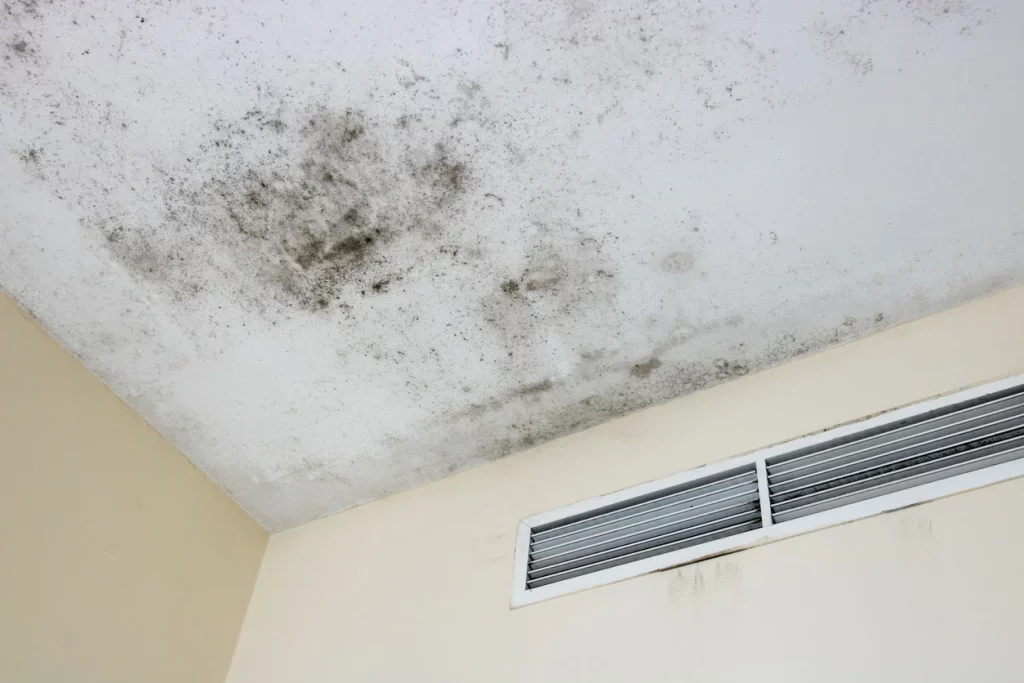
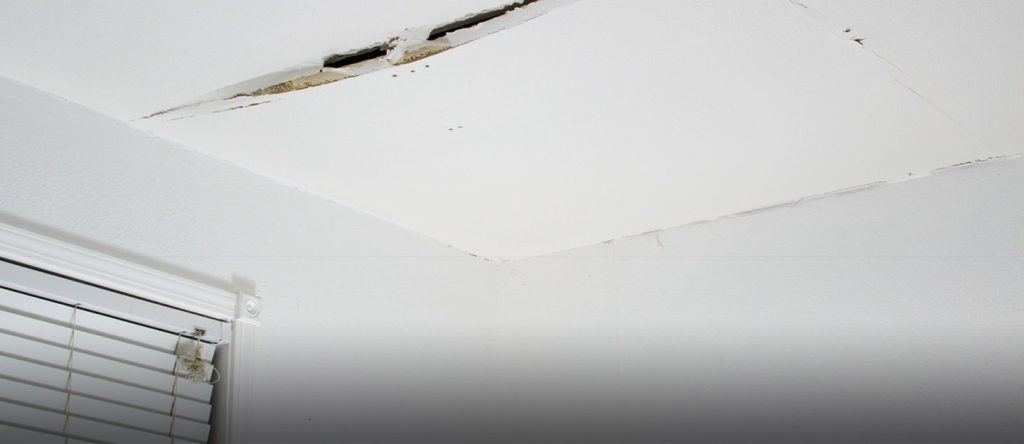
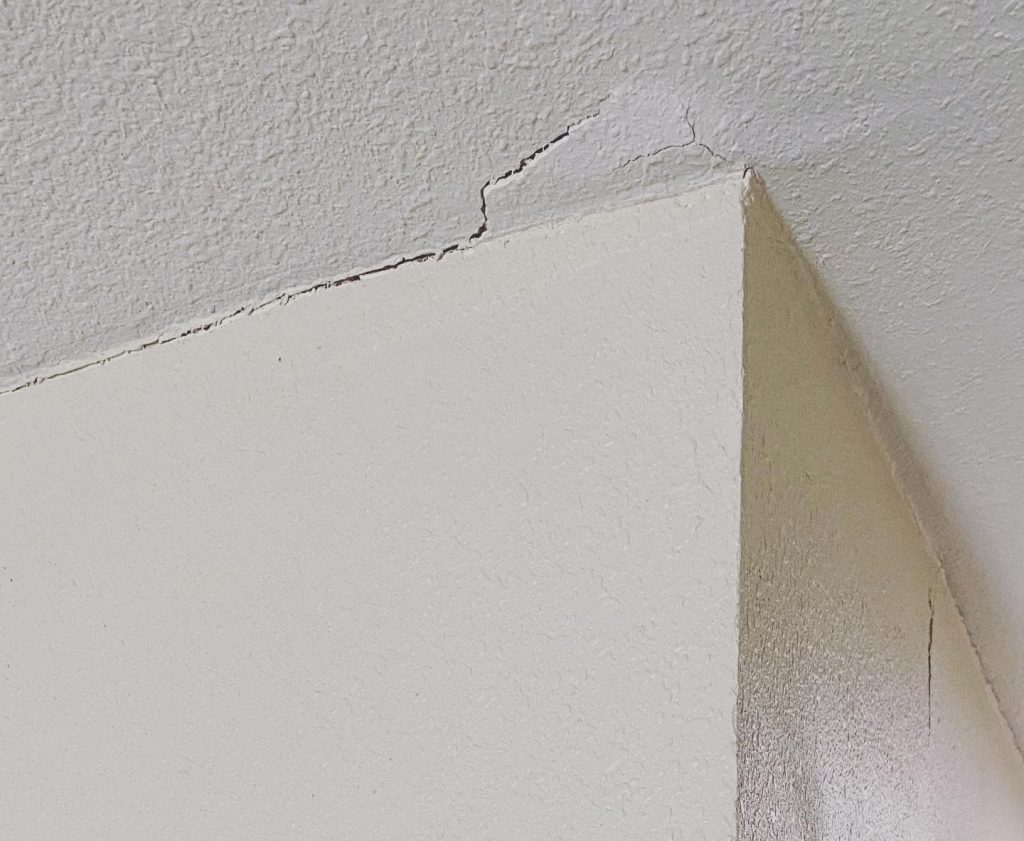
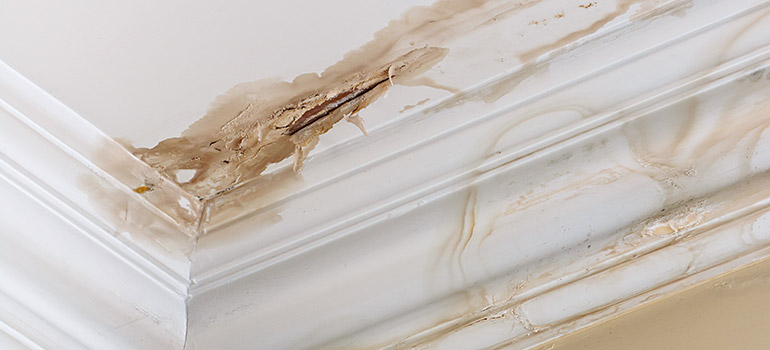
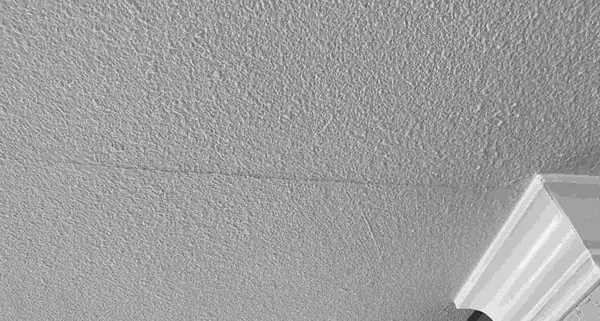
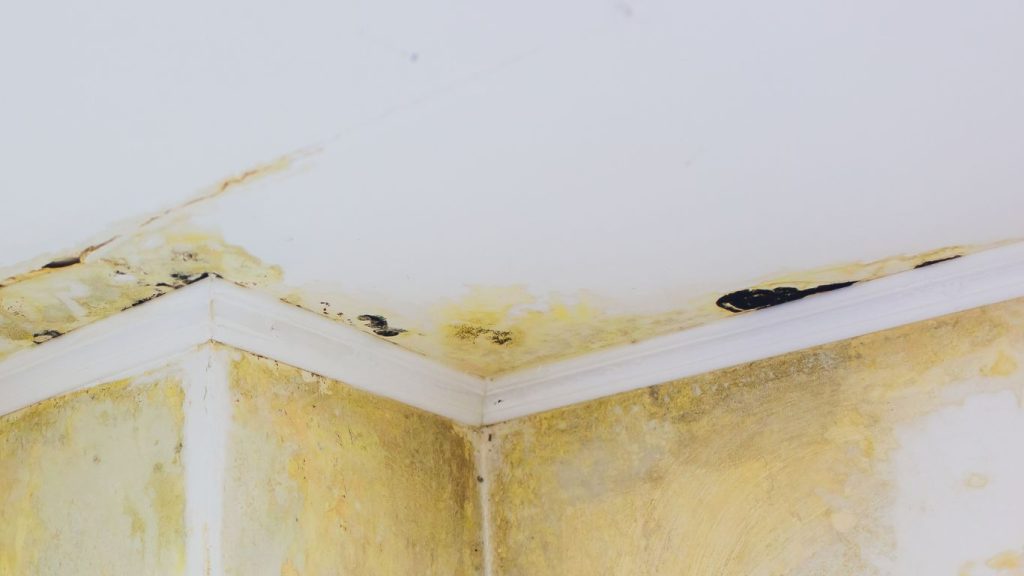
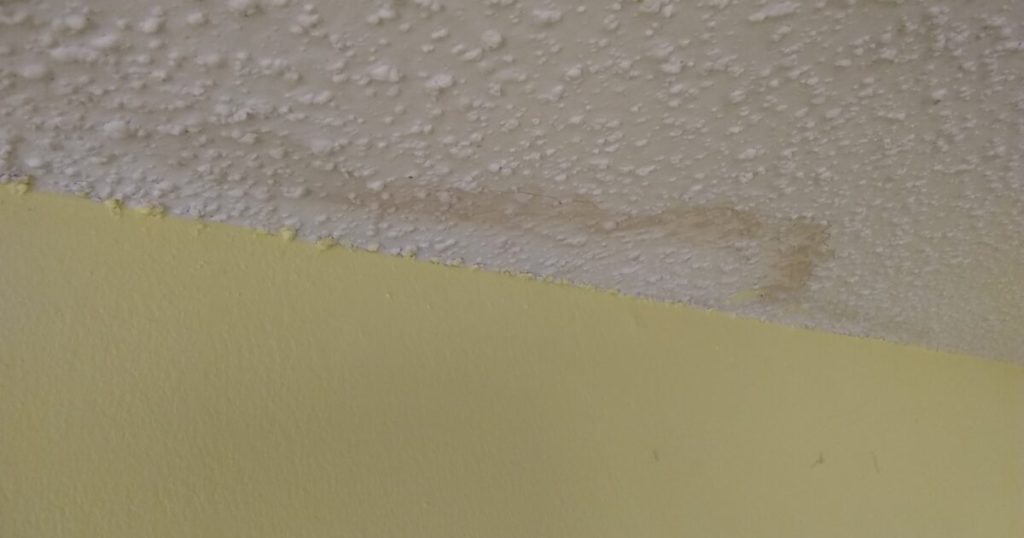
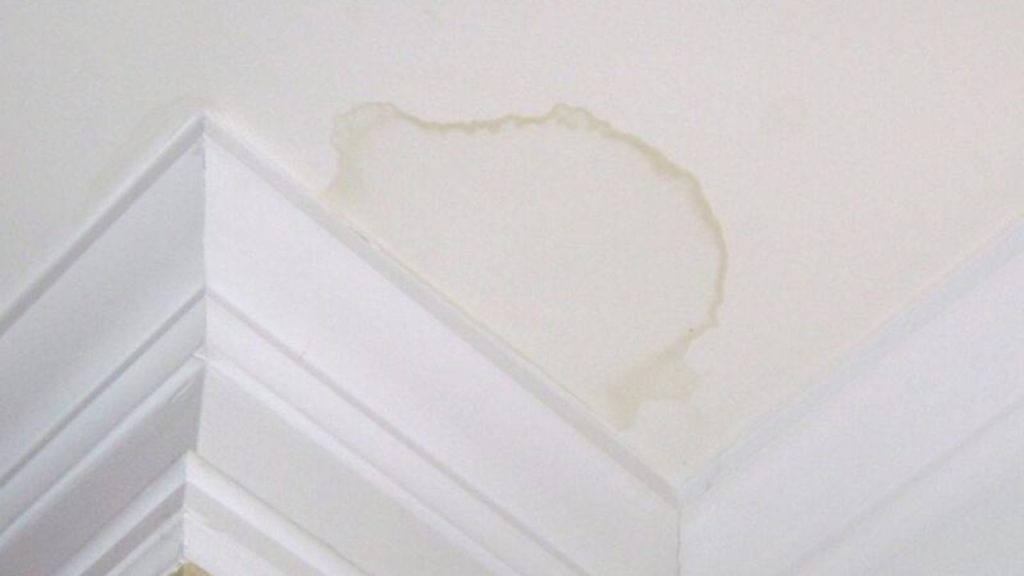
Roof Leak Ceiling Stain: The Telltale Signs of Water Intrusion
When unsightly stains appear on your ceiling, it’s often an indication of a more significant issue – a roof leak. Explore the subtle but impactful signs that your ceiling stain is linked to water infiltration from your roof.
Identifying the Culprits: Causes of Roof Leaks
1. Damaged Roofing Materials
Examine the impact of damaged shingles, flashing, or roofing materials on your home’s vulnerability to leaks. Understand how wear and tear, weather, and aging contribute to the deterioration of these crucial components.
2. Clogged Gutters and Downspouts
Explore the role of gutters in diverting rainwater away from your roof. Learn how clogged gutters and downspouts can lead to water overflow, causing leaks and ceiling stains.
3. Improper Roof Installation
Investigate the consequences of improper roof installation, including issues with flashing, underlayment, and other critical elements. Understand how inadequate installation practices can compromise the integrity of your roof.
The Implications of Roof Leak Ceiling Stains
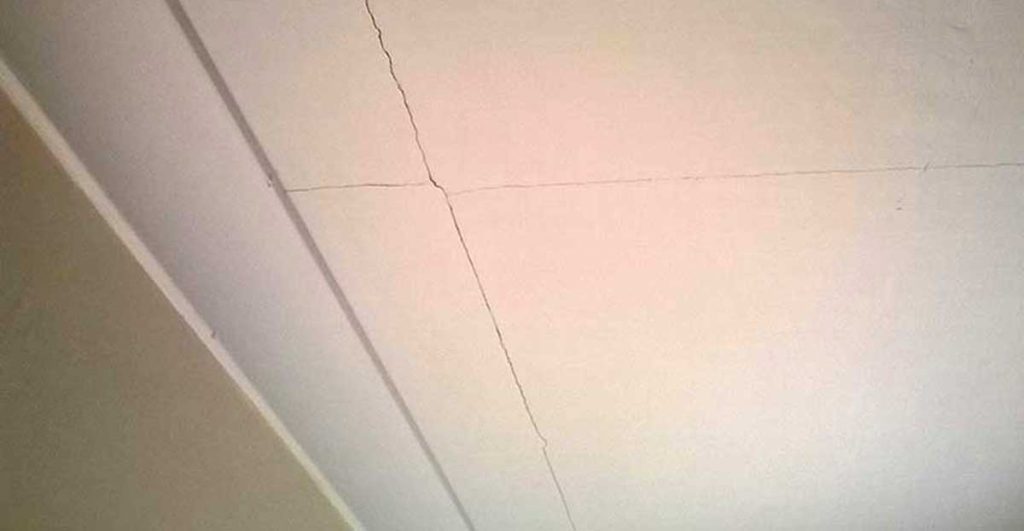
1. Structural Damage
Discover how untreated roof leaks can result in severe structural damage to your home. Explore the potential consequences of compromised roof integrity and the importance of addressing leaks promptly.
2. Mold and Mildew Growth
Understand the risk of mold and mildew growth associated with water intrusion. Explore the health hazards linked to ceiling stains, emphasizing the importance of prompt intervention to prevent these issues.
3. Aesthetic Concerns
Beyond structural implications, ceiling stains affect the aesthetics of your home. Learn about the impact on paint, drywall, and overall visual appeal, highlighting the importance of addressing the issue for both structural and cosmetic reasons.
Effective Solutions
1. Emergency Measures: Immediate Action
In the event of a ceiling stain, take swift action to contain the damage. Explore emergency measures, including identifying and addressing the source of the leak, to prevent further water infiltration.
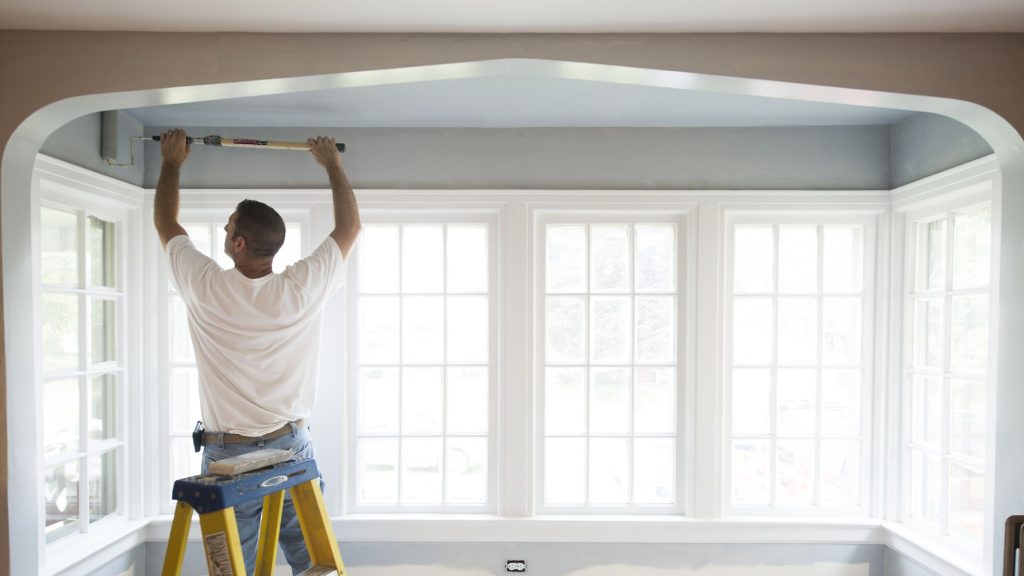
2. Professional Roof Inspection
Consult with roofing professionals to conduct a comprehensive roof inspection. Learn about the importance of identifying the root cause of the leak, allowing for targeted and effective repairs.
3. Repairs and Restoration
Once the cause of the roof leak is identified, explore the various repair options available. From patching up damaged areas to replacing roofing materials, discover the steps necessary to restore the integrity of your roof.
Preventive Measures: Safeguarding Your Roof
1. Regular Roof Maintenance
Implement a routine roof maintenance schedule to prevent roof leaks. Explore the significance of inspecting your roof regularly, addressing minor issues promptly, and ensuring proper drainage.
2. Gutter Maintenance
Understand the crucial role of well-maintained gutters in preventing water damage. Learn about the importance of regular gutter cleaning, repairs, and the installation of gutter guards to avoid clogs.
3. Professional Roof Installation and Upgrades
Explore the benefits of professional roof installation and consider upgrades that enhance your roof’s resilience against leaks. From high-quality materials to advanced installation techniques, invest in the longevity of your roof.
Read too: Exploring Hunter Douglas Architectural Ceilings for Modern Design: Elevate Your Space with Elegance
Conclusion: Preserving Your Home from Roof Leak Ceiling Stains
In conclusion, understanding and addressing “Roof Leak Ceiling Stain” issues require a proactive approach. By identifying the causes, recognizing the implications, and implementing effective solutions and preventive measures, you can preserve the integrity of your home and safeguard it from the silent threat of roof leaks. Remember, early intervention is key to mitigating potential damages and ensuring a safe and resilient living space.