Discovering a “Crack in the Ceiling Under the Bathroom” can be concerning. Learn about the potential causes, effective solutions, and preventive measures to ensure the structural integrity of your home.
Crack in Ceiling Under Bathroom: A Structural Challenge
A crack in the ceiling, particularly beneath the bathroom, can be a sign of underlying issues that require prompt attention. In this comprehensive guide, we will explore the various factors contributing to a crack in the ceiling and delve into actionable steps to rectify the situation.
Crack in Ceiling Under Bathroom: Investigating the Causes
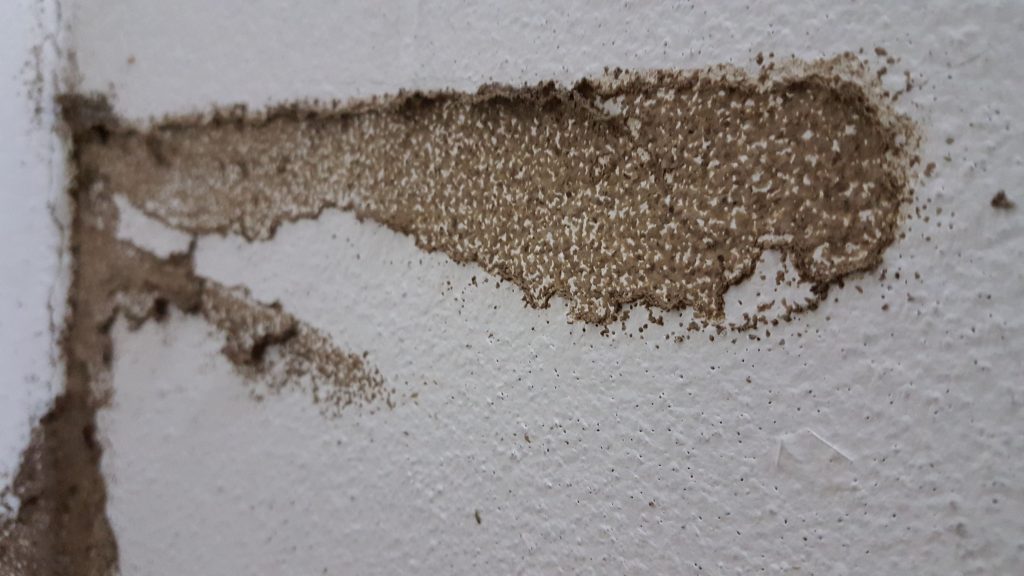
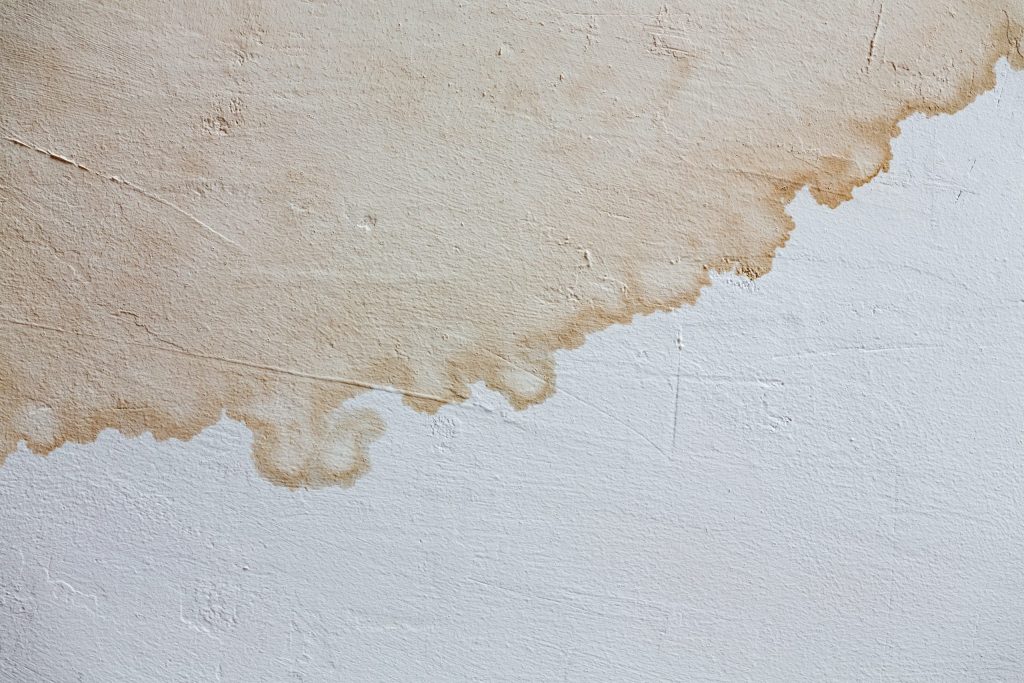
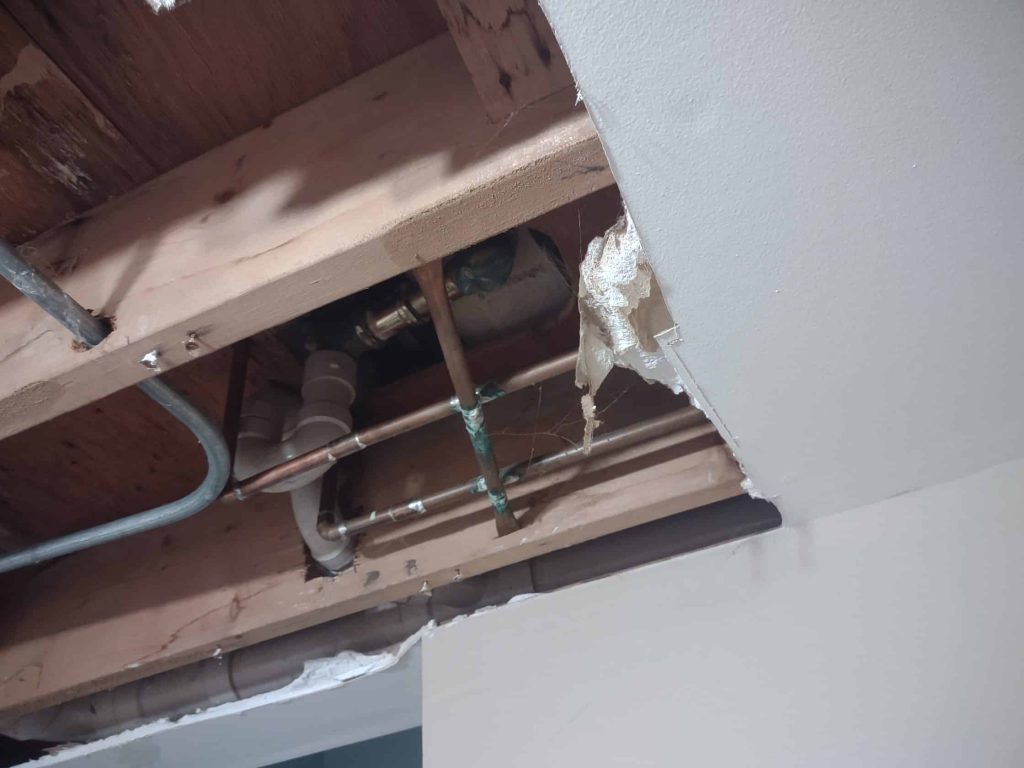
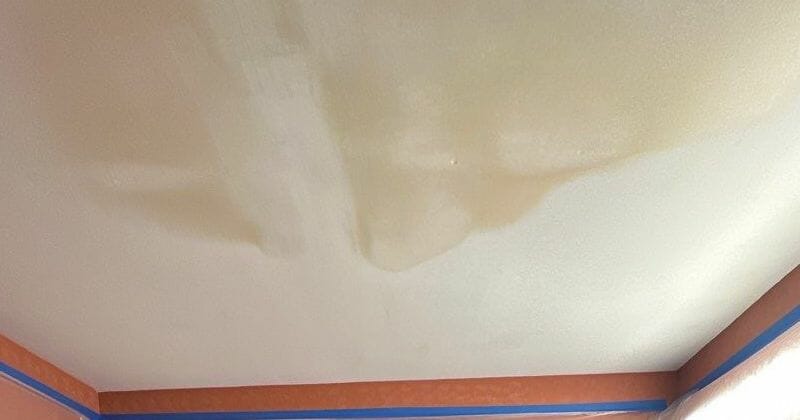
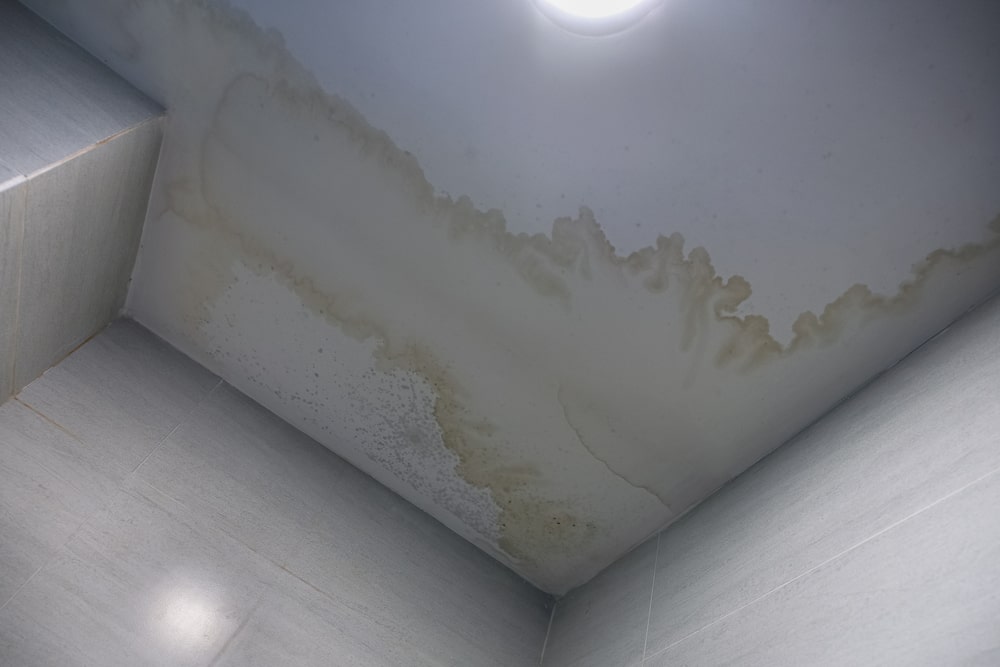
- Water Damage:
- Leaks from plumbing fixtures, such as the bathtub, shower, or toilet, can lead to water damage, compromising the ceiling’s integrity and causing cracks.
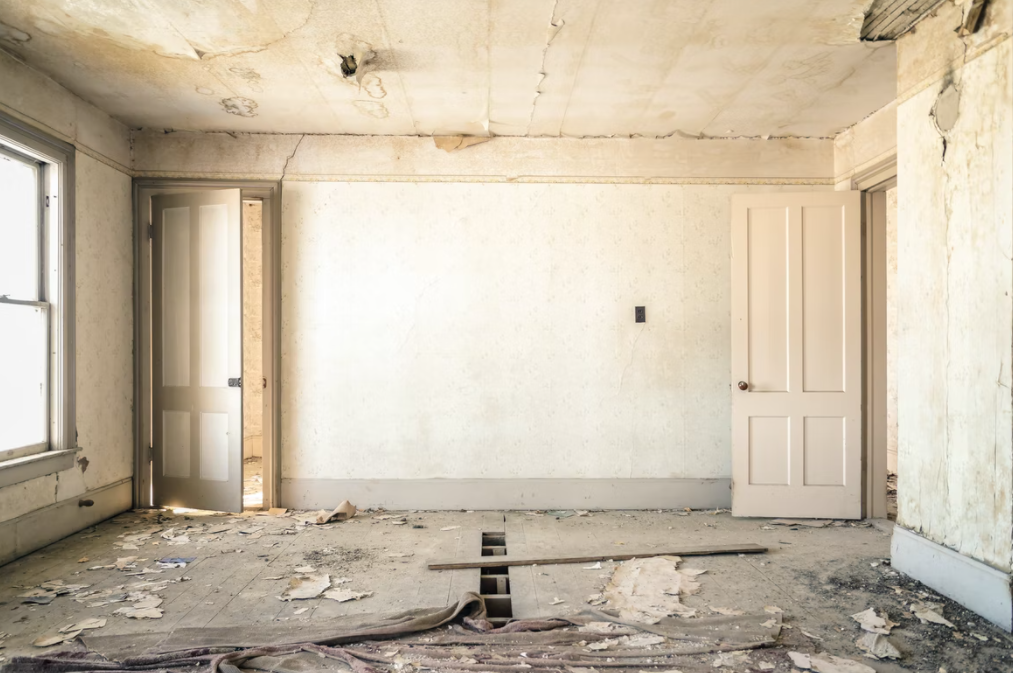
- Structural Settling:
- Over time, buildings undergo settling, and this natural process can manifest as cracks in the ceiling. However, if the settling is uneven, it may lead to more pronounced cracks.
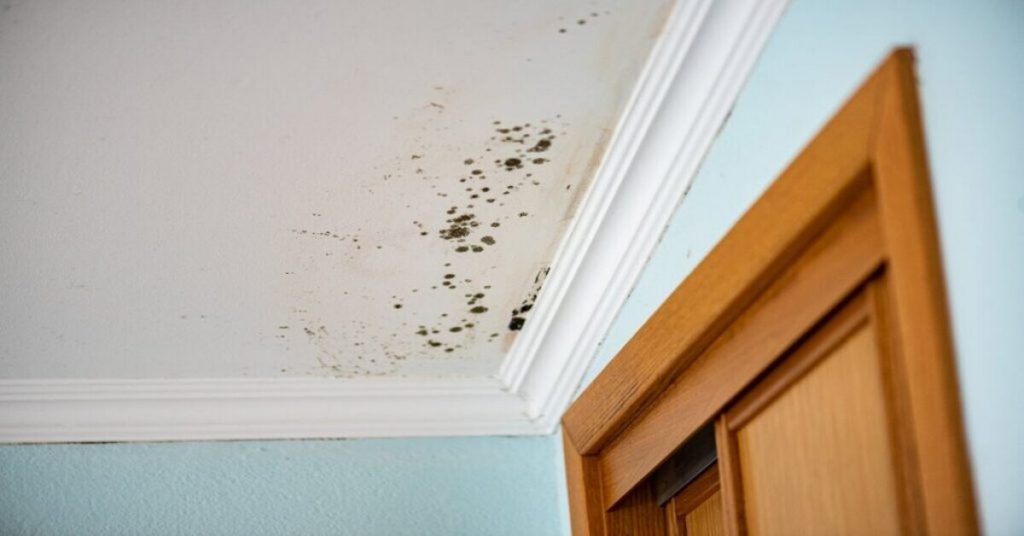
- Improper Ventilation:
- Inadequate ventilation in the bathroom can result in high humidity levels. Excessive moisture can weaken the ceiling material, leading to cracks.
Assessing the Severity: H2 Heading – Crack in Ceiling Under Bathroom
Understanding the severity of the crack is crucial for determining the appropriate course of action.
- Minor Hairline Cracks:
- Hairline cracks may be superficial and not indicative of a significant issue. Monitoring these cracks over time can help assess if they are stable or expanding.
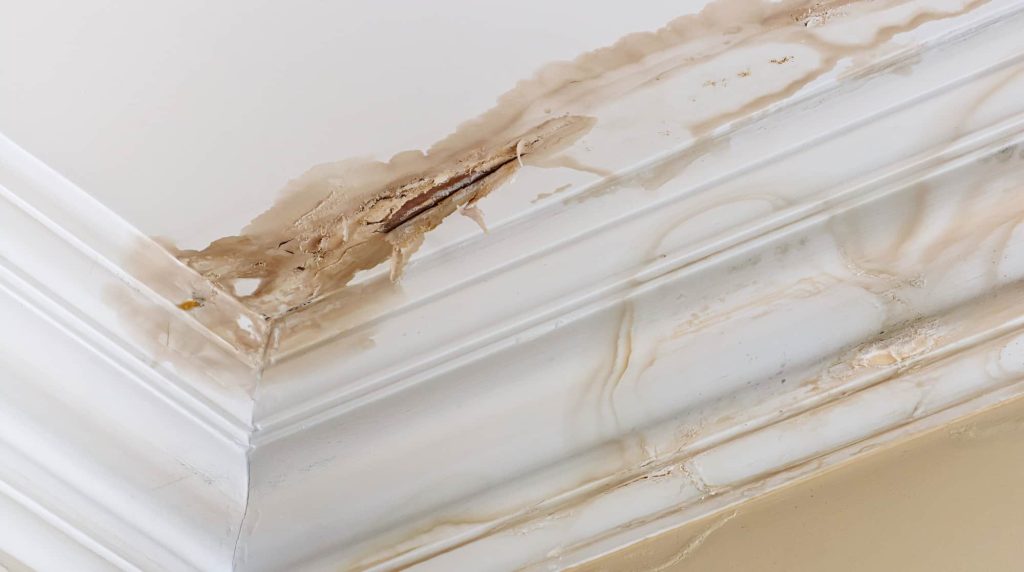
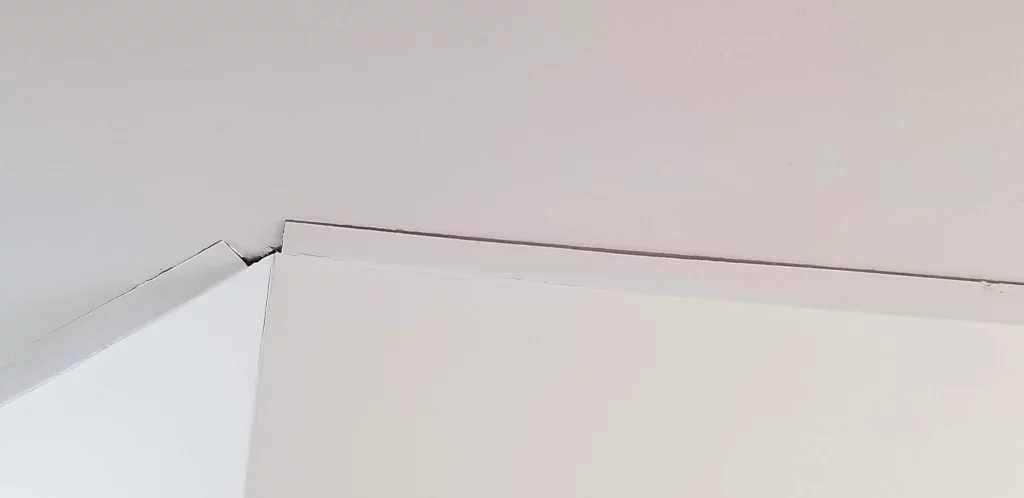
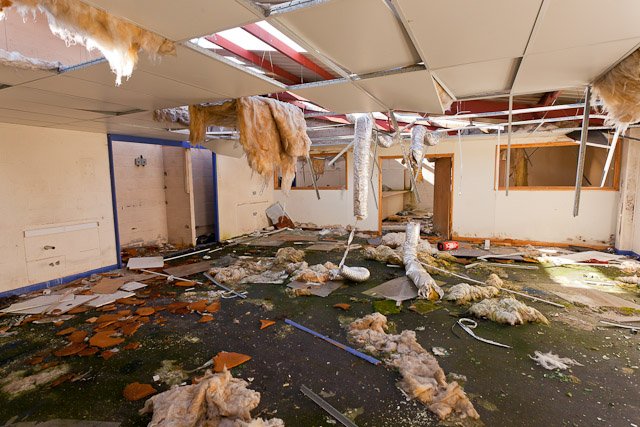
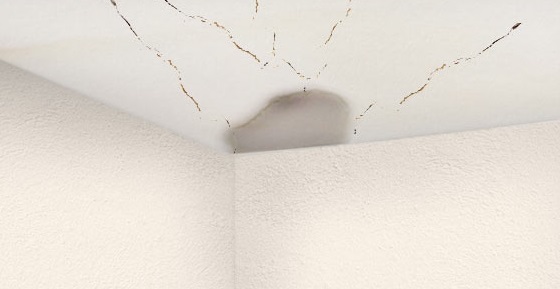
- Wider or Jagged Cracks:
- Cracks that are wider or have a jagged pattern may signal more significant structural issues. Consulting with a professional is advisable to conduct a thorough assessment.
Addressing a Crack in Ceiling Under Bathroom: Practical Solutions
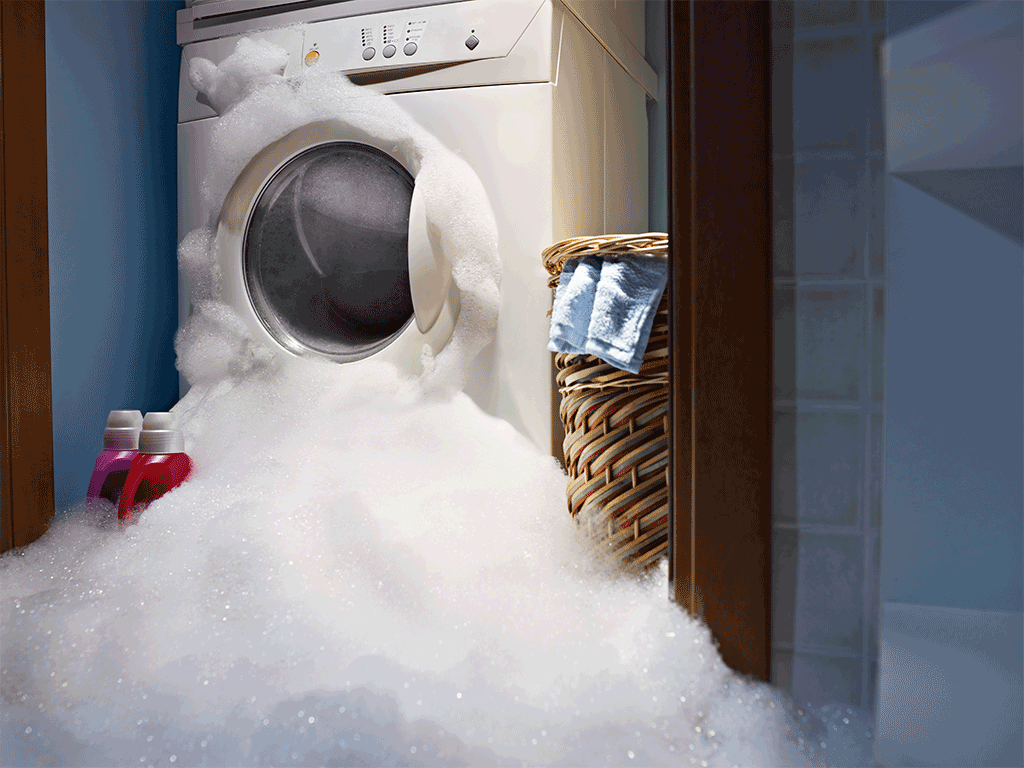
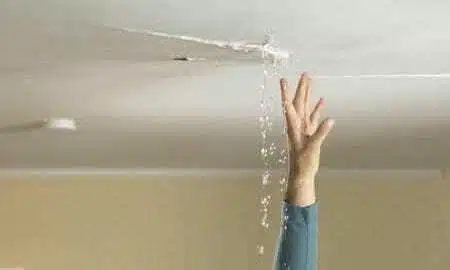
- Repairing Water Damage:
- Identify and fix any leaks promptly. Repair damaged pipes, seals, or fixtures contributing to water intrusion.
- Ceiling Patching:
- For minor cracks, use a suitable ceiling patching material to fill and conceal the imperfections.
- Structural Reinforcement:
- In cases of settling, consult with a structural engineer to assess the foundation and determine if any reinforcement is needed.
Preventive Measures: Avoiding Future Cracks
- Regular Maintenance:
- Conduct routine checks for leaks and address them immediately. Keep the bathroom well-ventilated to prevent moisture buildup.
- Foundation Inspection:
- Periodically inspect the foundation of your home for signs of settling. Early detection can prevent more severe structural issues.
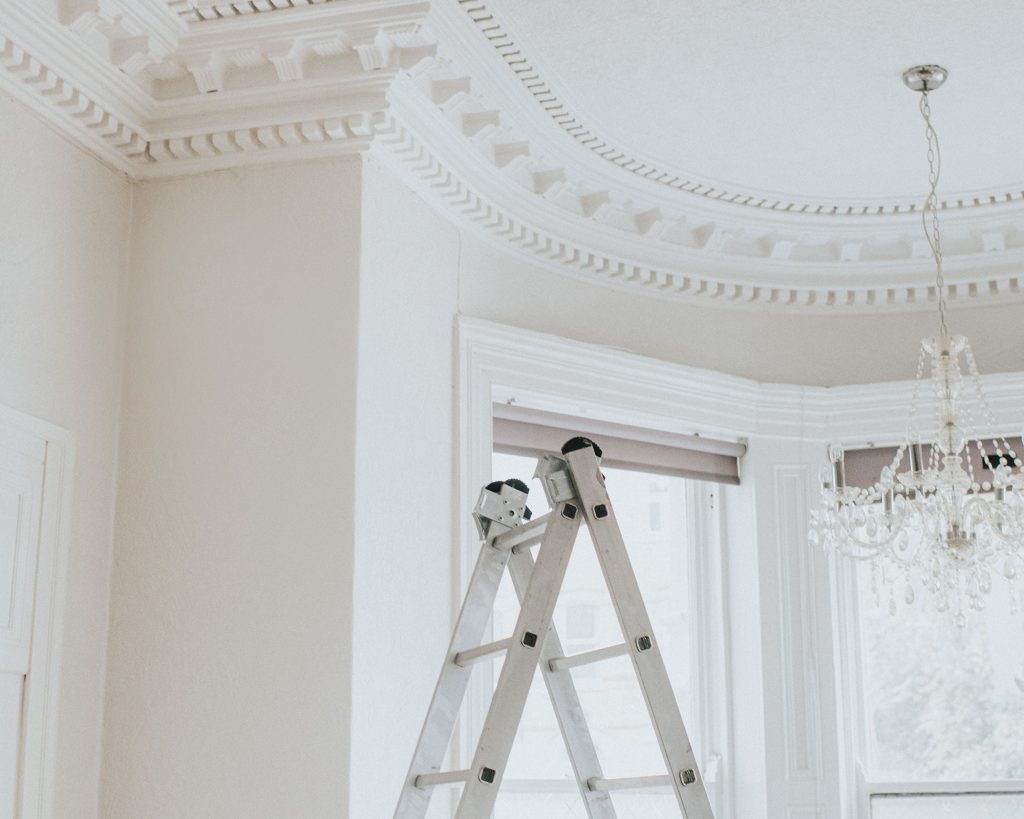
- Professional Assessment:
- Engage a professional for regular home inspections. Their expertise can uncover potential problems before they escalate.
Read too: Why Is My Ceiling Wet
Conclusion: Safeguarding Your Home
In conclusion, a “Crack in the Ceiling Under the Bathroom” is a cause for concern, but with proactive measures, it can be addressed effectively. By understanding the potential causes, assessing the severity, and implementing practical solutions, homeowners can safeguard the structural integrity of their homes. Remember, when in doubt, seeking professional advice ensures a comprehensive and accurate assessment of the situation.