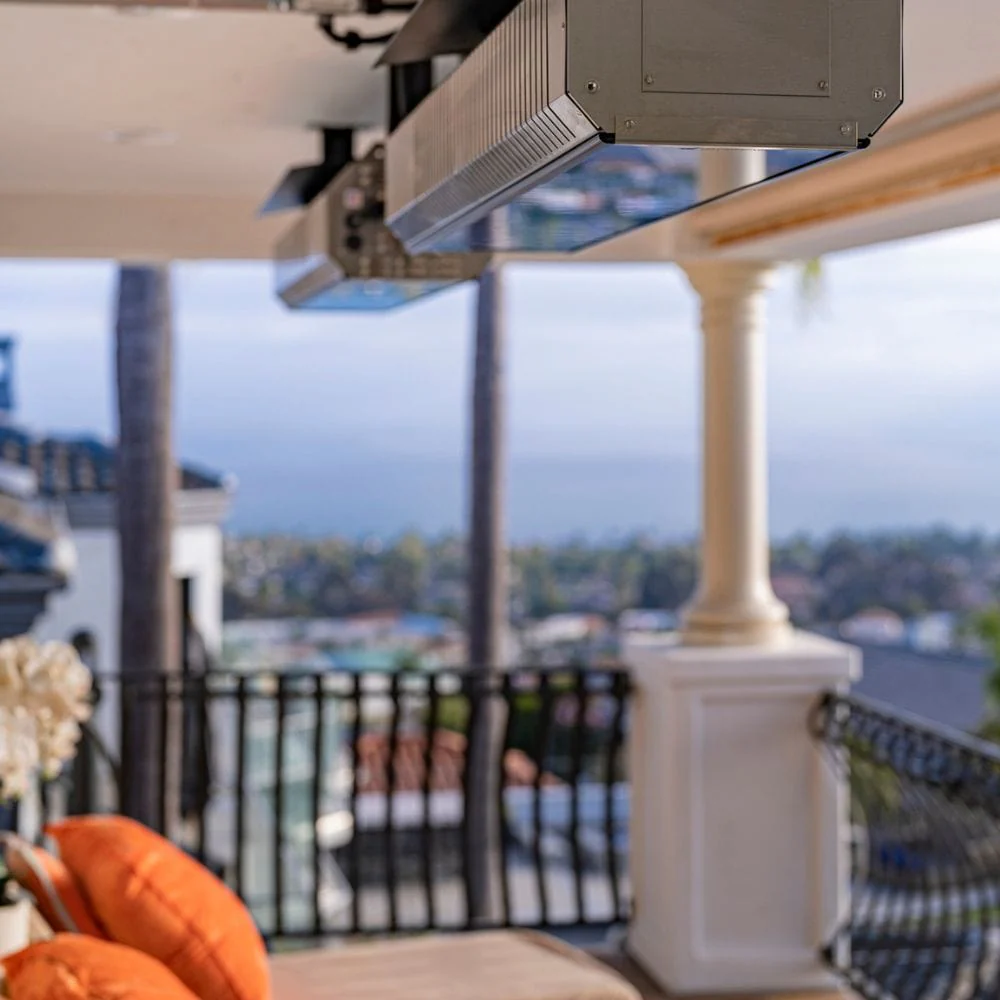
Outdoor living spaces are more than just a trend—they are a lifestyle choice that allows us to extend our comfort and enjoyment of our homes into the open air. As the seasons change and temperatures drop, staying warm becomes essential for maximizing the use of these areas. This is where Outdoor Patio Heaters Ceiling Mount come into play. These heaters not only provide effective warmth but also save space and enhance the aesthetics of your patio or deck. In this comprehensive guide, we’ll explore the benefits, types, installation tips, and maintenance of ceiling-mounted patio heaters.

The Benefits of Outdoor Patio Heaters Ceiling Mount
Efficient Heating
One of the primary advantages of ceiling-mounted patio heaters is their ability to efficiently distribute heat across a wide area. By being installed overhead, these heaters can cover a larger surface, ensuring that everyone in the vicinity stays warm. This makes them ideal for larger patios or outdoor seating areas.
Read too: Kitchen Lighting For A Vaulted Ceiling: Illuminating Your Space with Style and Functionality
Space Saving
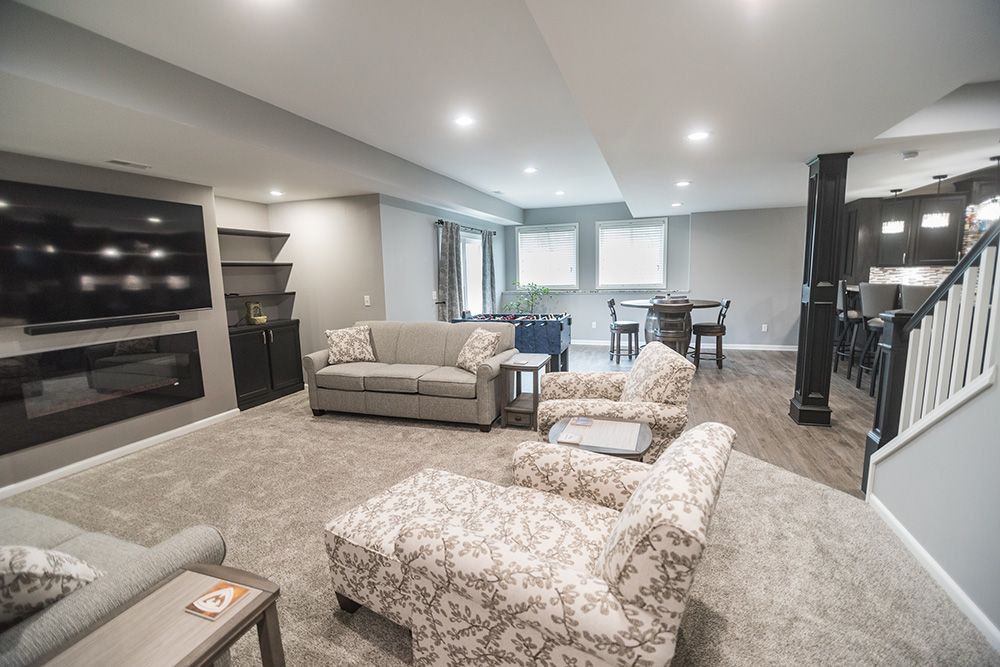
Space is a valuable commodity, especially in outdoor settings. Ceiling-mounted heaters save ground space, allowing for more flexibility in furniture arrangement and movement. Unlike portable heaters, which can be bulky and take up floor space, ceiling-mounted options are out of the way and unobtrusive.
Enhanced Safety
Safety is a crucial consideration when using outdoor heaters. Ceiling-mounted heaters are less likely to be knocked over or tampered with, reducing the risk of fire hazards. Their elevated position also ensures that children and pets are less likely to come into direct contact with the heat source.
Aesthetic Appeal
Ceiling-mounted patio heaters are designed to blend seamlessly with your outdoor décor. They come in various styles and finishes, allowing you to choose a model that complements the overall look of your patio. Some even feature sleek, modern designs that add a touch of sophistication to your outdoor space.
Types of Outdoor Patio Heaters Ceiling Mount
Electric Patio Heaters
Electric ceiling-mounted heaters are a popular choice due to their convenience and ease of use. They require a simple connection to an electrical outlet and are often equipped with remote controls for easy operation. Electric heaters are generally more efficient and environmentally friendly compared to gas options, as they produce no emissions.
Gas Patio Heaters
Gas-powered ceiling-mounted heaters typically use propane or natural gas. These heaters are known for their powerful heating capabilities and can quickly warm up larger spaces. They require a gas line connection, which might involve more complex installation but offers the benefit of uninterrupted heating without worrying about electrical outages.
Infrared Patio Heaters
Infrared heaters work by emitting radiant heat that directly warms objects and people rather than the surrounding air. This makes them highly efficient and effective in outdoor settings, where traditional heaters might struggle against wind and open space. Infrared heaters are available in both electric and gas models and are appreciated for their instant heat delivery.
Installation Tips for Outdoor Patio Heaters Ceiling Mount
Choosing the Right Location
Selecting the appropriate location for your ceiling-mounted patio heater is crucial for optimal performance. Consider the areas where you spend the most time, such as dining or seating areas. Ensure that the heater is installed in a central location to evenly distribute heat.
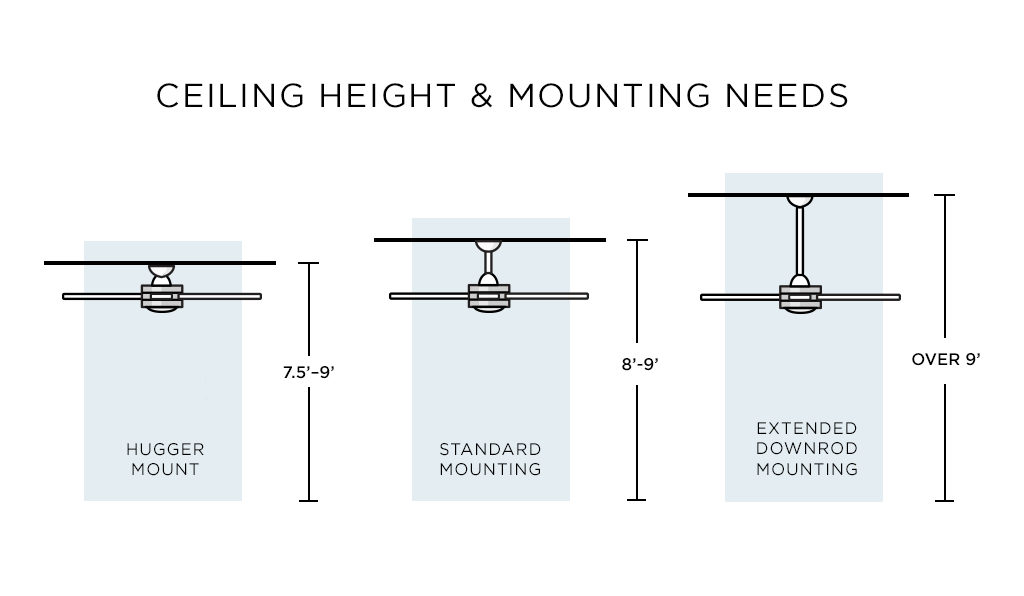
Mounting Height
The height at which you mount your patio heater significantly impacts its effectiveness. Most manufacturers recommend a mounting height of 8 to 12 feet from the ground. This height allows for adequate heat distribution without causing discomfort from being too close to the heat source.
Electrical and Gas Connections
For electric heaters, ensure that you have access to a suitable electrical outlet. It might be necessary to hire an electrician to install a dedicated circuit if your current setup cannot handle the heater’s power requirements. For gas heaters, you’ll need a professional to install the gas lines safely and in compliance with local regulations.
Safety Precautions
Always follow the manufacturer’s instructions and local building codes when installing your ceiling-mounted patio heater. Ensure that the heater is securely mounted to prevent any accidents. Keep combustible materials away from the heater and check that all connections are secure and leak-free.
Maintenance and Care for Outdoor Patio Heaters Ceiling Mount
Regular Cleaning
To maintain the efficiency and appearance of your patio heater, clean it regularly. Dust and debris can accumulate on the heater’s surface and affect its performance. Use a soft cloth to wipe down the exterior and follow the manufacturer’s guidelines for cleaning internal components.
Inspect for Wear and Tear
Periodically inspect your patio heater for any signs of wear and tear. Check the heating elements, connections, and mounting brackets for damage. Address any issues promptly to prevent more significant problems and ensure the heater operates safely.
Professional Servicing
For gas heaters, it’s advisable to schedule professional servicing at least once a year. A technician can check for gas leaks, clean internal parts, and ensure that the heater is functioning correctly. Regular maintenance can extend the lifespan of your heater and keep it running efficiently.
Enhancing Your Outdoor Space with Additional Features
Lighting
Many ceiling-mounted patio heaters come with integrated lighting options. This dual functionality can enhance the ambiance of your outdoor space, providing both warmth and illumination. Look for models with adjustable lighting settings to create the perfect atmosphere for any occasion.
Remote Controls and Smart Features
For added convenience, choose a patio heater with remote control capabilities. This feature allows you to adjust the heat settings without leaving your seat. Some advanced models even offer smart features, enabling you to control the heater via a smartphone app or voice commands.
Decorative Elements
To further enhance the aesthetic appeal of your outdoor patio heater, consider adding decorative elements such as custom finishes or decorative grilles. These can help the heater blend seamlessly with your outdoor décor and create a cohesive look.
Conclusion
Outdoor Patio Heaters Ceiling Mount are a fantastic addition to any outdoor living space. They provide efficient heating, save space, enhance safety, and add a touch of elegance to your patio or deck. By choosing the right type of heater, installing it correctly, and maintaining it regularly, you can enjoy a warm and inviting outdoor environment all year round. Whether you’re hosting a dinner party or simply relaxing with family, a ceiling-mounted patio heater will ensure that your outdoor space remains comfortable and enjoyable.