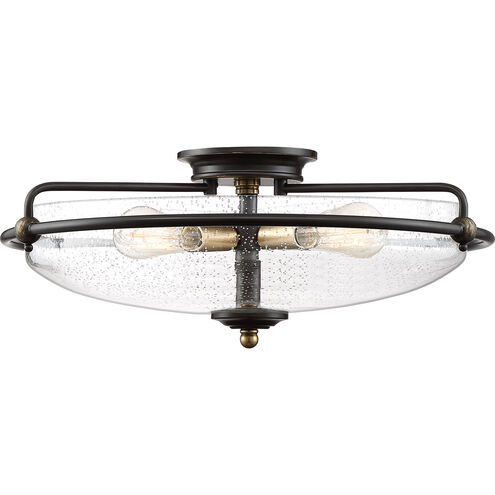
When it comes to home décor, few things blend functionality with style quite like an Antique Brass Ceiling Fan Light Kit. This classic piece not only helps circulate air throughout a room, making it more comfortable, but also provides a unique and elegant lighting solution that can enhance the ambiance of any space. Whether you’re looking to add a touch of vintage charm to your living room, bedroom, or dining area, an antique brass ceiling fan light kit can be the perfect finishing touch.
In this comprehensive guide, we’ll explore everything you need to know about antique brass ceiling fan light kits—from the benefits of incorporating them into your home to tips on choosing the right kit and installing it properly. Let’s dive into how this timeless fixture can elevate your home décor.
Why Choose an Antique Brass Ceiling Fan Light Kit?
1. Timeless Elegance
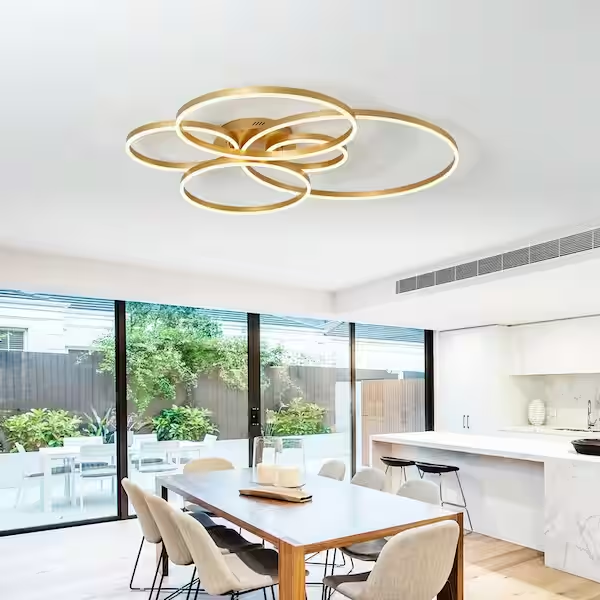
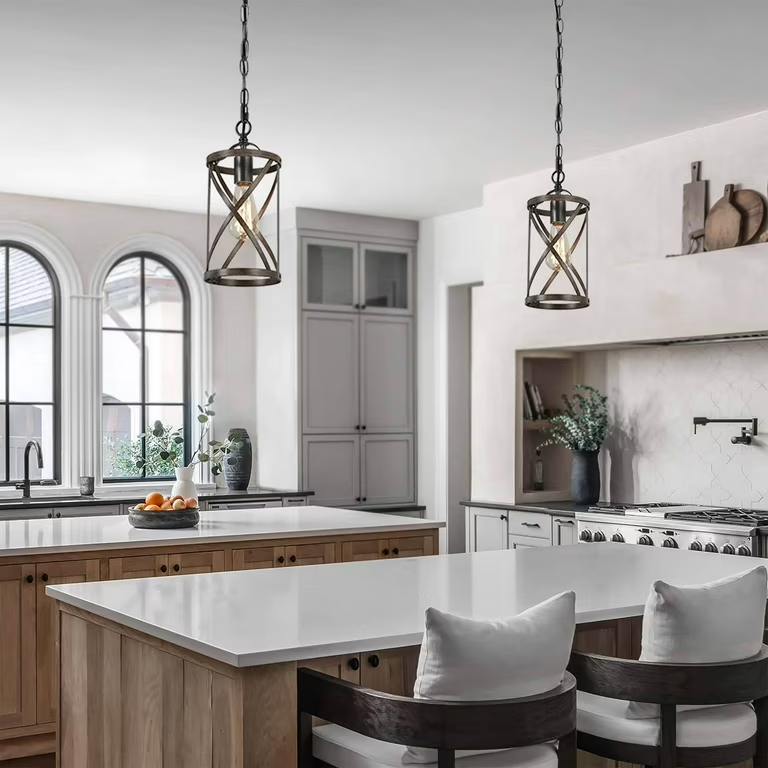
One of the most compelling reasons to choose an Antique Brass Ceiling Fan Light Kit is its timeless appeal. Antique brass finishes have been a staple in interior design for centuries, valued for their warm, rich tones and ability to complement a wide range of décor styles. Whether your home is decorated in a traditional, rustic, or even modern style, an antique brass ceiling fan can add a touch of elegance and sophistication.
2. Dual Functionality
A ceiling fan with an integrated light kit serves a dual purpose. It provides both cooling comfort and illumination in a single fixture, saving space and reducing the need for multiple electrical outlets. This is particularly beneficial in rooms where space is at a premium, as it combines two essential functions into one stylish piece.
Read too: Bathroom Flooded Through the Ceiling: A Comprehensive Guide
3. Energy Efficiency
Modern Antique Brass Ceiling Fan Light Kits are designed to be energy efficient. Ceiling fans help reduce reliance on air conditioning by circulating air to create a cooling breeze, potentially lowering your energy bills. Additionally, many light kits are now compatible with LED bulbs, which consume less electricity and last longer than traditional incandescent bulbs.
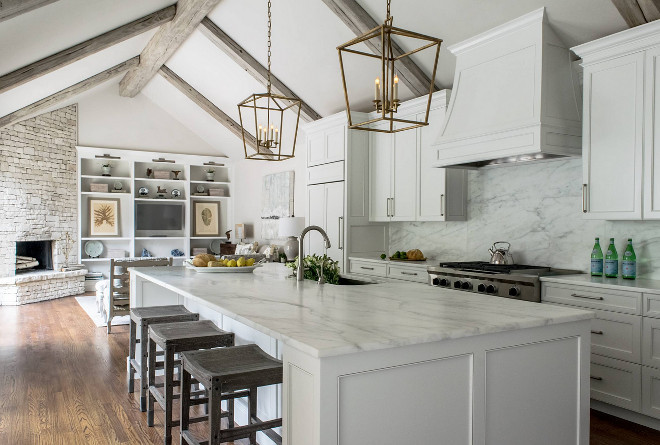
4. Versatility in Design
Antique brass ceiling fan light kits come in various designs, from simple and understated to ornate and decorative. This versatility allows homeowners to choose a fan that not only matches their aesthetic preferences but also meets their functional needs. Whether you want a fan with a vintage look to complement your Victorian-style home or a sleek, minimalist design for a more modern space, there’s an option out there for you.
5. Increased Home Value
Adding high-quality fixtures like an antique brass ceiling fan light kit can increase the value of your home. Potential buyers often appreciate well-chosen lighting and ceiling fans as they enhance the overall appeal of a property. This investment in both style and functionality can pay off if you decide to sell your home in the future.
Choosing the Right Antique Brass Ceiling Fan Light Kit
When selecting an Antique Brass Ceiling Fan Light Kit, several factors should be considered to ensure that it fits your space and meets your needs. Here are some key considerations:
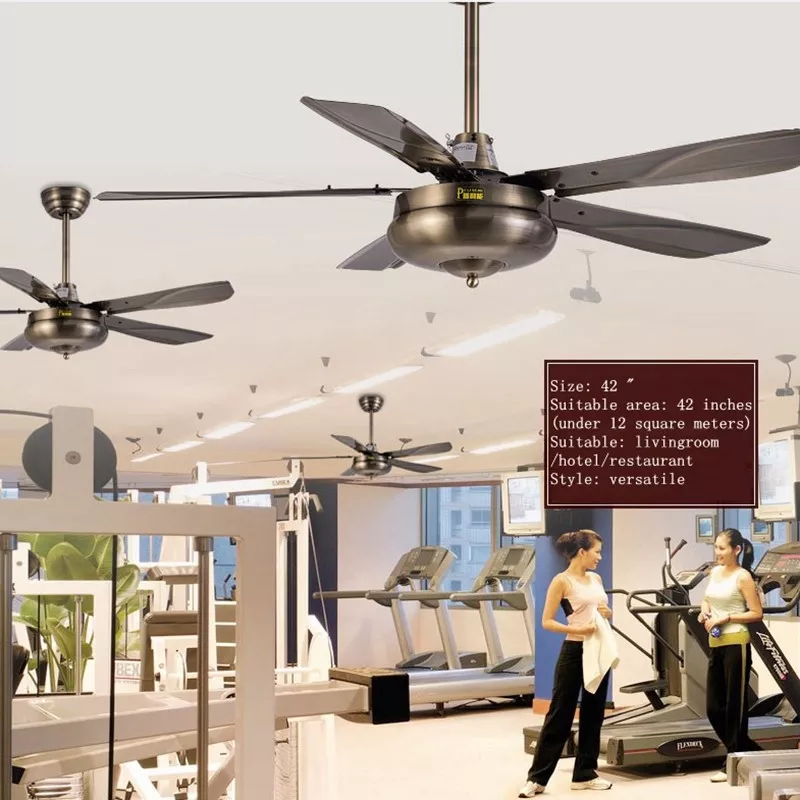
1. Size of the Room
The size of the room where the fan will be installed is a crucial factor in choosing the right ceiling fan. A fan that is too large can overwhelm a small room, while a fan that is too small may not effectively circulate air in a larger space. Here’s a general guideline:
- Small rooms (up to 75 sq. ft.): Opt for a fan with a blade span of 29 to 36 inches.
- Medium rooms (76 to 144 sq. ft.): Choose a fan with a blade span of 36 to 42 inches.
- Large rooms (145 to 225 sq. ft.): A blade span of 44 to 50 inches is ideal.
- Extra-large rooms (over 225 sq. ft.): Consider a fan with a blade span of 50 to 54 inches or more.
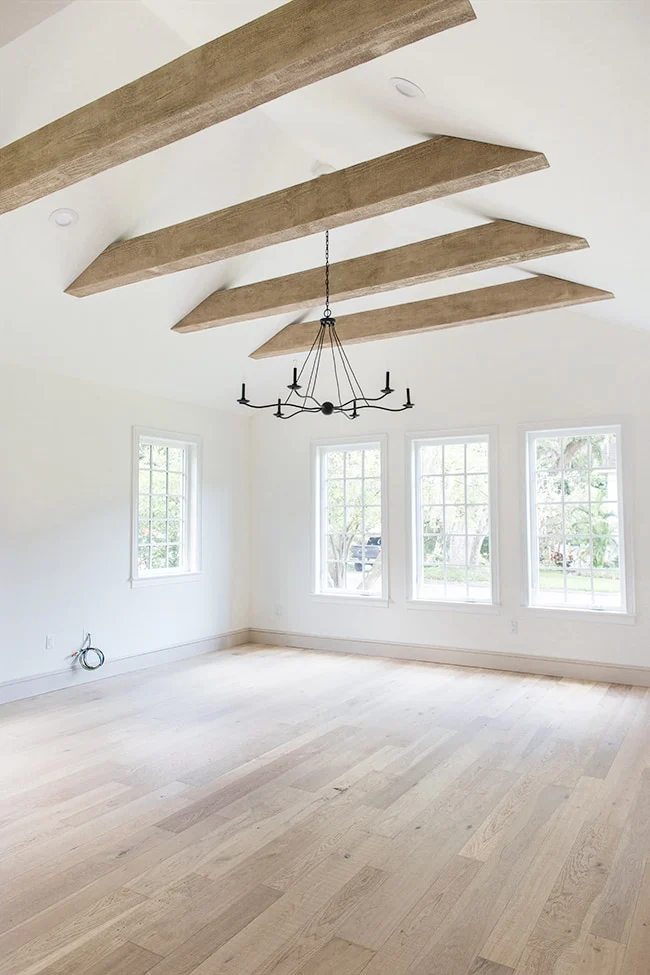
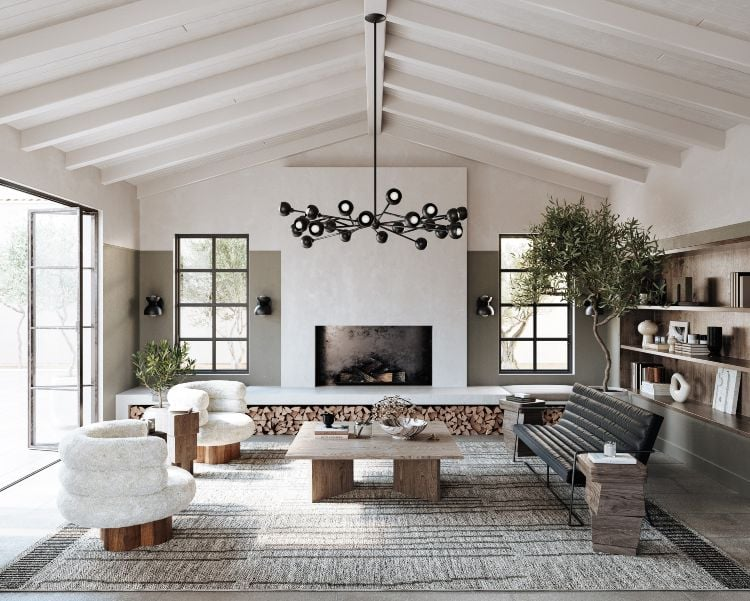
2. Ceiling Height
The height of your ceiling will determine the type of mounting you need for your ceiling fan. For standard ceilings, a fan with a standard downrod is typically sufficient. However, if you have high ceilings, you may need a longer downrod to ensure the fan hangs at the appropriate height. For low ceilings, consider a flush-mount or low-profile fan that sits closer to the ceiling.
3. Lighting Requirements
Consider the lighting needs of the room where the fan will be installed. Antique brass ceiling fan light kits come with various lighting configurations, including multiple bulbs, dimmable options, and different types of light shades. Ensure that the light output is sufficient for the room’s size and function. Additionally, think about whether you want a warm or cool light, as this can affect the room’s ambiance.
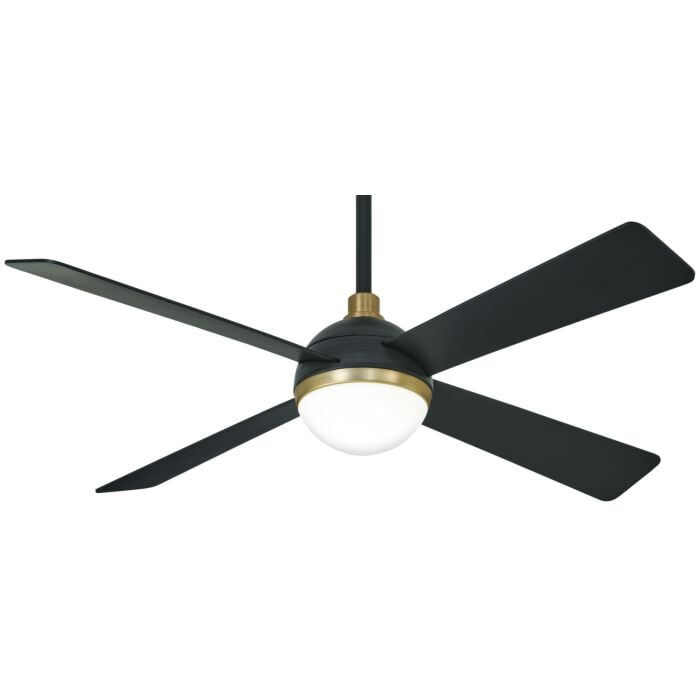
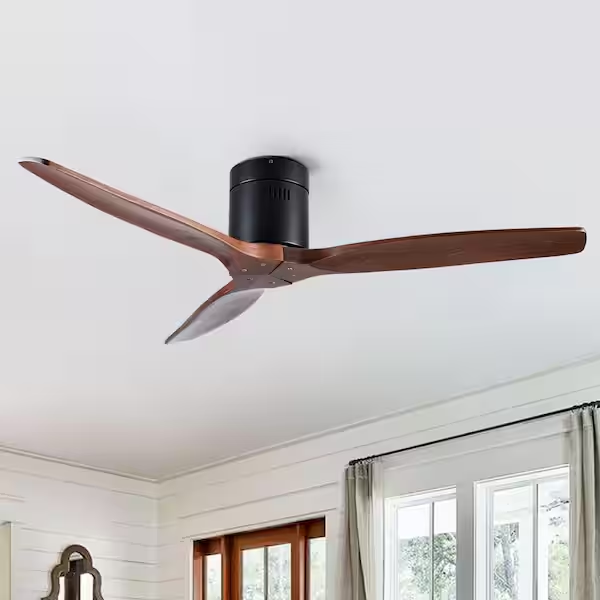
4. Blade Design and Material
The design and material of the fan blades can significantly impact the overall look and performance of the fan. Antique brass fans often feature wooden or wood-like blades that complement the vintage aesthetic. However, you can also find blades made of other materials, such as metal or plastic, which may offer a more modern twist. Choose a blade design that fits with the room’s décor and consider the blade pitch (angle) for optimal air circulation.
5. Additional Features
Modern ceiling fans come with a variety of additional features that enhance their functionality and convenience. These might include remote controls, reversible motors for year-round use, energy-efficient DC motors, and smart technology integration that allows you to control the fan via your smartphone or home automation system.
Installation Tips for Your Antique Brass Ceiling Fan Light Kit
Once you’ve selected the perfect Antique Brass Ceiling Fan Light Kit, proper installation is key to ensuring that it functions efficiently and safely. Here are some installation tips to keep in mind:
1. Gather the Necessary Tools
Before you start the installation process, make sure you have all the necessary tools on hand. Common tools required include a screwdriver, pliers, wire strippers, a ladder, a voltage tester, and a drill. Most ceiling fan kits come with detailed instructions, so follow them carefully.
2. Turn Off the Power
Safety is paramount when working with electrical components. Before you begin installation, turn off the power at the circuit breaker to avoid electrical shocks. Use a voltage tester to ensure that the power is completely off.
3. Assemble the Fan and Light Kit
It’s usually easier to assemble the fan and light kit on the ground before attaching it to the ceiling. Follow the manufacturer’s instructions to attach the blades, light fixtures, and any decorative elements. Be sure to secure all screws and connections tightly.
4. Secure the Mounting Bracket
The mounting bracket is what holds the fan to the ceiling, so it’s important to install it securely. Attach the bracket to the ceiling’s electrical box, ensuring that it is rated to support the weight of the fan. If the box is not secure, consider installing a new one that can handle the load.
5. Wire the Fan and Light Kit
Connect the fan’s wiring to the house wiring, matching the colors as indicated in the installation manual. Typically, the black wire is for the fan, the blue wire is for the light kit, and the white wire is the neutral wire. Secure all connections with wire nuts and tuck the wires neatly into the electrical box.
6. Attach the Fan to the Bracket
Lift the fan and attach it to the mounting bracket. Depending on the fan design, this may involve sliding the fan onto a hook or securing it with screws. Once the fan is in place, attach the canopy to cover the wiring and bracket.
7. Install the Light Bulbs and Shades
Install the light bulbs recommended by the manufacturer, and attach the light shades or covers. Make sure all connections are secure and that the bulbs are properly seated in their sockets.
8. Test the Fan and Light
After everything is in place, restore power to the circuit and test the fan and light kit. Check that the fan operates smoothly at all speeds, the light functions correctly, and there are no unusual noises or vibrations.
Maintaining Your Antique Brass Ceiling Fan Light Kit
Regular maintenance is essential to keep your Antique Brass Ceiling Fan Light Kit looking beautiful and functioning efficiently. Here are some tips for maintaining your fan:
1. Dust Regularly
Dust the fan blades, motor housing, and light fixtures regularly to prevent the build-up of dirt and debris. Use a microfiber cloth or a duster designed for ceiling fans. For more stubborn grime, use a damp cloth and mild detergent, but be sure to dry the surfaces thoroughly afterward.
2. Check for Loose Screws
Over time, the screws and bolts that hold the fan together can loosen due to the fan’s vibrations. Periodically check all screws and tighten them as needed to prevent wobbling or rattling.
3. Lubricate Moving Parts
If your fan has an older motor that requires lubrication, follow the manufacturer’s instructions for applying oil to keep the motor running smoothly. Most modern fans have sealed bearings that do not require lubrication, but it’s good to check the manual to be sure.
4. Inspect the Wiring
Periodically inspect the wiring connections in the fan and light kit. Look for signs of wear, such as frayed wires or loose connections, and address any issues immediately to avoid electrical hazards.
5. Replace Worn Parts
If any part of the fan or light kit becomes worn or damaged, replace it promptly. This could include light bulbs, pull chains, or fan blades. Using replacement parts recommended by the manufacturer ensures compatibility and safety.