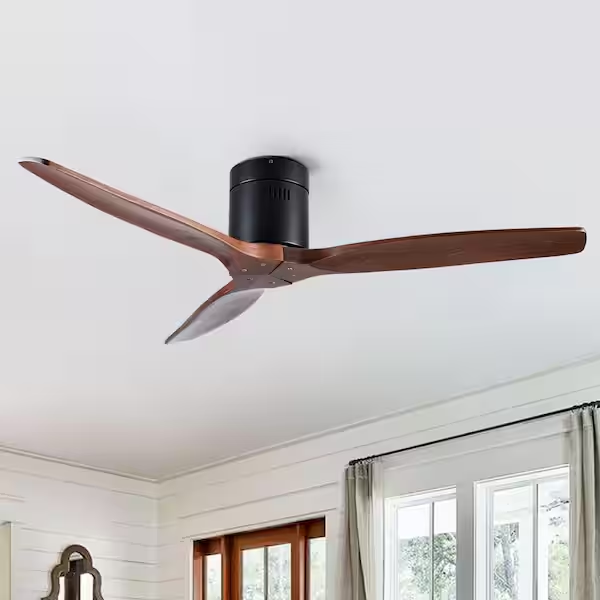
When installing a ceiling fan, one crucial component that often gets overlooked is the downrod. This simple piece of hardware plays a vital role in determining the fan’s stability and performance, especially in rooms with high ceilings. But one common question many homeowners ask is: “Are Ceiling Fan Downrods Universal?” In this comprehensive article, we will explore this question in depth, providing the information you need to select the right downrod for your ceiling fan.
What Is a Ceiling Fan Downrod?
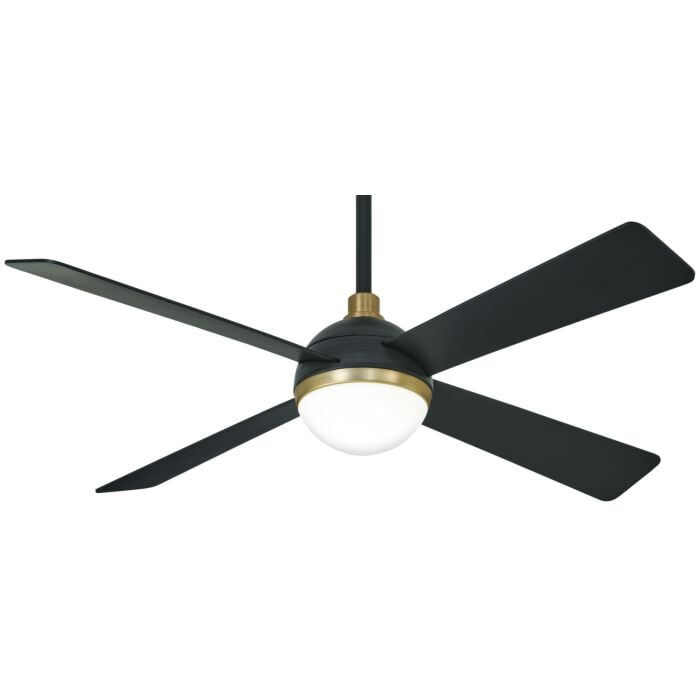
Before diving into the universality of ceiling fan downrods, it’s essential to understand what a downrod is and its purpose. A ceiling fan downrod is a metal tube that connects the fan motor to the ceiling mount, effectively lowering the fan to the appropriate height in a room. The downrod ensures that the fan blades have enough clearance to circulate air effectively and safely.
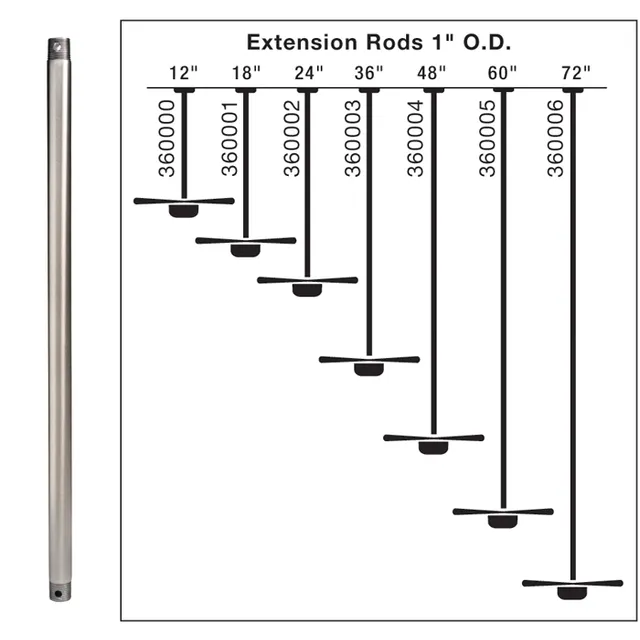
Downrods come in various lengths, typically ranging from 3 inches to 72 inches or more, depending on the height of the ceiling and the desired fan height. The length of the downrod you choose depends on several factors, including ceiling height, room size, and personal preference.
Are Ceiling Fan Downrods Universal?
Understanding Compatibility
The short answer to the question “Are Ceiling Fan Downrods Universal?” is no, they are not universally compatible across all ceiling fan brands and models. However, there are standard sizes and thread types that can make many downrods interchangeable with certain limitations. Let’s break down the factors that determine whether a downrod is compatible with your ceiling fan:
1. Threading and Diameter
One of the primary factors in downrod compatibility is the threading and diameter. Most ceiling fans use downrods with a standard threading size, typically 1/2 inch or 3/4 inch in diameter. However, some brands may have proprietary threading that only fits their specific downrods. It is crucial to check the threading specifications of both your fan and the downrod before making a purchase. Using a downrod with the incorrect threading can lead to an unstable installation and potential safety hazards.
Read too: Bathroom Flooded Through the Ceiling: A Comprehensive Guide
2. Length and Room Height
While downrods themselves are not universal, the length you choose should be based on the height of your room’s ceiling. Here’s a general guideline for selecting the appropriate downrod length:
- 8-foot ceilings: A standard flush mount or a downrod of 3-6 inches is typically sufficient.
- 9-foot ceilings: A downrod of 6-12 inches will usually work well.
- 10-foot ceilings: A downrod of 12-18 inches is recommended.
- 11-foot ceilings: Consider a downrod of 18-24 inches.
- 12-foot ceilings or higher: Downrods of 24 inches or more are appropriate.
Choosing the correct downrod length ensures optimal airflow and prevents the fan blades from being too close to the ceiling or too low, where they could pose a safety risk.
3. Brand Compatibility
Another factor affecting the universality of downrods is brand compatibility. Many ceiling fan manufacturers design their downrods to fit their specific models, meaning a downrod from one brand may not fit a fan from another. While some brands offer cross-compatibility, it’s always best to use a downrod made by the same manufacturer as your fan. This not only ensures proper fit and performance but also maintains any warranties or guarantees provided by the manufacturer.
4. Aesthetic Considerations
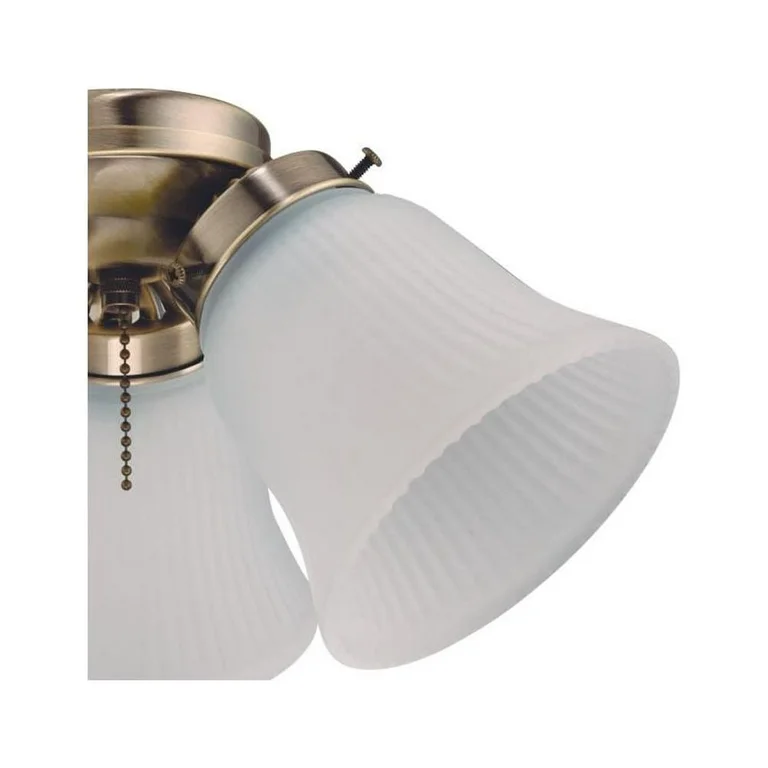
Aesthetic consistency is another reason downrods are not entirely universal. Downrods come in various finishes—such as brushed nickel, bronze, or antique brass—designed to match the finish of the fan. Using a downrod from a different manufacturer may result in a mismatch in finish, affecting the overall look of your installation.
How to Choose the Right Downrod for Your Ceiling Fan
Given that downrods are not universally compatible, how do you choose the right one for your ceiling fan? Here are some steps to ensure you make the best choice:
1. Check the Manufacturer’s Specifications
The first step in selecting the correct downrod is to consult your ceiling fan’s user manual or the manufacturer’s website. This will provide you with specific information about compatible downrod sizes, threading types, and lengths. Many manufacturers also sell downrods designed to match their ceiling fans, which simplifies the selection process.
2. Measure Your Ceiling Height
Accurately measuring your ceiling height is crucial for selecting the appropriate downrod length. As mentioned earlier, the downrod length should correspond to the height of your ceiling to ensure proper airflow and safety. Use a tape measure to determine the exact height from the ceiling to the floor, and refer to the general guidelines provided above.
3. Consider the Room’s Functionality
The room’s purpose can also influence the downrod length. For example, in a dining room, you may want the fan slightly lower to provide better air circulation over the dining table, whereas in a living room with high ceilings, a longer downrod may be necessary to ensure the fan isn’t too high up.
4. Match the Finish
When selecting a downrod, it’s essential to match the finish with your ceiling fan to maintain a cohesive look. If your fan has a brushed nickel finish, choose a downrod with the same finish to ensure a seamless appearance. Many fan manufacturers offer downrods in various finishes specifically designed to match their fans, making it easier to find a perfect match.
5. Consult with a Professional
If you’re unsure about the correct downrod for your ceiling fan, it’s always a good idea to consult with a professional. An electrician or ceiling fan specialist can provide expert advice on the best downrod length and ensure that the installation is safe and secure.
Installation Tips for Ceiling Fan Downrods
Proper installation of a ceiling fan downrod is essential for the fan’s stability and performance. Here are some tips to ensure a successful installation:
1. Turn Off the Power
Before beginning any installation, turn off the power to the room where the fan will be installed. This step is crucial for safety to prevent electrical shocks.
2. Use the Correct Tools
Ensure you have all the necessary tools on hand, including a screwdriver, pliers, wire strippers, and a ladder. Having the right tools will make the installation process smoother and more efficient.
3. Follow the Manufacturer’s Instructions
Always follow the manufacturer’s instructions when installing a ceiling fan downrod. The instructions will guide you through the process step-by-step, ensuring that the fan is installed correctly and safely.
4. Secure the Downrod to the Fan
Attach the downrod to the fan motor securely, making sure that all screws and bolts are tightened properly. A loose connection can cause the fan to wobble or become unstable.
5. Ensure Proper Wiring
Connect the wiring from the ceiling to the fan according to the manufacturer’s instructions. If you’re unfamiliar with electrical work, it’s best to hire a licensed electrician to complete the wiring process.
6. Check for Stability
Once the fan and downrod are installed, check the stability of the fan by turning it on at different speeds. The fan should run smoothly without any wobbling or unusual noises.
Common Myths About Ceiling Fan Downrods
When it comes to ceiling fan downrods, there are several myths and misconceptions. Let’s debunk a few of the most common ones:
Myth 1: All Downrods Are the Same
As discussed earlier, downrods are not universal. They vary in size, threading, and finish, and compatibility depends on the fan manufacturer and model.
Myth 2: You Don’t Need a Downrod for High Ceilings
In rooms with high ceilings, a downrod is essential for ensuring that the fan operates effectively. Without a downrod, the fan may be too close to the ceiling, resulting in poor air circulation.
Myth 3: Longer Downrods Are Less Stable
While it might seem logical to think that longer downrods could lead to instability, when installed correctly, longer downrods are just as stable as shorter ones. The key is proper installation and securing the downrod to the ceiling mount and fan motor.
Myth 4: Downrods Affect Fan Speed
The length of the downrod does not impact the fan’s speed or performance. However, it does affect the fan’s ability to circulate air effectively, which is why selecting the correct length is important.
Conclusion: Understanding Ceiling Fan Downrods and Their Compatibility
So, are ceiling fan downrods universal? While they are not universally compatible, understanding the factors that influence downrod selection—such as threading, diameter, length, and brand compatibility—can help you choose the right downrod for your ceiling fan. By following the guidelines provided in this article, you can ensure that your ceiling fan is installed at the correct height, operates efficiently, and complements your room’s décor.