Step into a world of radiant possibilities as we unveil the transformative potential of “2X2 Drop Ceiling Light Panels.” Discover how these versatile lighting solutions can redefine your space, providing both functionality and aesthetic appeal for a well-lit and visually stunning environment.
Shining a Light on Style: The Allure of 2X2 Drop Ceiling Light Panels
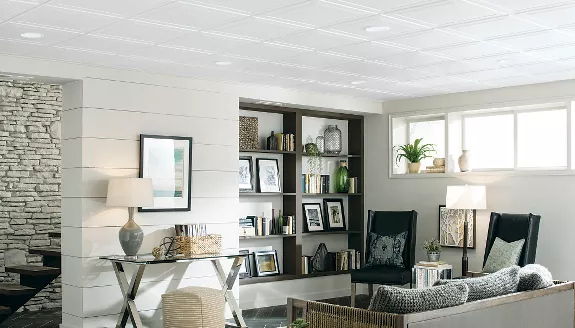
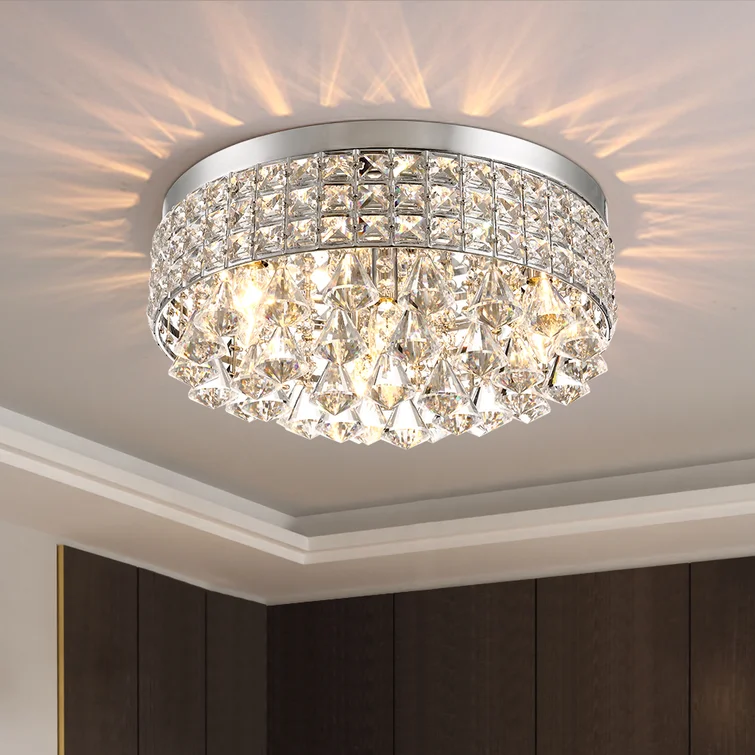
In this section, we will delve into the aesthetic appeal of 2X2 drop ceiling light panels, exploring how they serve as more than just light sources. From sleek and modern designs to classic and timeless options, discover the diverse styles that can seamlessly integrate into any space.
Target Keyword Spotlight: The Impact of 2X2 Drop Ceiling Light Panels
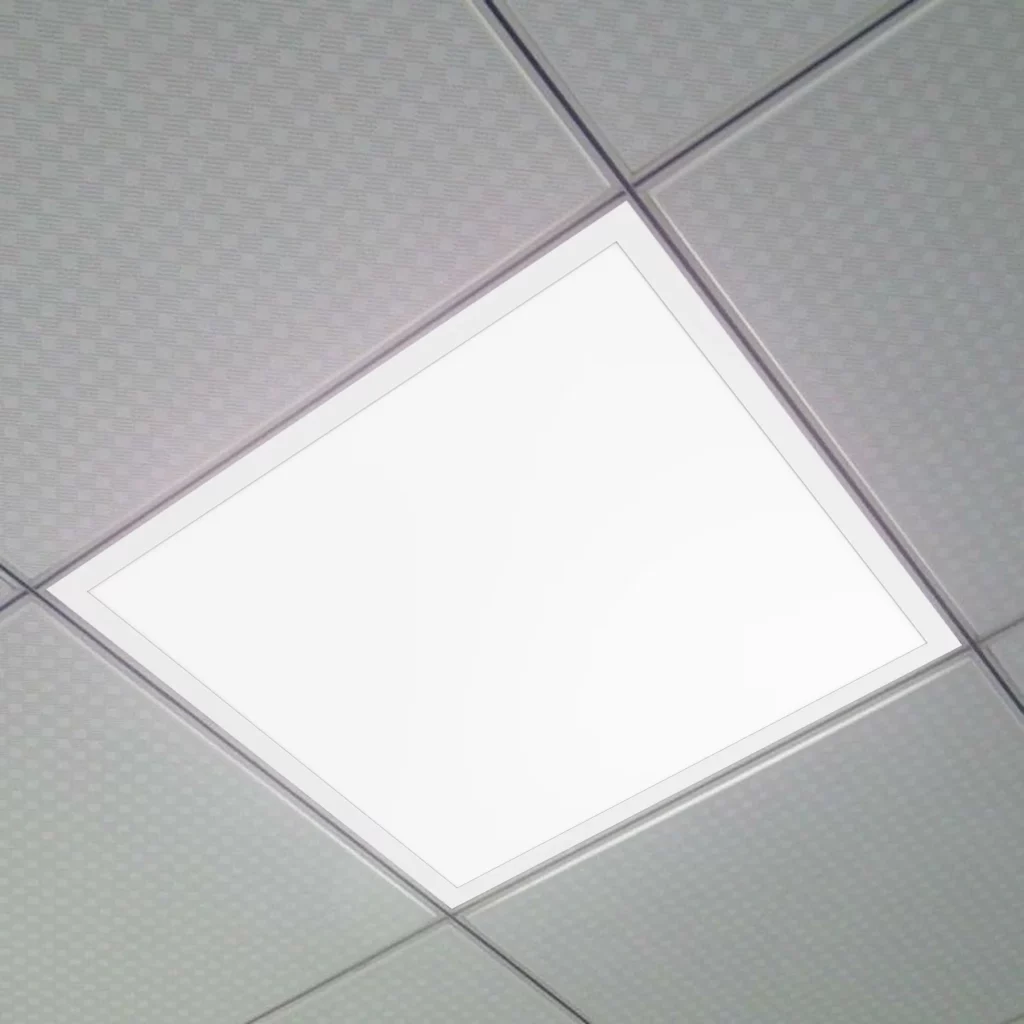
Explore the specific dimensions and characteristics that make 2X2 drop ceiling light panel a popular choice for interior lighting. Understand how these panels strike the perfect balance between style and functionality, offering a practical and visually appealing solution for various settings.
Design Versatility: Adapting Spaces with 2X2 Drop Ceiling Light Panels
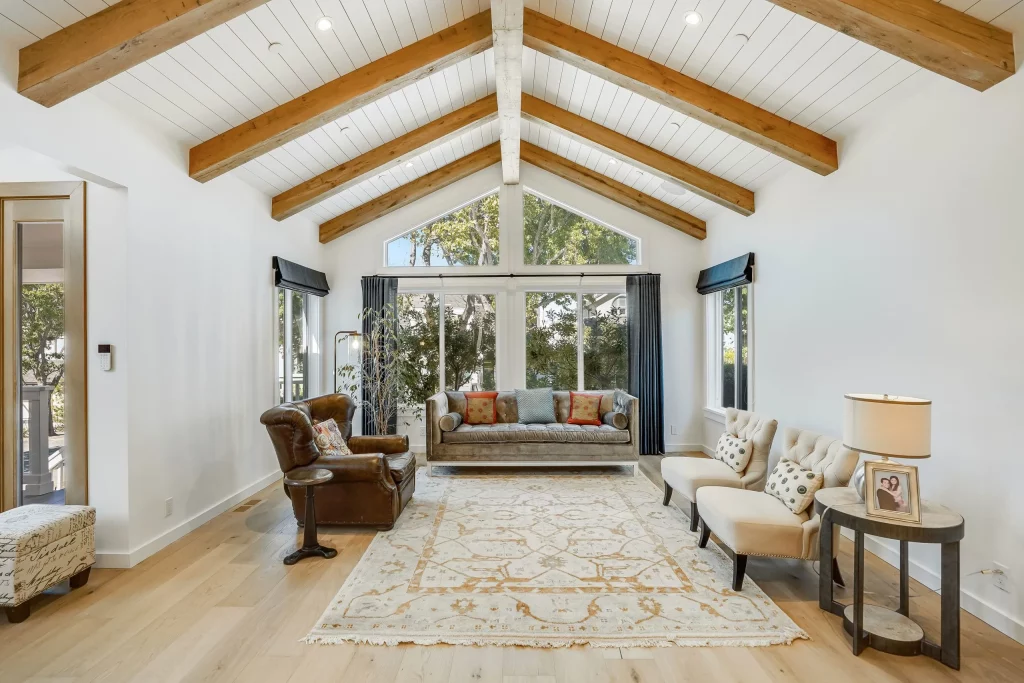
This heading will focus on the design versatility of 2X2 drop ceiling light panel, showcasing their ability to adapt to different environments. From residential spaces to commercial settings, these panels offer a customizable lighting solution that enhances the overall design aesthetics of any room.
The Technology Behind Brilliance: Understanding 2X2 Drop Ceiling Light Panels
Explore the technological aspects that contribute to the brilliance of 2X2 drop ceiling light panel. From LED advancements to energy-efficient features, gain insights into the cutting-edge technologies that make these panels not only visually appealing but also environmentally conscious.
Illuminating Applications:
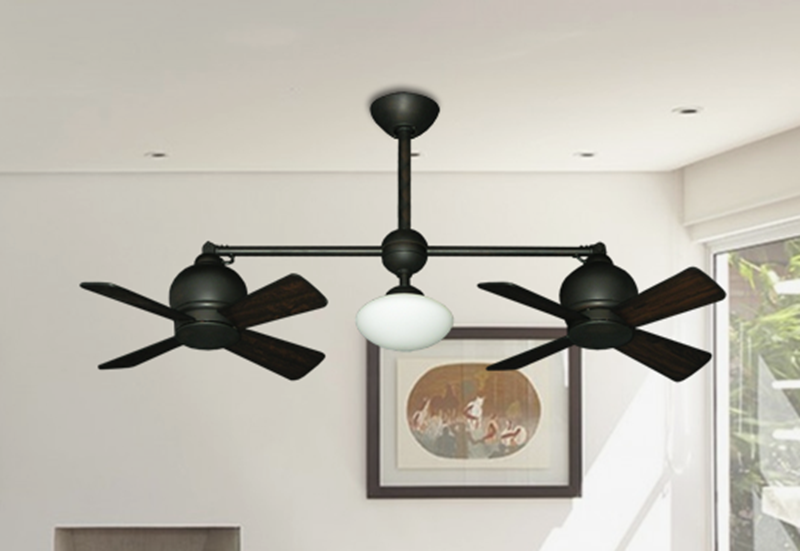
Discover the practical applications of 2X2 drop ceiling light panel in various settings. From offices to kitchens, classrooms to healthcare facilities, explore how these panels can be strategically placed to enhance lighting, improve visibility, and create a welcoming ambiance.
Installation Insights:
For those considering the installation of 2X2 drop ceiling light panel, this section will provide step-by-step insights into the process. From preparation to installation techniques, gain a comprehensive understanding of what it takes to seamlessly integrate these lighting solutions into your ceiling.
Maintenance Tips:
Proper maintenance is essential for ensuring the longevity and optimal performance of your lighting panels. Learn practical tips for cleaning, troubleshooting, and preserving the brilliance of 2X2 drop ceiling light panel, ensuring they continue to illuminate your space with style.
Real-Life Inspirations:
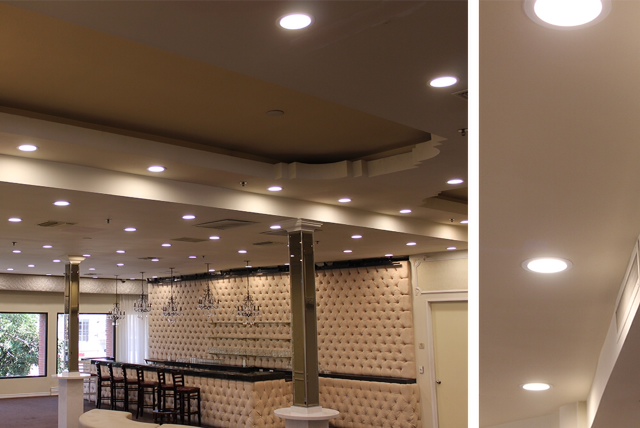
This part of the article will feature real-life examples and inspirations, showcasing spaces that have successfully integrated the brilliance of 2X2 drop ceiling light panel. Gain insights into how these panels can enhance the aesthetics and functionality of different environments.
Conclusion:
In conclusion, the world of lighting design is forever changed by the brilliance of 2X2 drop ceiling light panel. Whether you’re aiming for a modern, minimalist look or a classic, sophisticated ambiance, these panels offer a versatile and visually appealing solution that illuminates your space with style.