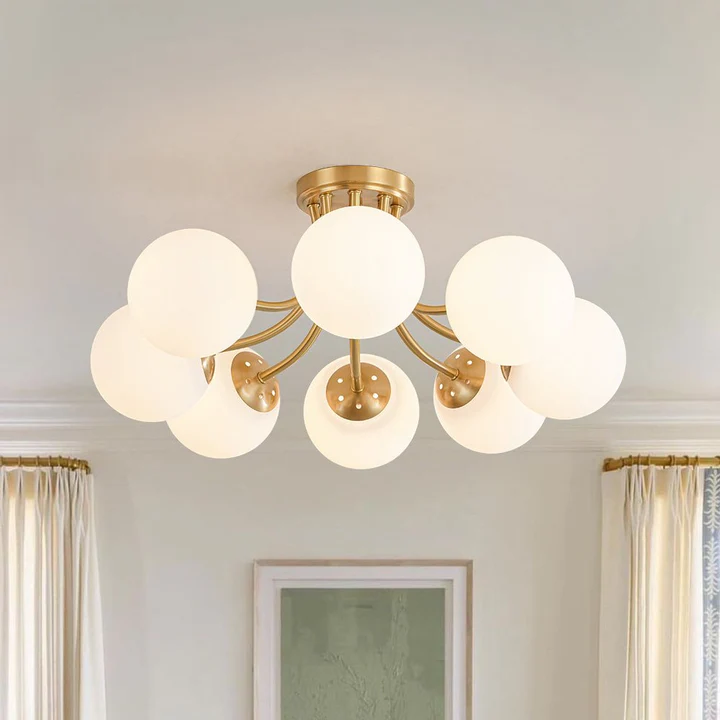
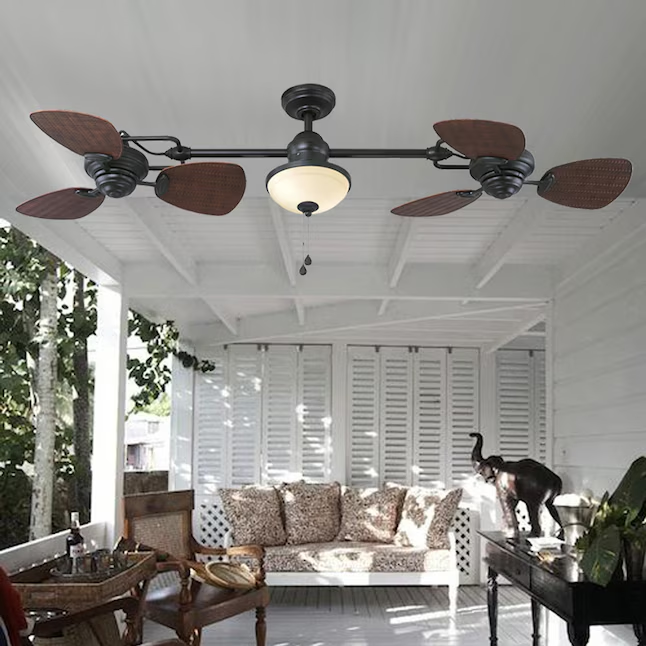
Ceiling fans add comfort and style to any home, but installing one on a sloped ceiling can be tricky. Thankfully, a ceiling fan slope kit with room for transmitter makes this task much simpler. These kits not only provide the necessary hardware for angled ceilings but also ensure space for wireless transmitter systems that control your fan and light fixtures seamlessly.
This article covers everything you need to know about slope kits, including their features, benefits, installation tips, and how to choose the right one for your needs.
What Is a Ceiling Fan Slope Kit?
A ceiling fan slope kit is a specialized accessory designed to enable ceiling fan installation on sloped or angled ceilings. It compensates for the incline, providing a stable mounting platform for your fan. The added feature of room for a transmitter in some kits allows for the integration of remote control systems, making the setup even more convenient.
Key Features of a Slope Kit with Transmitter Space:
- Adjustable Design: Accommodates various ceiling angles, usually up to 45–55 degrees.
- Integrated Transmitter Space: A built-in compartment to house wireless control transmitters.
- Durable Materials: Often made of high-quality metal or ABS plastic to ensure stability.
Benefits of a Ceiling Fan Slope Kit With Room For Transmitter
- Simplified Installation
Installing a ceiling fan on a sloped ceiling can be challenging, but slope kits simplify the process by providing the correct mounting angle. - Seamless Integration of Controls
With room for a transmitter, you can easily integrate remote-controlled systems without extra wiring or modifications. - Enhanced Aesthetic Appeal
Slope kits are designed to blend seamlessly with ceiling fans, maintaining a sleek and professional look. - Versatility
Compatible with a wide range of ceiling fans and transmitter models, these kits are ideal for modern and traditional fan designs.
Read too: Bathroom Flooded Through the Ceiling: A Comprehensive Guide
Choosing the Right Ceiling Fan Slope Kit With Room For Transmitter
1. Compatibility with Ceiling Fan Models
Ensure the kit matches your ceiling fan’s brand and model. Many manufacturers offer slope kits designed specifically for their products.
2. Angle Capacity
Check the maximum angle the kit can accommodate. Most standard kits support angles up to 30 degrees, but some advanced kits handle angles of 45–55 degrees.
3. Transmitter Size
Ensure the transmitter space is compatible with your wireless control system. Measure the transmitter beforehand to avoid compatibility issues.
4. Material and Finish
Choose a kit that complements your fan’s finish—whether brushed nickel, matte black, or wood-tone.
Installation Guide for Ceiling Fan Slope Kit With Room For Transmitter
Tools You’ll Need:
- Screwdriver
- Ladder
- Measuring tape
- Wiring tools (if necessary)
Step-by-Step Installation:
Step 1: Turn Off the Power
Before beginning, switch off the power to the fan at the circuit breaker to avoid electrical hazards.
Step 2: Prepare the Slope Kit
Unpack the slope kit and confirm all components are included. Review the instruction manual provided by the manufacturer.
Step 3: Attach the Slope Adapter
- Remove the existing mounting bracket if one is installed.
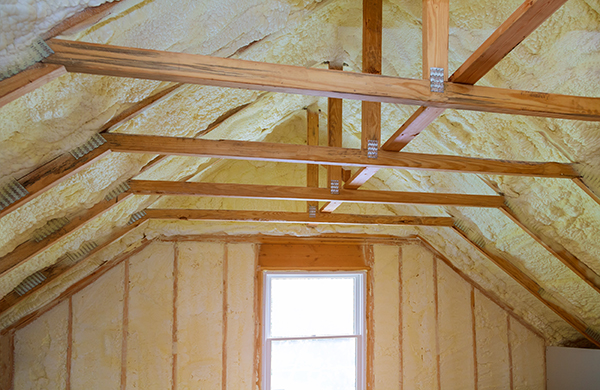
- Attach the slope adapter to the ceiling joist or beam. Ensure it is securely fastened to handle the fan’s weight.
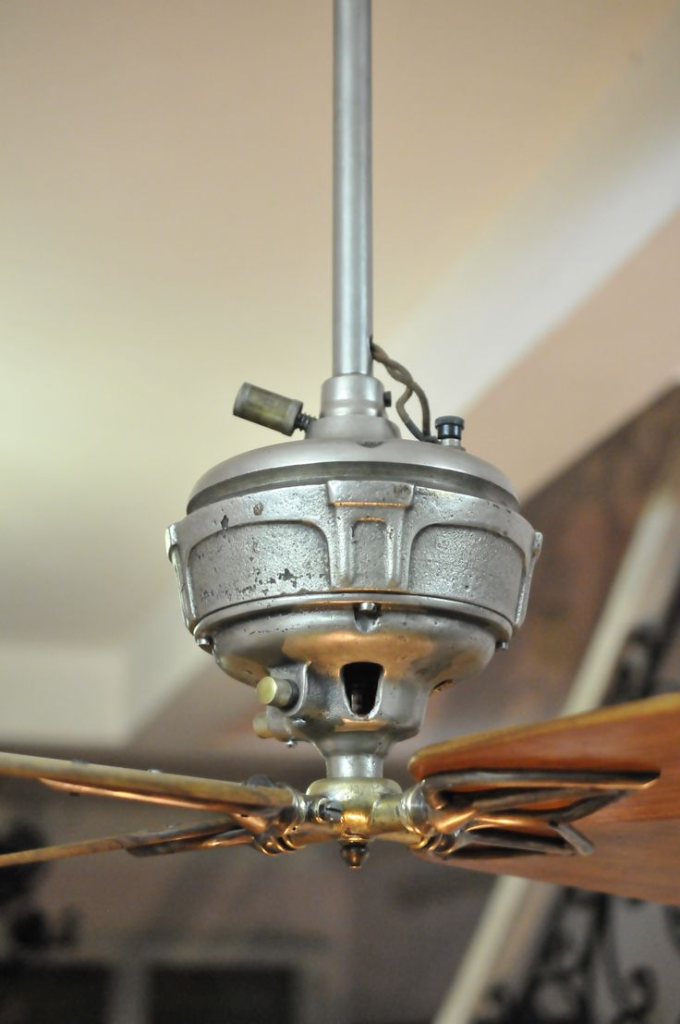
Step 4: Install the Transmitter
Insert the wireless transmitter into the designated compartment within the slope kit. Ensure it fits snugly and does not obstruct any wiring or components.
Step 5: Connect the Wiring
Follow the wiring diagram provided in the slope kit’s instructions. Typically, you’ll connect:
- Black (hot) wire to the fan’s motor wire.
- Blue wire for light controls (if applicable).
- White wire (neutral) and green wire (ground).
Step 6: Attach the Ceiling Fan
Secure the fan’s downrod to the slope adapter and tighten all screws and bolts. Ensure the fan is balanced and spins freely.
Step 7: Test the Fan
Turn the power back on and test the fan and remote control system to ensure everything functions properly.
Maintenance Tips for Your Slope Kit and Ceiling Fan
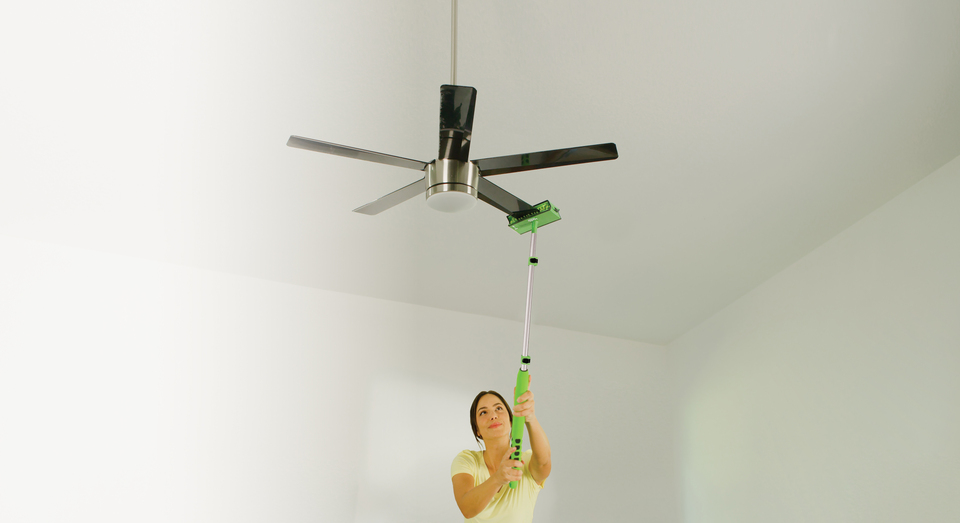
- Regular Cleaning: Dust the fan blades and slope kit to prevent dirt buildup.
- Check Connections: Periodically inspect the kit for loose screws or wires.
- Update Controls: Upgrade the transmitter or remote system if needed for better functionality.
FAQs: Ceiling Fan Slope Kit With Room For Transmitter
1. Do All Ceiling Fans Need a Slope Kit for Angled Ceilings?
Not all ceiling fans require a slope kit. Some models come with built-in adjustments for angled ceilings. However, a slope kit is essential for steeper angles.
2. Can I Install a Slope Kit Myself?
Yes, if you’re comfortable with basic DIY tasks. Follow the manufacturer’s instructions carefully, and don’t hesitate to consult a professional electrician if needed.
3. What Happens if My Transmitter Doesn’t Fit?
If the transmitter is too large, consider purchasing a larger slope kit or an external transmitter housing.
4. Are Slope Kits Universal?
No, slope kits are not universal. Always check compatibility with your ceiling fan model and transmitter system.
How to Choose the Best Ceiling Fan for Your Slope Kit
When selecting a ceiling fan to pair with your slope kit, consider the following:
- Fan Size: Choose a fan size appropriate for the room’s dimensions.
- Weight: Ensure the slope kit is rated to support the fan’s weight.
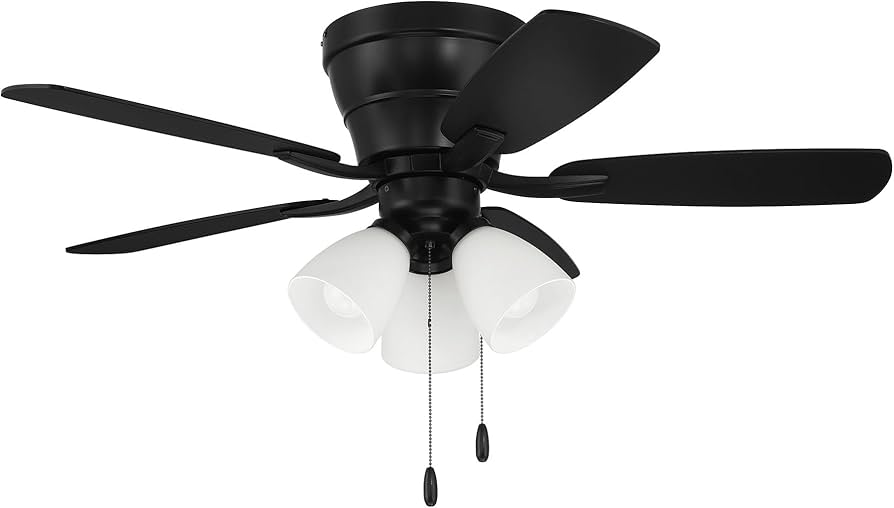
- Lighting Options: If you want integrated lighting, choose a fan with a built-in light kit.
- Energy Efficiency: Look for fans with Energy Star ratings to reduce energy consumption.
Popular Brands Offering Ceiling Fan Slope Kits
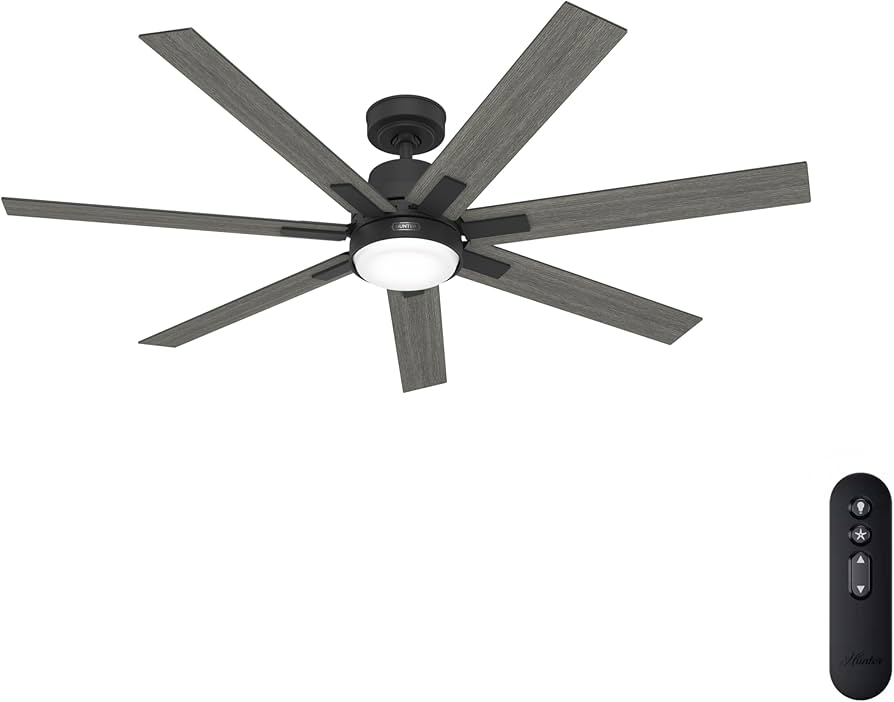
- Hunter Fans: Known for their durability and design versatility.
- Minka Aire: Offers slope kits with modern aesthetics.
- Casablanca: Ideal for both traditional and contemporary ceiling fans.
- Kichler: Known for their robust build quality and sleek designs.
Conclusion
Installing a ceiling fan on a sloped ceiling doesn’t have to be a daunting task. With a ceiling fan slope kit with room for transmitter, you can easily create a stylish, functional setup that integrates modern control systems. By following this guide, you’ll be equipped with the knowledge to select the right kit, install it properly, and enjoy the comfort and convenience of your upgraded ceiling fan.