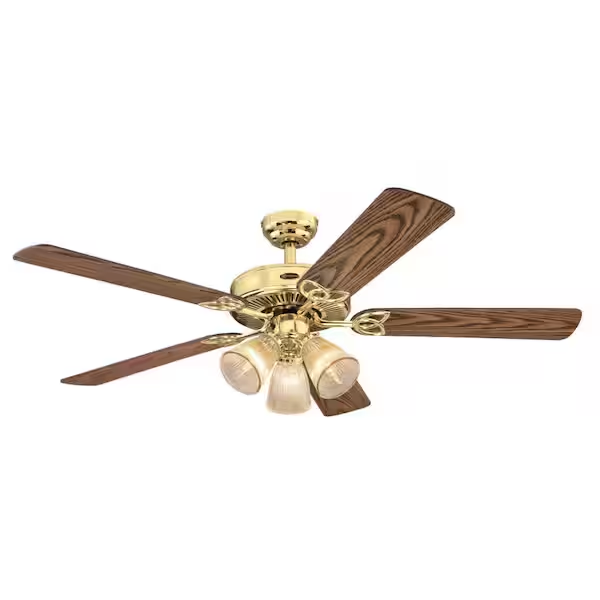
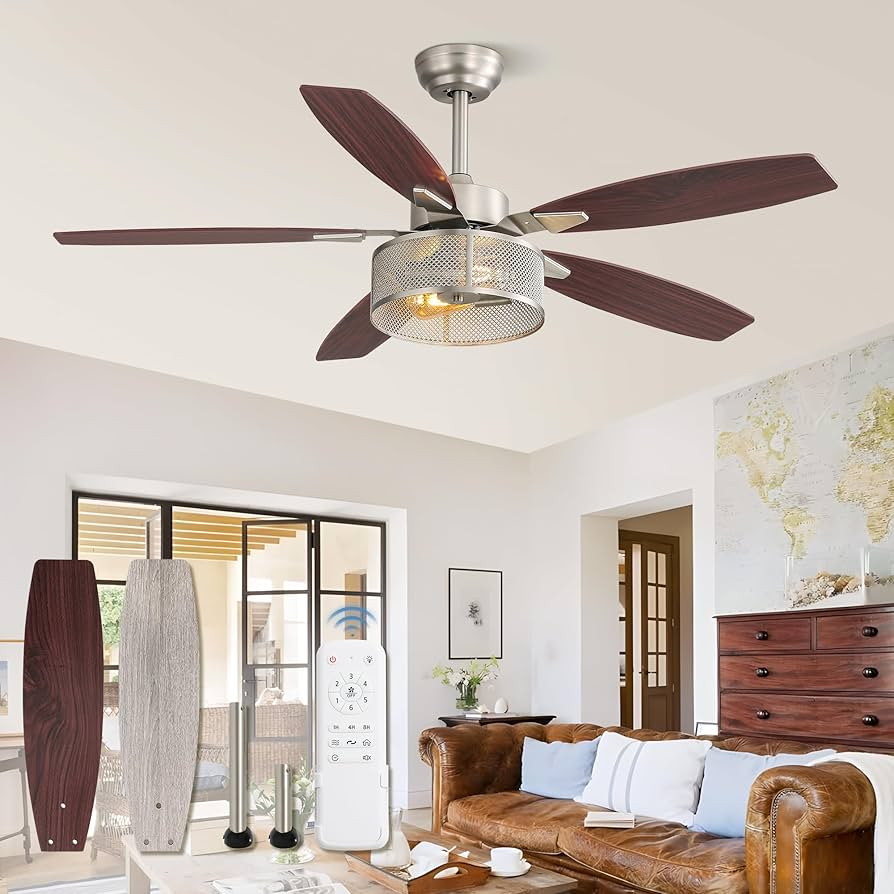
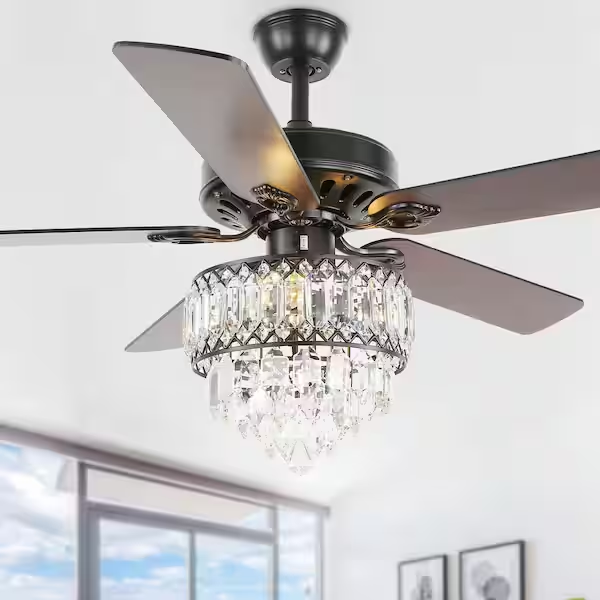
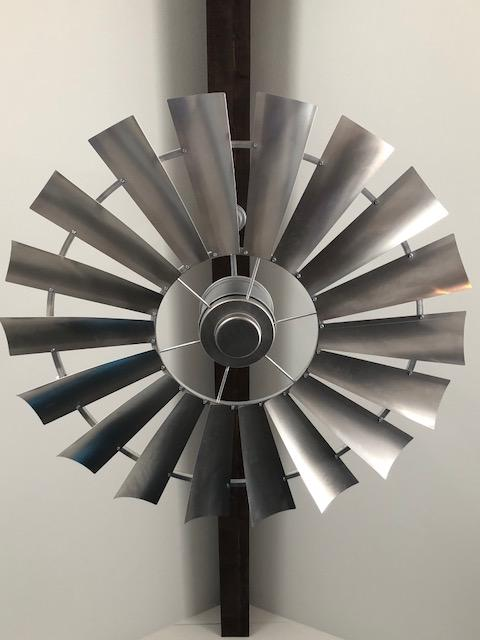
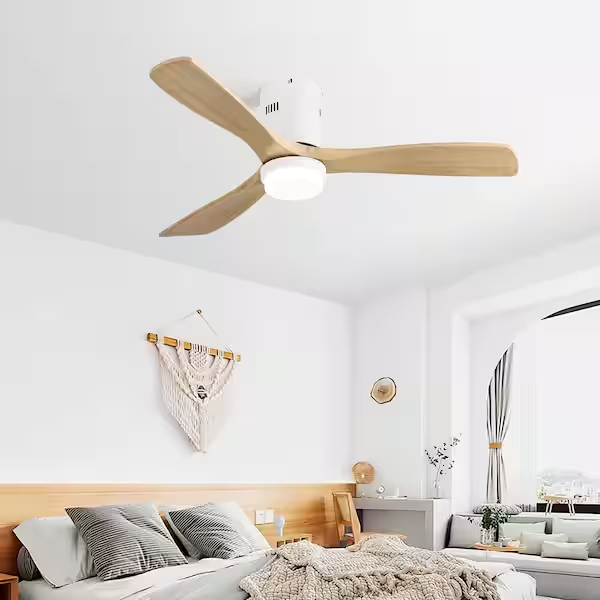
In the world of home decor, few items manage to combine aesthetics and functionality as seamlessly as ceiling fans. They offer a cool breeze on hot days while also adding a touch of elegance to any room. Among the various types of ceiling fans, those with Ceiling Fan Light Wood Blades have gained tremendous popularity. This type of fan combines the benefits of a ceiling fan with the sophisticated look of wooden blades, creating a focal point in your room while keeping the air circulation optimal.
In this article, we’ll explore the advantages of Ceiling Fan Light Wood Blades, how they enhance your home decor, the different design options available, and practical tips on choosing the right fan for your space.
The Appeal of Ceiling Fan Light Wood Blades
Ceiling fans have long been a staple in homes, especially in areas with warm climates. However, traditional fans with metal blades can sometimes feel a bit out of place in more sophisticated or rustic interiors. Enter the Ceiling Fan Light Wood Blades—a stylish and functional solution that works with a variety of design styles, from modern farmhouse to coastal chic, and even contemporary.
The natural aesthetic of wood is timeless. It’s a material that exudes warmth and character, giving your room a more inviting feel. When you add the light feature to the mix, you get a functional item that also provides ambient lighting, perfect for both brightening up your space and adding atmosphere. Whether you’re designing a bedroom, living room, or kitchen, Ceiling Fan Light Wood Blades can elevate the entire look of your home.
Benefits of Ceiling Fan Light Wood Blades
1. Aesthetic Appeal and Versatility
The most significant advantage of Ceiling Fan Light Wood Blades is their aesthetic appeal. Wood adds warmth and a touch of nature to your room. It effortlessly complements a variety of decor styles, including rustic, modern, and even industrial. Wood blades work well with neutral color palettes, as well as with bolder, more vibrant designs.
Whether your space leans more towards the traditional or contemporary, a fan with wooden blades can seamlessly integrate into your design scheme. For example, in a modern coastal-style room, a fan with light wood blades can mimic the feel of driftwood, while a fan with dark wood blades would be more at home in a rustic or farmhouse-inspired room.
Read too: Shiplap Ceiling in Kitchen: A Timeless Trend for a Stylish and Cozy Space
2. Energy Efficiency
Ceiling fans are well-known for their energy-saving properties. They help circulate air throughout the room, keeping it cool in the summer and distributing warm air in the winter. Ceiling Fan Light Wood Blades are no exception. The addition of wood blades provides a natural, sustainable element that can reduce the need for air conditioning or excessive heating.
By circulating the air in your home, a ceiling fan can lower the perceived temperature by several degrees, making it an excellent option for those looking to keep energy costs down while maintaining comfort. Plus, when combined with energy-efficient lighting, you can enhance both the lighting and airflow without putting a strain on your electricity bill.
3. Durability and Low Maintenance
Wooden blades are durable and require little maintenance compared to other materials like plastic or metal. Ceiling Fan Light Wood Blades are often treated to prevent warping, cracking, or fading, ensuring they remain beautiful and functional for years to come.
If you live in a humid area, wood blades can actually perform better than plastic or metal, as they won’t rust or corrode. A simple dusting and occasional wipe-down with a dry cloth are all it takes to keep them looking their best.
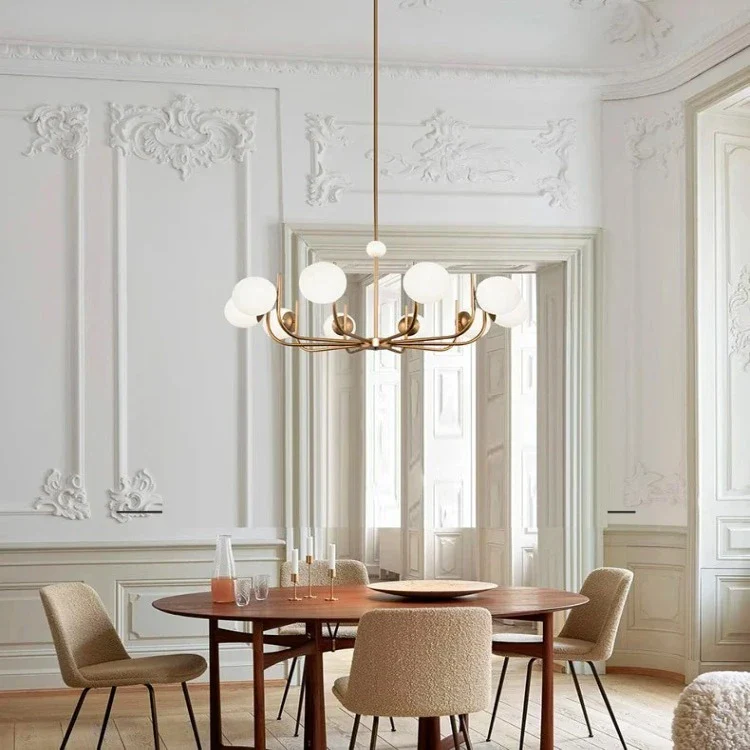
4. Integrated Lighting for Convenience
One of the biggest draws of a Ceiling Fan Light Wood Blades is the integrated lighting feature. This dual-purpose fan provides both cooling and illumination, making it an ideal option for rooms with limited space for separate lighting fixtures. The lighting component of these fans can range from soft, ambient lighting to more focused, bright options.
With an integrated light, you eliminate the need for additional lamps or ceiling lights, creating a cleaner, more streamlined appearance. The lights are often dimmable, so you can set the mood in the room with ease. Moreover, the lightbulbs used in these fans are typically energy-efficient LEDs, which further contribute to the fan’s overall energy savings.
Choosing the Right Ceiling Fan with Wood Blades
When selecting a Ceiling Fan Light Wood Blades, it’s important to consider several factors to ensure you choose the right fan for your space. Below are some key points to keep in mind:
1. Room Size
Consider the size of the room where you plan to install the fan. For small to medium-sized rooms, a fan with a blade span of 44 to 52 inches is typically ideal. Larger rooms, such as living rooms or open-concept spaces, may require a fan with a larger blade span (around 60 inches) to ensure effective air circulation.
2. Style and Finish
The style of the fan is essential to match your existing decor. For instance, if your room has a modern aesthetic, you may want to choose a fan with sleek, light wood blades and a contemporary design. On the other hand, a rustic or farmhouse-style room may benefit from a fan with darker, distressed wood blades for a more vintage look.
Additionally, consider the finish of the light fixture. Some fans feature glass shades that provide soft, ambient light, while others may have more industrial metal finishes for a more modern, sophisticated look.
3. Lighting Options
Since Ceiling Fan Light Wood Blades often come with integrated lighting, choose a light that suits your needs. You can select fans with single or multiple bulbs, and even adjustable features that allow you to change the light’s intensity. The bulbs used in these fans are typically LED, which offer energy efficiency and long lifespan.
4. Motor Power and Noise Levels
Ensure that the fan motor is powerful enough to cool your space effectively. Additionally, consider the noise level of the fan. Some fans are specifically designed to be ultra-quiet, which can be a great option for bedrooms or quiet spaces.
Conclusion
Ceiling Fan Light Wood Blades are more than just functional; they add a touch of elegance and warmth to your home while ensuring comfort. These fans strike the perfect balance between style and practicality, offering an eco-friendly, energy-efficient way to keep your home cool while also providing lighting. With the variety of styles, finishes, and features available, there is sure to be a fan with wooden blades that suits your personal taste and home decor.
When choosing a Ceiling Fan Light Wood Blades, it’s important to consider the size of the room, your style preferences, and the fan’s performance features. Once installed, a wooden-blade ceiling fan will not only enhance the overall ambiance of your space but also provide lasting comfort for years to come.