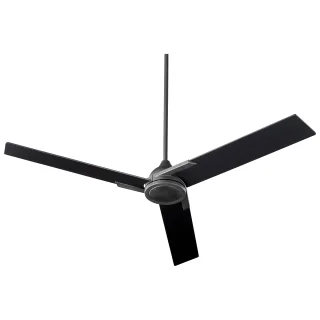
When it comes to choosing the right ceiling fan for your space, size and style play crucial roles. For smaller rooms or areas with limited space, a 28-inch ceiling fan can be the perfect solution. These compact fans are designed to provide effective air circulation without overwhelming the room’s decor. In this guide, we’ll explore everything you need to know about 28-inch ceiling fans, including their benefits, key features, and tips for selecting the best one for your needs.

Why Choose a 28 Inch Ceiling Fan?
A 28-inch ceiling fan offers a range of benefits, making it a popular choice for various settings. Understanding why you might choose a fan of this size can help you make an informed decision.
1. Ideal for Small Spaces
The compact size of a 28-inch ceiling fan makes it perfect for smaller rooms such as:
- Bedrooms: Provides sufficient airflow without taking up too much space.
- Kitchens: Helps to keep the air circulating, making cooking more comfortable.
- Offices: Keeps air moving in tight workspaces, improving comfort and productivity.
Read too: Bathroom Flooded Through the Ceiling: A Comprehensive Guide
2. Space-Saving Design
Due to its smaller diameter, a 28-inch ceiling fan is less obtrusive and fits neatly into rooms where a larger fan might be overwhelming or impractical. It’s an excellent choice for rooms with low ceilings or limited headroom.
3. Energy Efficiency
Ceiling fans are known for their energy efficiency. A 28-inch ceiling fan can help you maintain a comfortable temperature in a room without relying heavily on air conditioning or heating, potentially reducing your energy bills.
Key Features of 28 Inch Ceiling Fans
When selecting a 28-inch ceiling fan, several features can impact its performance and appearance. Here’s what to consider:
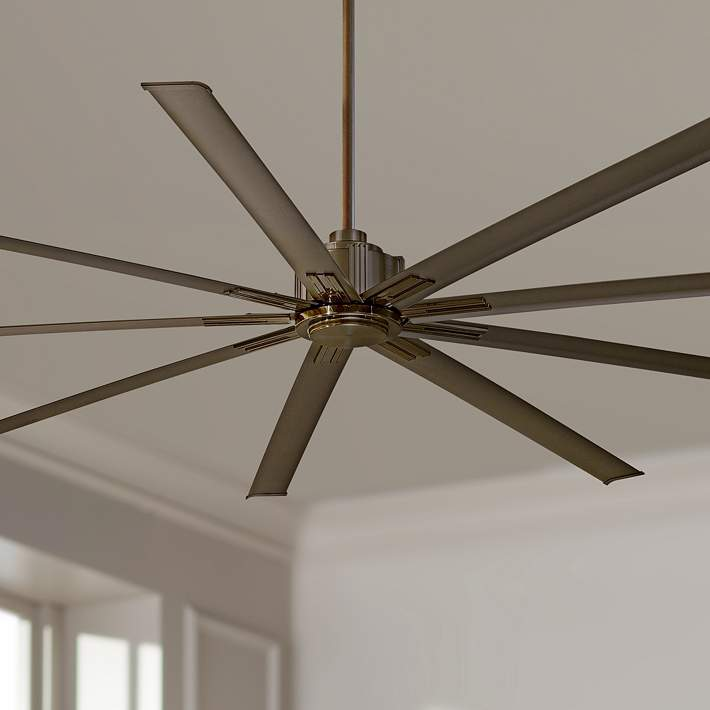
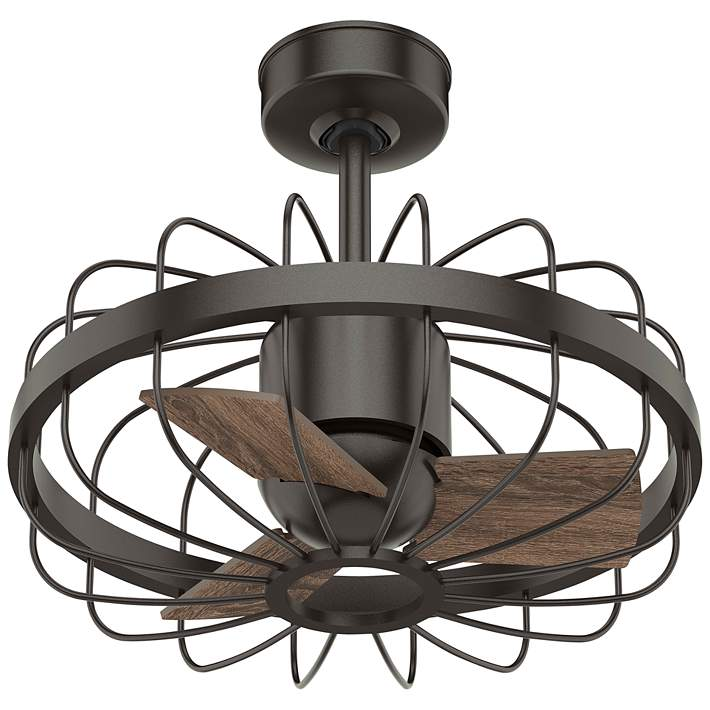
1. Design and Style
The design of a ceiling fan can influence the overall look of the room. Common styles include:
- Modern: Sleek lines and contemporary materials such as brushed metal or glass.
- Traditional: Classic designs with ornate details and wood finishes.
- Industrial: Raw, minimalist designs with exposed hardware and metal finishes.
2. Blade Material
The material of the blades affects both the durability and appearance of the fan:
- Wood: Offers a classic and warm look, though it may require more maintenance.
- Metal: Durable and modern, often used in industrial and contemporary designs.
- Plastic: Lightweight and resistant to moisture, making it suitable for various settings.
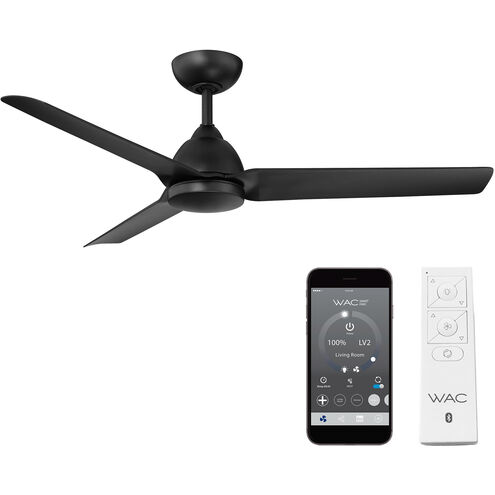
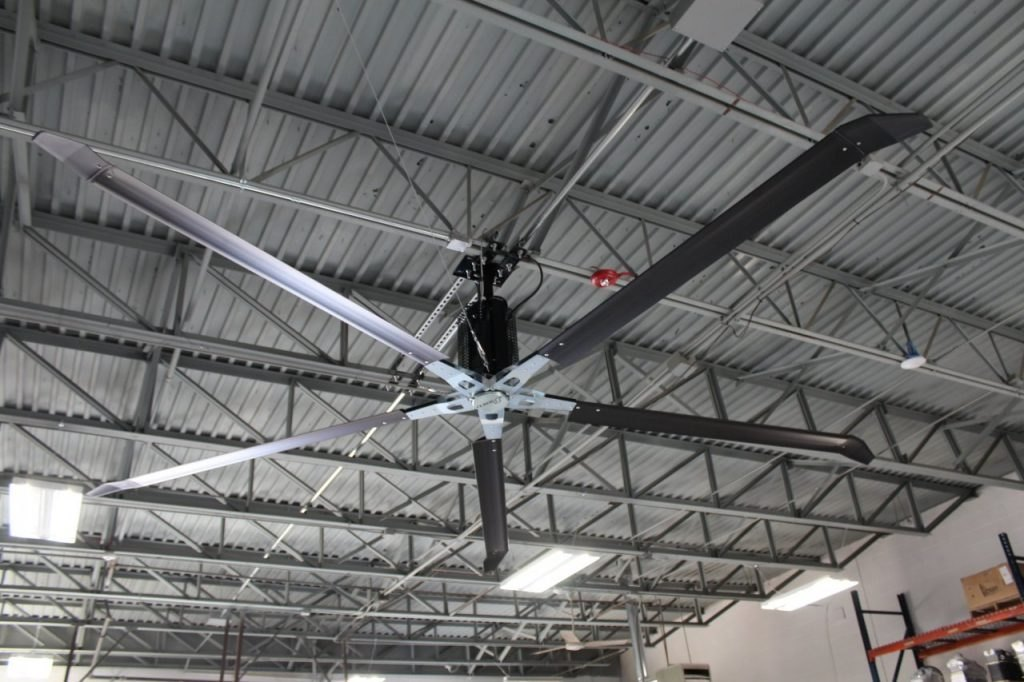
3. Motor Type
The motor of a ceiling fan determines its efficiency and performance:
- AC Motors: Common and cost-effective, providing reliable performance.
- DC Motors: More energy-efficient and quieter, often used in higher-end models.
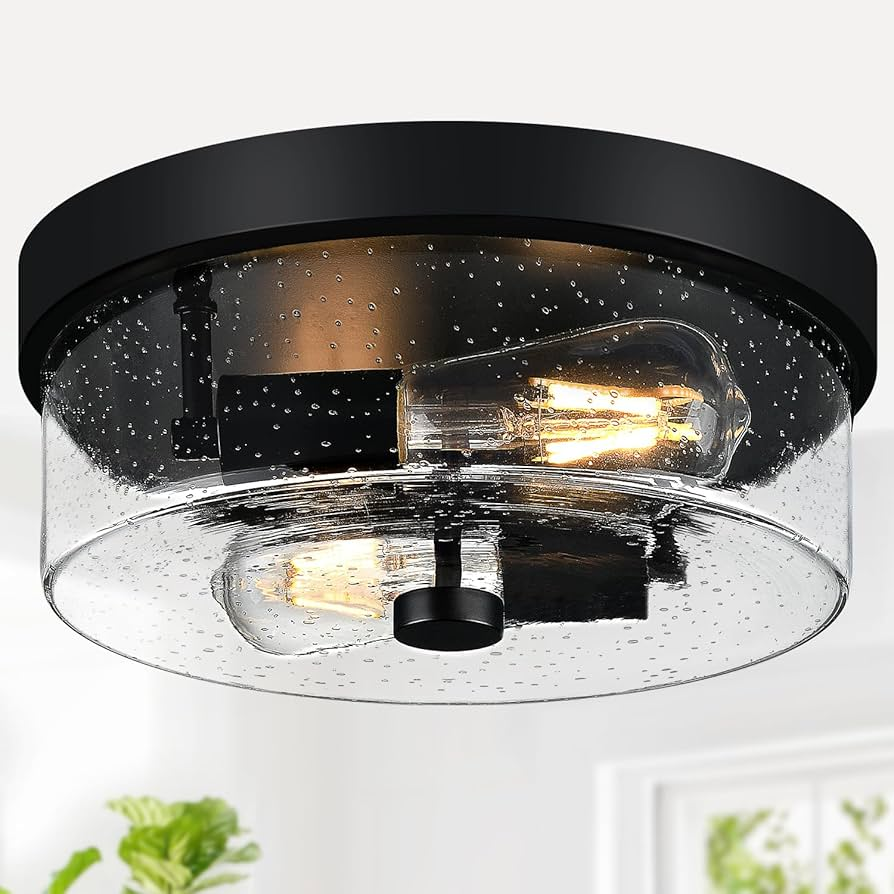
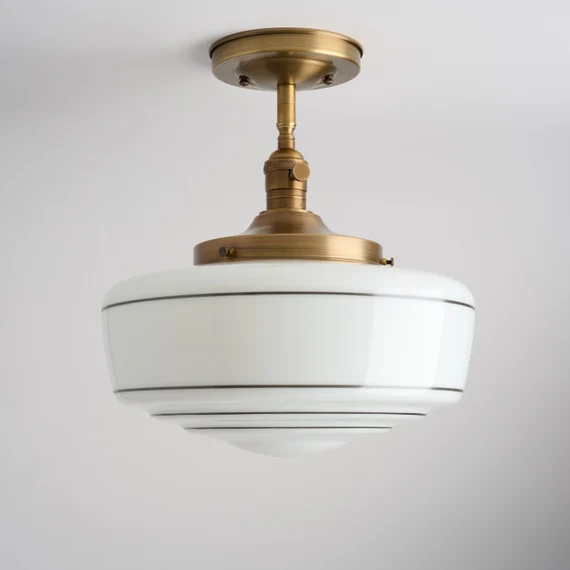
4. Lighting Options
Some 28-inch ceiling fans come with integrated lighting, adding functionality and eliminating the need for additional light fixtures. Options include:
- Built-In Lights: Provides a seamless look with lights incorporated into the fan design.
- Light Kits: Attachments that can be added to the fan, allowing for customizable lighting.
5. Control Options
Ceiling fans offer various control methods:
- Pull Chains: Simple and traditional, allowing you to control the fan speed and light.
- Remote Controls: Offers convenience with the ability to adjust settings from anywhere in the room.
- Wall Switches: Provides a fixed location for controlling the fan, often with more advanced features.
How to Choose the Right 28 Inch Ceiling Fan
Selecting the ideal 28-inch ceiling fan involves considering your specific needs and preferences. Here’s a step-by-step guide to help you make the right choice:
1. Assess Your Space
Evaluate the room where you plan to install the fan:
- Room Size: Ensure that a 28-inch fan is appropriate for the size of the room. Larger rooms may require a bigger fan for optimal airflow.
- Ceiling Height: Check that the fan’s installation will provide adequate clearance from the ceiling and the floor.
2. Select a Style
Choose a fan style that complements the room’s decor:
- Modern Rooms: Opt for sleek, contemporary designs with clean lines and minimal details.
- Traditional Rooms: Look for fans with classic materials and intricate details.
- Industrial Rooms: Consider fans with rugged, minimalist designs and raw materials.
3. Consider Additional Features
Determine if you need additional features such as:
- Lighting: If you need extra illumination, choose a fan with integrated lighting or the option to add a light kit.
- Control Type: Decide between pull chains, remote controls, or wall switches based on your preference for convenience and functionality.
4. Check Energy Efficiency
Look for fans with energy-efficient motors and LED lighting options to reduce energy consumption and lower your utility bills.
5. Review Installation Requirements
Ensure you’re comfortable with the installation process or hire a professional if needed. Some fans may require specialized installation or additional wiring.
Installation Tips for 28 Inch Ceiling Fans
Proper installation is crucial for ensuring that your ceiling fan operates efficiently and safely. Follow these tips for a successful installation:
1. Turn Off Power
Before starting, turn off the power to the circuit where you’ll be installing the fan to avoid electrical hazards.
2. Assemble the Fan
Follow the manufacturer’s instructions to assemble the fan. This typically includes attaching the blades, motor, and any light fixtures.
3. Install the Mounting Bracket
Attach the mounting bracket to the ceiling. Ensure it is securely fastened and level to support the weight of the fan.
4. Connect the Wiring
Connect the fan’s wiring to the electrical box, matching the wire colors (black to black, white to white, and green or copper to ground). Use wire nuts to secure the connections.
5. Attach the Fan
Secure the fan to the mounting bracket according to the manufacturer’s instructions. Ensure all screws and connections are tight.
6. Install Blades and Light Kit
Attach the fan blades and any light kits, making sure they are properly aligned and secured.
7. Turn On Power and Test
Restore power to the circuit and test the fan to ensure it operates correctly. Adjust the fan’s settings as needed to achieve the desired airflow and lighting.
Benefits of Installing a 28 Inch Ceiling Fan
Installing a 28-inch ceiling fan offers several benefits:
1. Enhanced Comfort
Provides effective air circulation, keeping rooms cool and comfortable without the need for excessive air conditioning.
2. Space Efficiency
Fits neatly into smaller rooms or spaces with low ceilings, providing functionality without overwhelming the room’s decor.
3. Energy Savings
Helps reduce reliance on air conditioning and heating, potentially lowering your energy bills.
4. Aesthetic Appeal
Available in a range of styles and designs, allowing you to choose a fan that complements your room’s decor.
Conclusion
A 28-inch ceiling fan is an excellent choice for smaller rooms and spaces where a larger fan might be too imposing. With its compact design, energy efficiency, and various styles, it offers both functionality and aesthetic appeal. By understanding the key features, selecting the right style, and following proper installation procedures, you can enjoy the benefits of a well-chosen ceiling fan for years to come.