Are you tired of the dated popcorn ceilings in your Pembroke Pines home? Bid farewell to the inconvenience and revitalize your space with professional popcorn ceiling removal services. Dive into everything you need to know about Popcorn Ceiling Removal Pembroke Pines in this comprehensive guide.
Understanding Popcorn Ceiling Removal Pembroke Pines
Popcorn ceilings, also known as textured or acoustic ceilings, were once a popular choice for homes due to their affordability and ability to hide imperfections. However, over time, they have become outdated and may even pose health risks due to the potential presence of asbestos.
Why Remove Popcorn Ceilings?
- Enhanced Aesthetics: Popcorn ceilings can give your home a dated appearance and may not align with modern interior design trends.
- Health Concerns: Older popcorn ceilings may contain asbestos, a hazardous material that poses health risks if disturbed.
- Increased Property Value: Removing popcorn ceilings can increase the value of your home and make it more appealing to potential buyers.
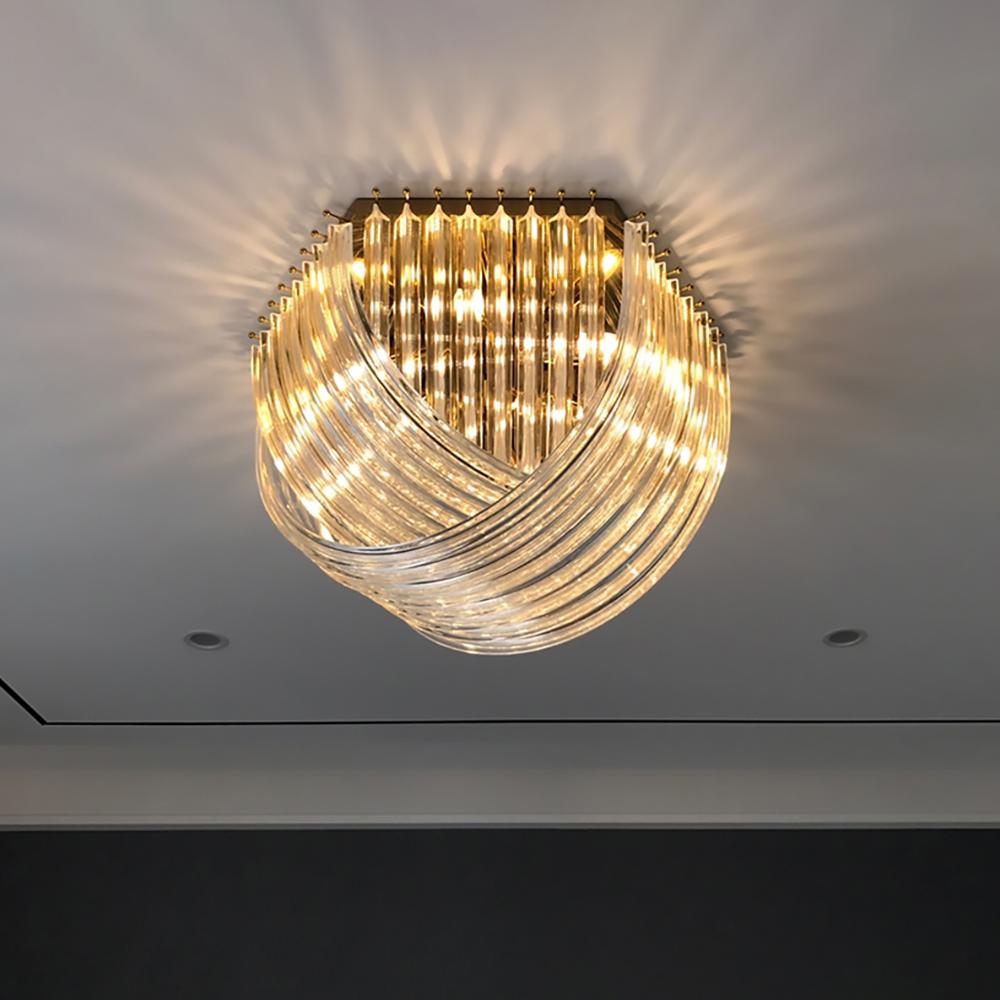
- Improved Lighting: Smooth ceilings reflect light more effectively, making rooms appear brighter and more spacious.
The Popcorn Ceiling Removal Process
Removing popcorn ceilings is a multi-step process that requires careful planning and execution. Here’s what you can expect from the popcorn ceiling removal process in Pembroke Pines:
1. Inspection and Testing
Before initiating the removal process, it’s crucial to inspect the ceiling for asbestos. A certified contractor will take samples and send them to a lab for testing to ensure safe removal.
Read too: Elevate Your Home Décor with Exquisite Japanese Style Ceiling Lamp Designs
2. Preparation
Once the ceiling is confirmed to be asbestos-free, the area is prepared for removal. This may involve covering furniture and floors with plastic sheeting and sealing off the room to contain dust.
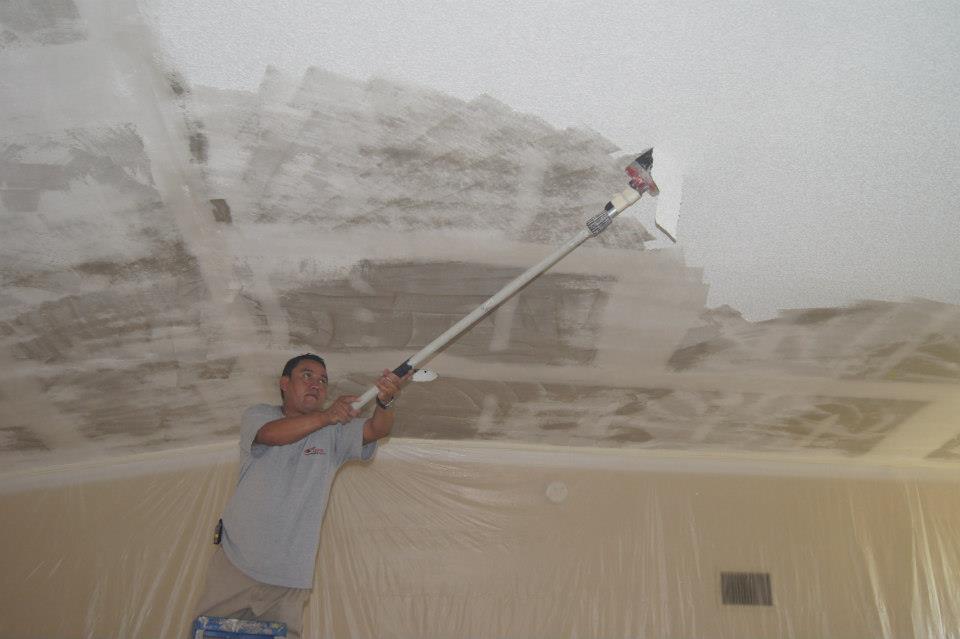
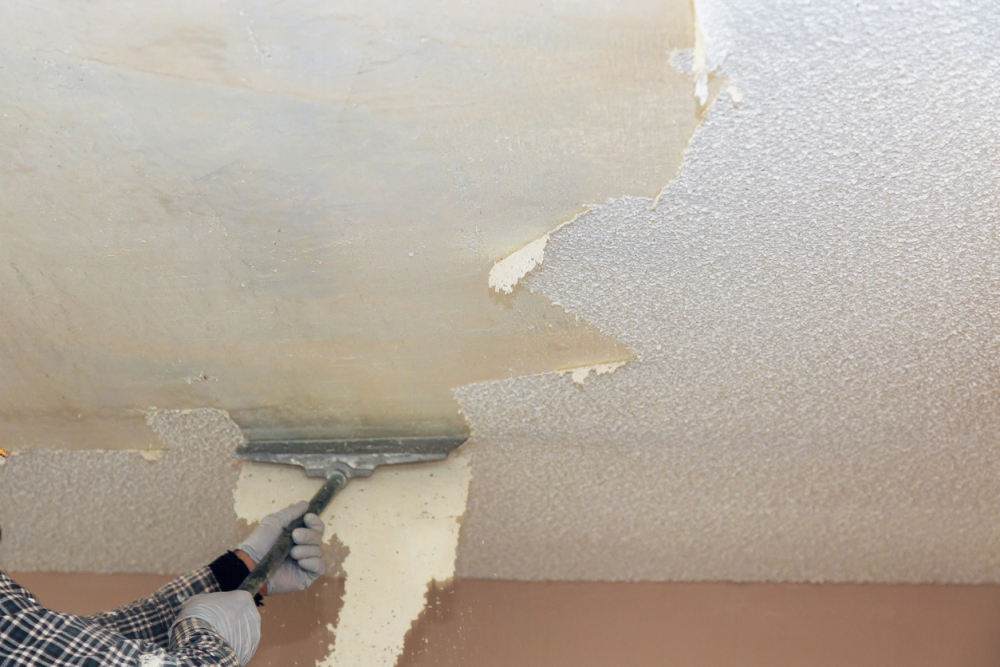
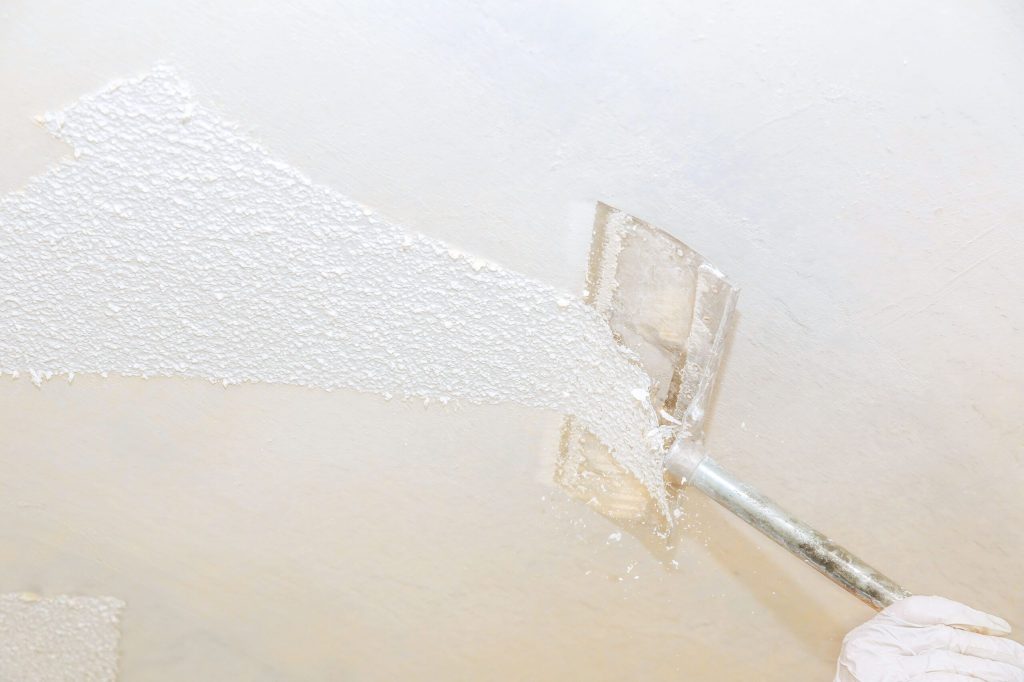
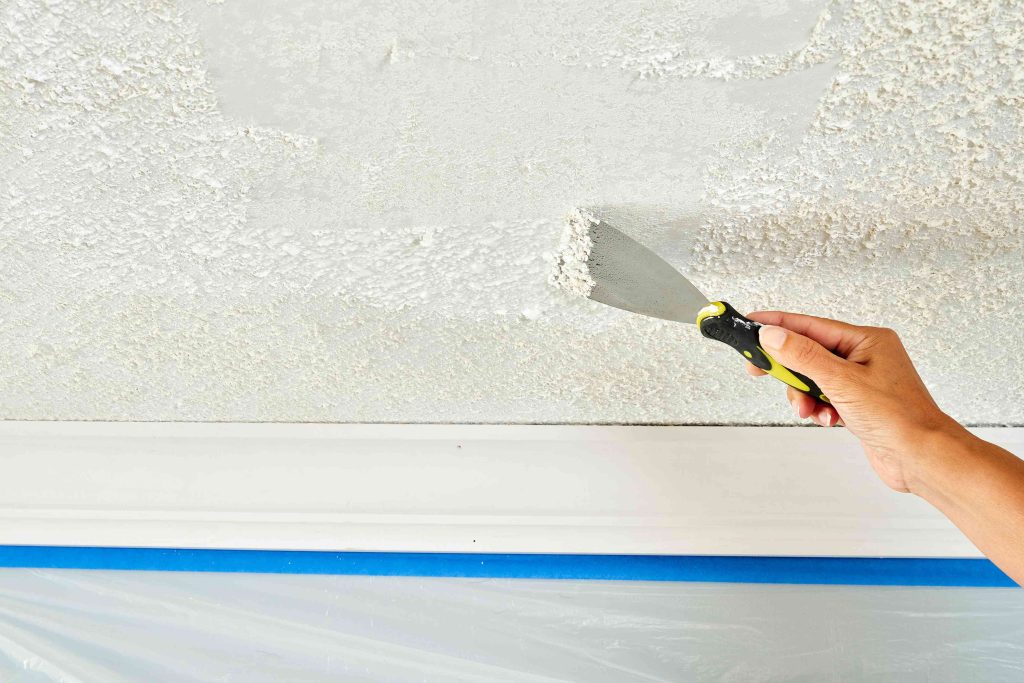
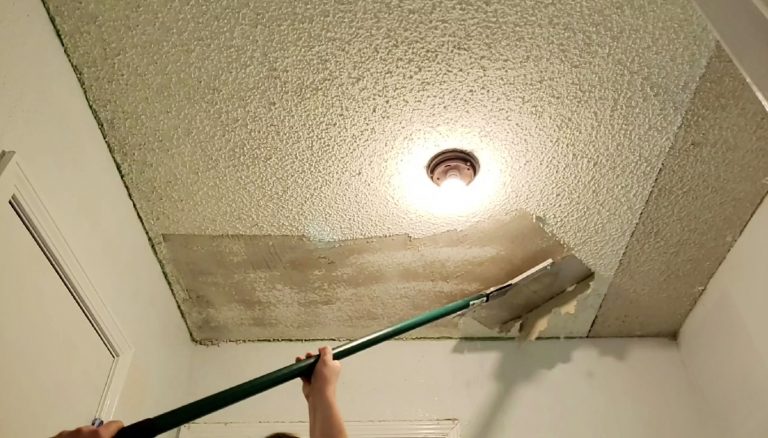
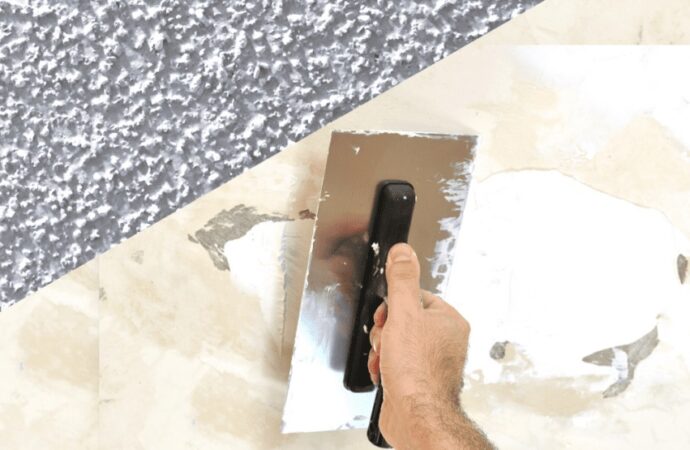
3. Wetting and Scraping
The popcorn texture is softened with water to facilitate removal. Using specialized tools, the contractor carefully scrapes away the texture, taking care to avoid damaging the underlying surface.
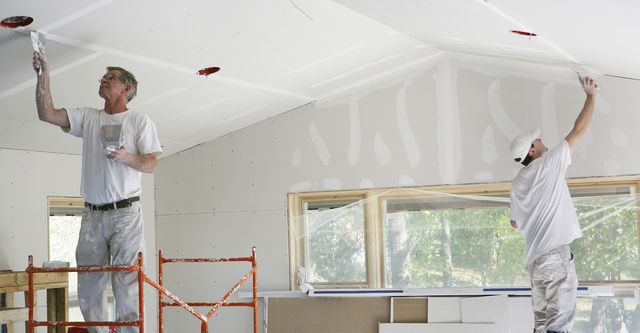
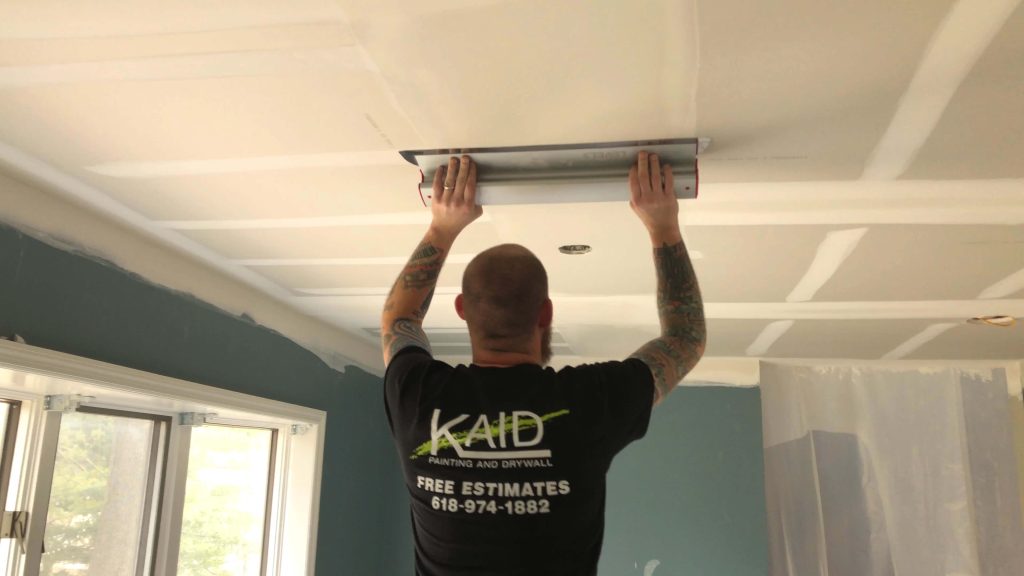
4. Smoothing and Repair
After removing the texture, the ceiling is smoothed out to achieve a seamless finish. Any imperfections or damage to the ceiling are addressed to ensure a flawless result.
5. Finishing Touches
Once the ceiling is smooth and free of texture, it can be painted to match the rest of the room’s decor. The result is a clean, modern look that enhances the overall aesthetic of the space.
Why Choose Professional Popcorn Ceiling Removal in Pembroke Pines?
While DIY popcorn ceiling removal may seem tempting, hiring a professional contractor offers numerous advantages:
- Expertise: Professional contractors have the knowledge and experience to safely and efficiently remove popcorn ceilings.
- Safety: Certified contractors follow proper safety protocols to minimize health risks associated with asbestos exposure.
- Efficiency: Professional removal ensures the job is completed quickly and with minimal disruption to your daily life.
- Quality Results: With professional equipment and techniques, contractors can achieve smooth, flawless ceilings that enhance the beauty of your home.
Transform Your Home Today
Don’t let outdated popcorn ceilings detract from the beauty of your Pembroke Pines home. Invest in professional popcorn ceiling removal services and transform your space into a modern, stylish sanctuary.
Contact a reputable contractor specializing in Popcorn Ceiling Removal Pembroke Pines and bid farewell to popcorn ceilings for good.