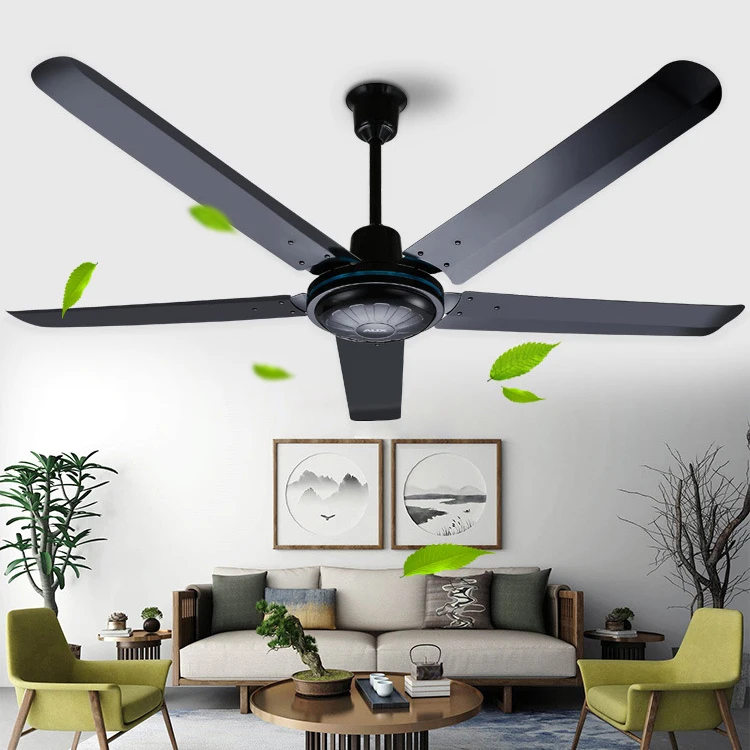
In the realm of home comfort and convenience, few fixtures offer as much versatility and functionality as a 56 inch ceiling fan with light and remote control. Combining the cooling power of a ceiling fan with the illumination of a light fixture and the convenience of remote control operation, these multifunctional fixtures are a must-have for any modern home. In this comprehensive guide, we’ll delve into the benefits, features, and considerations of a 56 inch ceiling fan with light and remote, empowering you to make an informed decision for your home.
Understanding the Features
Cooling Power
The primary function of a ceiling fan is to circulate air, creating a gentle breeze that helps to cool the room. With a 56 inch fan blade span, these ceiling fans are capable of generating a significant airflow, effectively cooling larger rooms with ease. Whether you’re looking to combat the summer heat or improve air circulation year-round, a 56 inch ceiling fan is up to the task.
Illumination Options
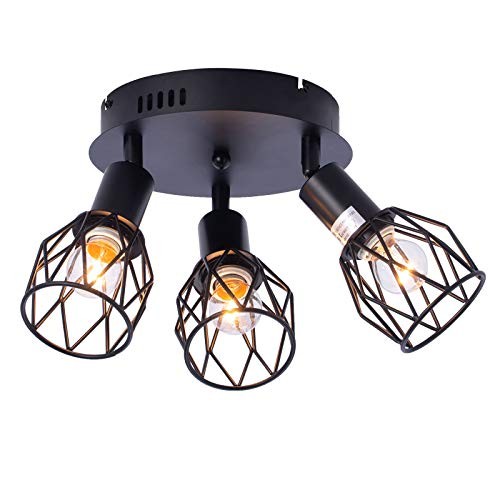
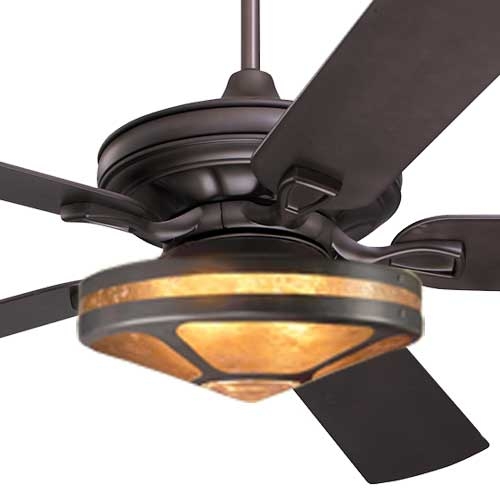
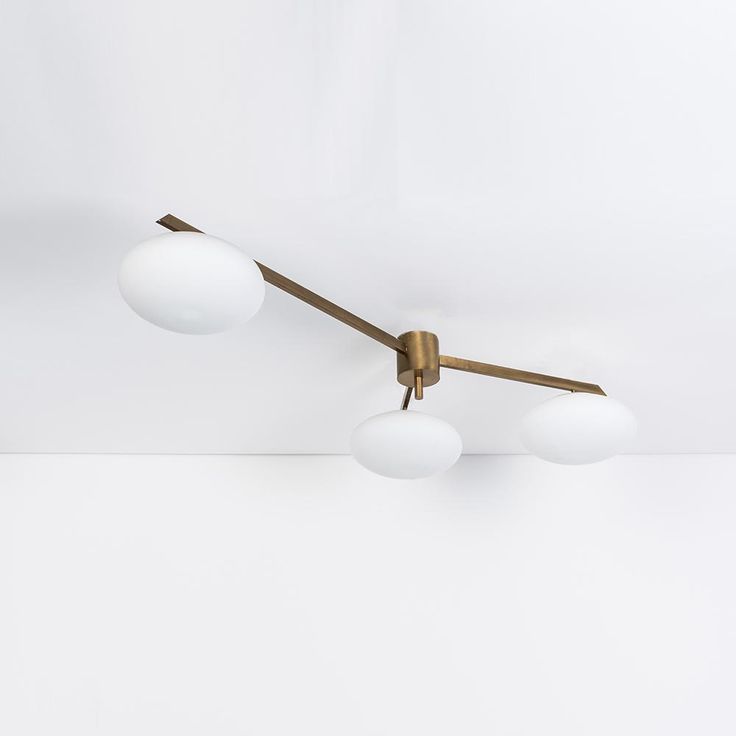
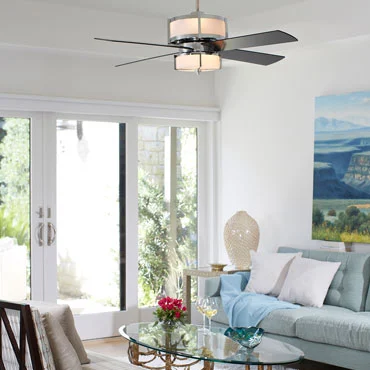
In addition to cooling, many 56 inch ceiling fans come equipped with built-in light fixtures, providing both functionality and ambiance to the room. Whether you prefer the soft glow of integrated LED lights or the versatility of traditional light bulbs, there are options to suit every preference. With the ability to control both the fan and the light independently, you can customize the atmosphere of your space to suit any occasion.
Read too: Understanding and Dealing with Ants in the Ceiling Spaces: Navigating the Intrusion
Remote Control Convenience
Gone are the days of struggling with pull chains or wall switches to adjust your ceiling fan settings. With a remote-controlled ceiling fan, you can easily adjust the fan speed, light brightness, and direction of airflow from the comfort of your couch or bed. This added convenience makes it effortless to fine-tune the comfort level of your space without having to get up from your seat.
Choosing the Right Fan
Size Matters
When selecting a 56 inch ceiling fan, consider the size of the room where it will be installed. For larger rooms or spaces with high ceilings, a fan with a larger blade span may be more effective at circulating air and cooling the space. Conversely, smaller rooms may benefit from a fan with a smaller blade span to prevent overpowering the space.
Style and Design
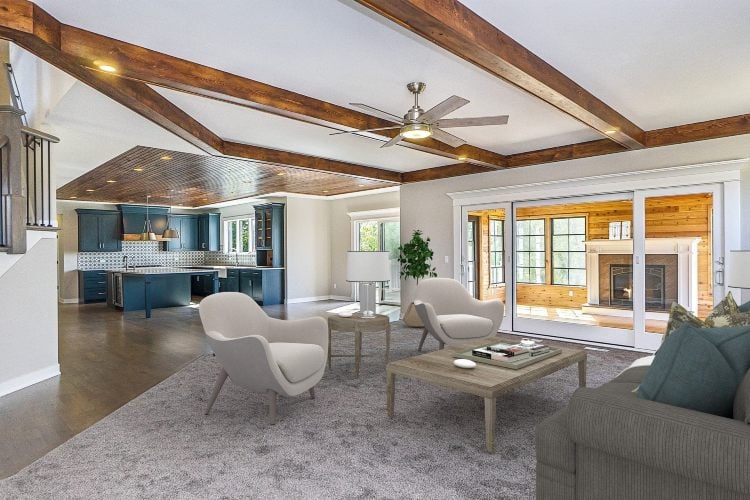
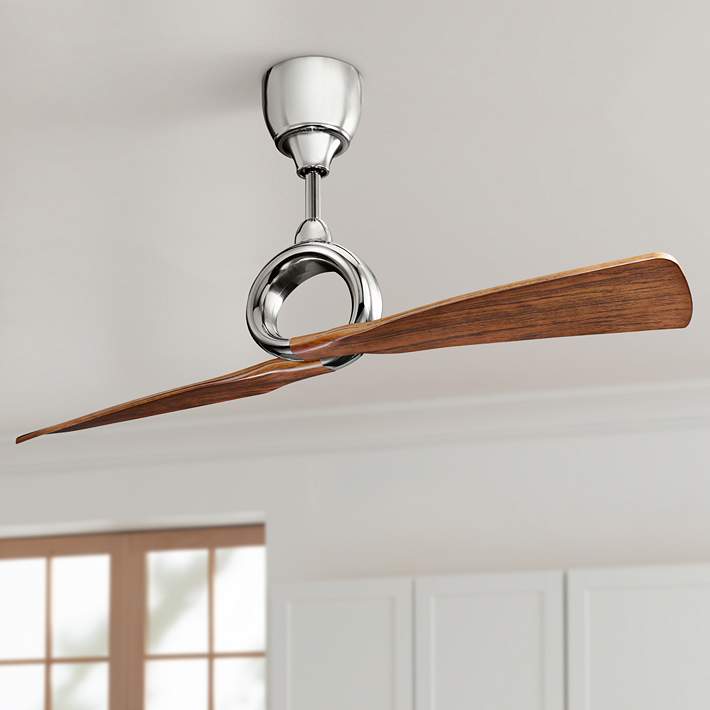
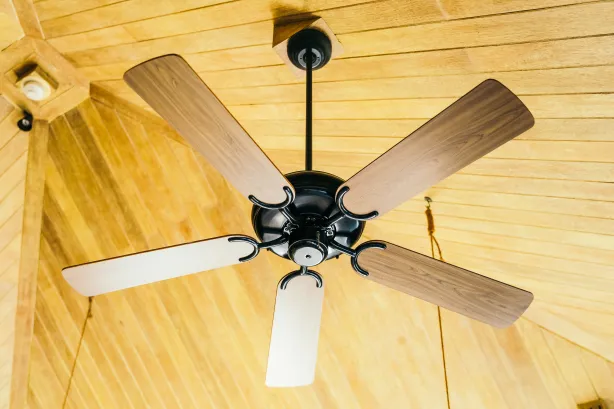
Ceiling fans come in a variety of styles and designs to complement any decor aesthetic. Whether your home boasts a modern, traditional, or transitional design theme, there’s a fan to suit your style preferences. Look for features such as reversible fan blades, customizable finishes, and decorative accents to enhance the visual appeal of your space.
Energy Efficiency
Opt for a ceiling fan with energy-efficient features to minimize electricity consumption and reduce utility costs. Look for fans with ENERGY STAR certification or integrated LED lighting to ensure optimal energy efficiency without sacrificing performance. Additionally, consider features such as reversible motor direction and timer settings to further maximize energy savings.
Installation and Maintenance
Professional Installation
While some homeowners may choose to install a ceiling fan themselves, professional installation is recommended for optimal safety and performance. A licensed electrician can ensure that the fan is installed correctly, including proper wiring, mounting, and balancing, to prevent accidents and prolong the life of the fixture.
Regular Maintenance
To keep your 56 inch ceiling fan running smoothly and efficiently, it’s important to perform regular maintenance tasks. This includes cleaning the fan blades and motor housing to remove dust and debris, lubricating moving parts to reduce friction and wear, and checking for any signs of damage or wear and tear.
Conclusion
In conclusion, a 56 inch ceiling fan with light and remote control offers a winning combination of style, functionality, and convenience for any home. Whether you’re looking to cool a large living room, bedroom, or outdoor patio, these versatile fixtures provide an efficient and effective solution. By selecting the right fan for your space, considering factors such as size, style, and energy efficiency, and ensuring proper installation and maintenance, you can enjoy enhanced comfort and style in your home for years to come.