Discover the benefits and considerations of installing a Ceiling Mount Garage Fans to improve air circulation and comfort in your garage or workspace.
Understanding the Ceiling Mount Garage Fan
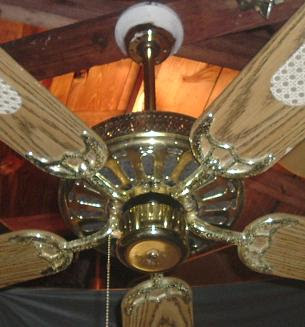
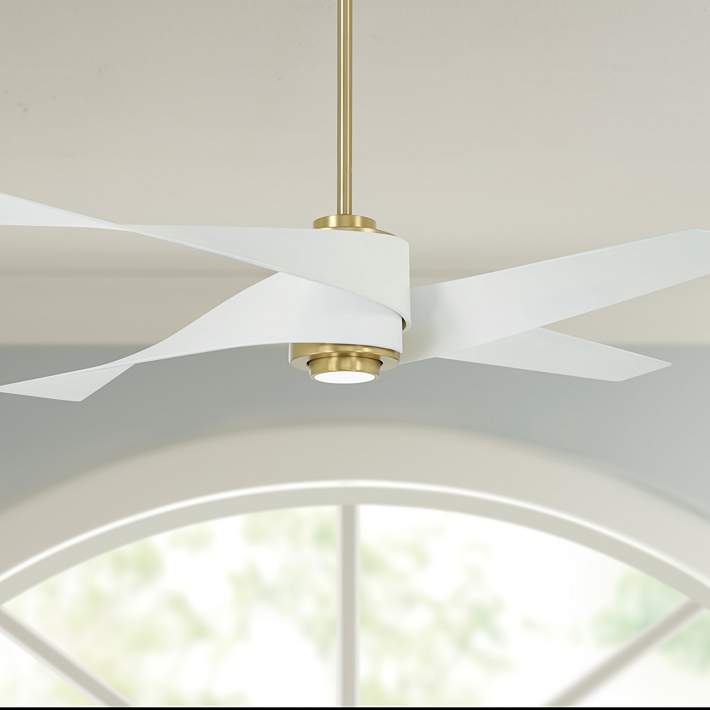
A Ceiling Mount Garage Fan is a practical solution for ventilation and air movement in garages. Learn about its features, installation, and why it’s a must-have for your workspace.
Benefits of a Ceiling Mount Garage Fan
Installing a Ceiling Mount Garage Fan offers several advantages:
- Improved Air Circulation: Enhances airflow in enclosed spaces, reducing stuffiness and humidity.
- Temperature Regulation: Helps regulate temperatures by circulating air, making the garage more comfortable year-round.
- Odor and Moisture Control: Reduces odors and moisture buildup, which can be beneficial for storage and workspace conditions.
- Energy Efficiency: Provides ventilation without the high energy costs associated with HVAC systems.
Choosing the Right Ceiling Mount Garage Fan
Consider these factors when selecting a Ceiling Mount Garage Fan:
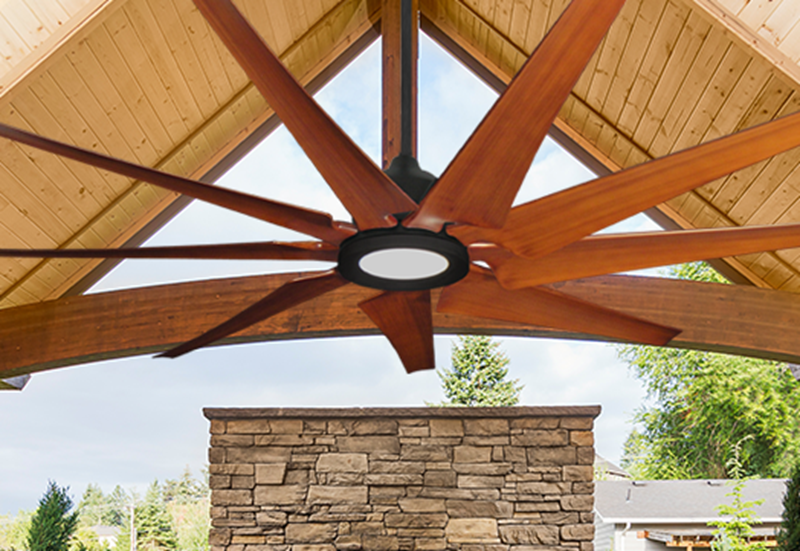
- Size and Power: Choose a fan size appropriate for your garage dimensions to ensure sufficient airflow.
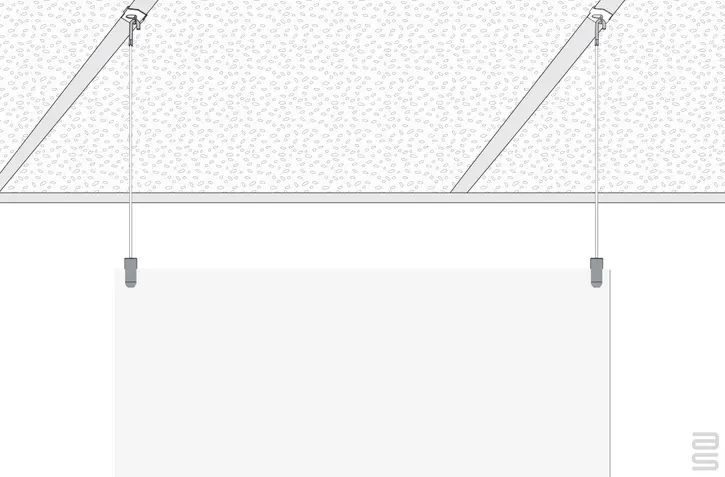
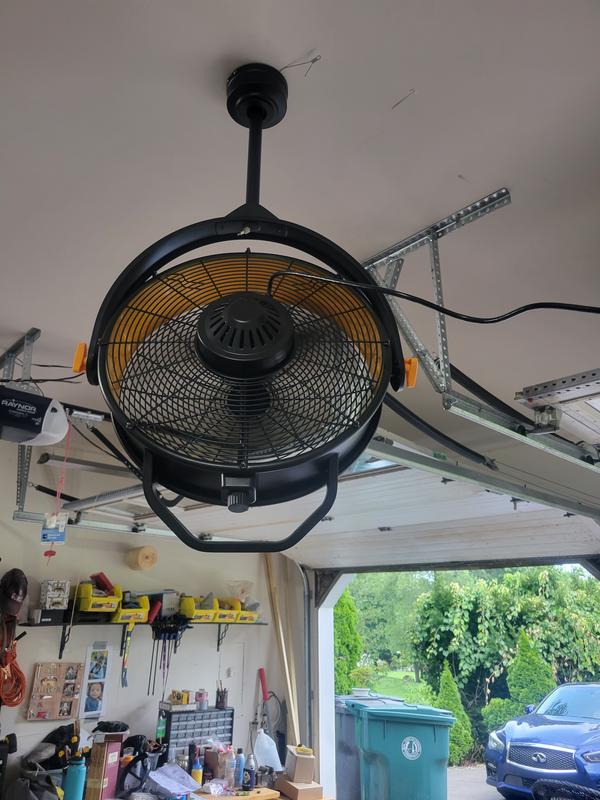
- Mounting Options: Decide between flush-mount or drop-mount options based on ceiling height and installation preferences.
- Noise Level: Look for fans with quiet operation if noise is a concern, especially in work environments.
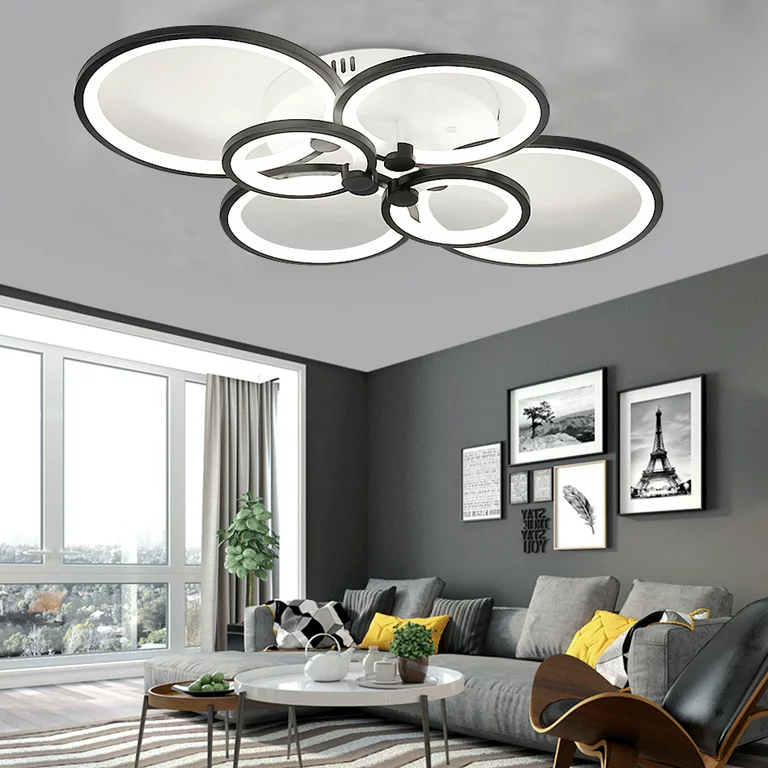
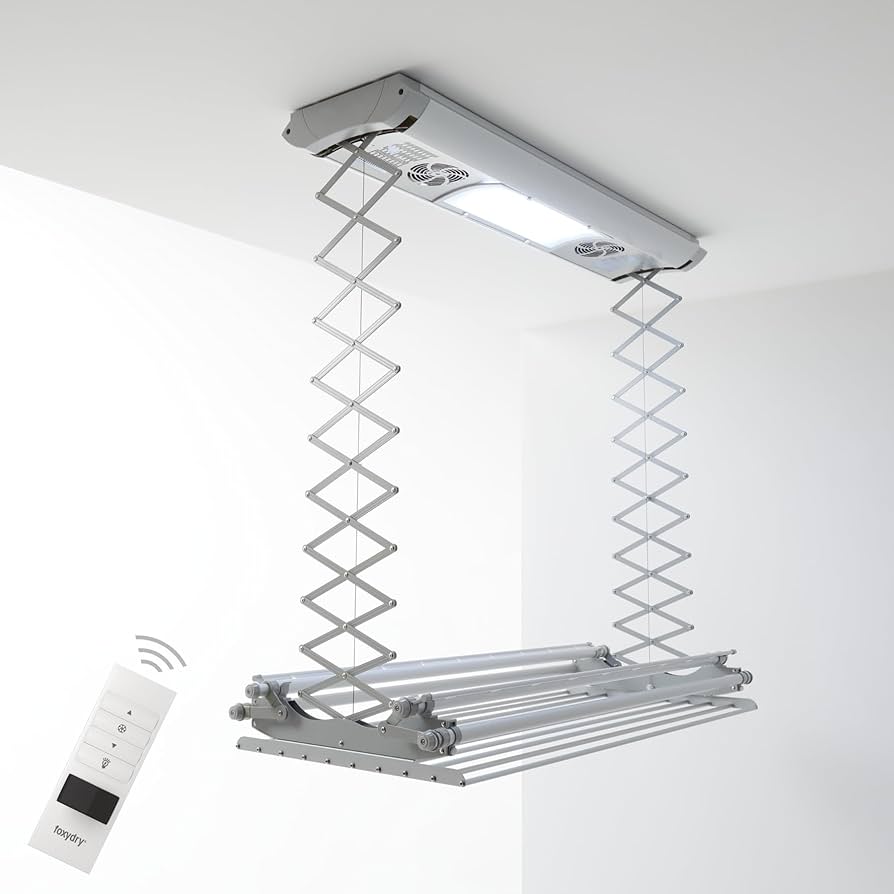
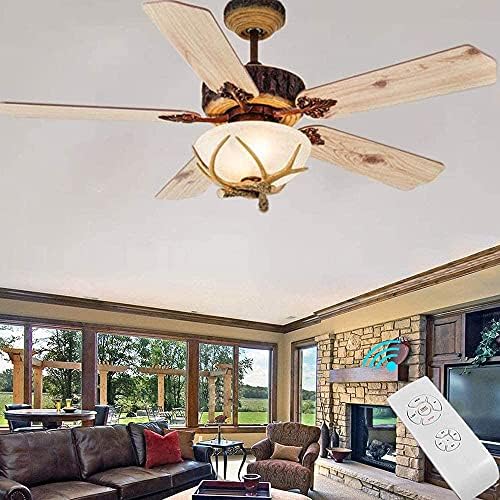
- Additional Features: Consider features like adjustable speeds, direction control, and remote operation for convenience.
Installation Guide
Installing a Ceiling Mount Garage Fan requires careful planning and following manufacturer instructions:
- Location: Determine the optimal placement for maximum airflow and coverage.
- Electrical Considerations: Ensure the fan is installed near an existing electrical outlet or plan for proper wiring.
- Safety Measures: Use appropriate tools and equipment, and consider hiring a professional for electrical connections if needed.
- Testing: After installation, test the fan to ensure it operates smoothly and effectively.
Maintenance Tips for Your Ceiling Mount Garage Fan
To keep your Ceiling Mount Garage Fan in top condition:
- Regular Cleaning: Remove dust and debris from fan blades and housing to maintain airflow efficiency.
- Lubrication: Lubricate moving parts as recommended by the manufacturer to prevent friction and prolong lifespan.
- Inspect for Damage: Periodically check for loose screws, worn-out components, or signs of wear that may affect performance.
- Replace Filters: If your fan has filters, replace them as recommended to maintain air quality and efficiency.
Where to Buy a Ceiling Mount Garage Fan
Explore options for purchasing a Ceiling Mount Garage Fan:
- Home Improvement Stores: Visit local stores specializing in garage equipment and ventilation systems.
- Online Retailers: Browse websites offering a variety of fan models with customer reviews and detailed specifications.
- Specialty Shops: Consider shops focusing on industrial or commercial-grade fans for robust performance options.
Conclusion
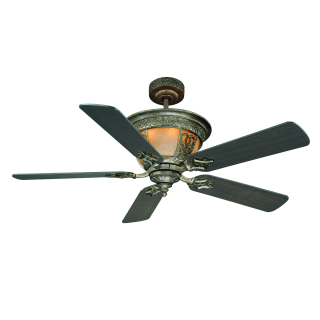
A Ceiling Mount Garage Fans is a valuable addition to any garage or workspace, providing efficient ventilation and air circulation. Whether you use your garage for hobbies, automotive work, or storage, investing in a quality fan can improve comfort and productivity. By understanding installation procedures, maintenance requirements, and selecting the right fan for your needs, you can create a more enjoyable and functional workspace.